
To avoid blotching on pine and cherry, start by thoroughly sanding with medium to fine grit to smooth the surface and open the grain for better stain absorption. Clean off all dust, then apply a pre-stain conditioner according to the manufacturer’s instructions, wiping off excess before it dries. This helps seal the surface and promotes even stain penetration. Continuing with these pre-stain techniques can make a significant difference in achieving a uniform finish.
Key Takeaways
- Thoroughly sand the wood with medium to fine grit to open grain and promote even stain absorption.
- Remove dust and debris after sanding using a vacuum or soft brush before applying any pre-stain products.
- Apply a pre-stain conditioner evenly, allowing proper penetration, then wipe off excess to prevent uneven absorption.
- Follow manufacturer’s instructions for drying times of the conditioner to ensure consistent stain results.
- Test stain on a hidden area first to assess color uniformity and adjust preparation techniques accordingly.
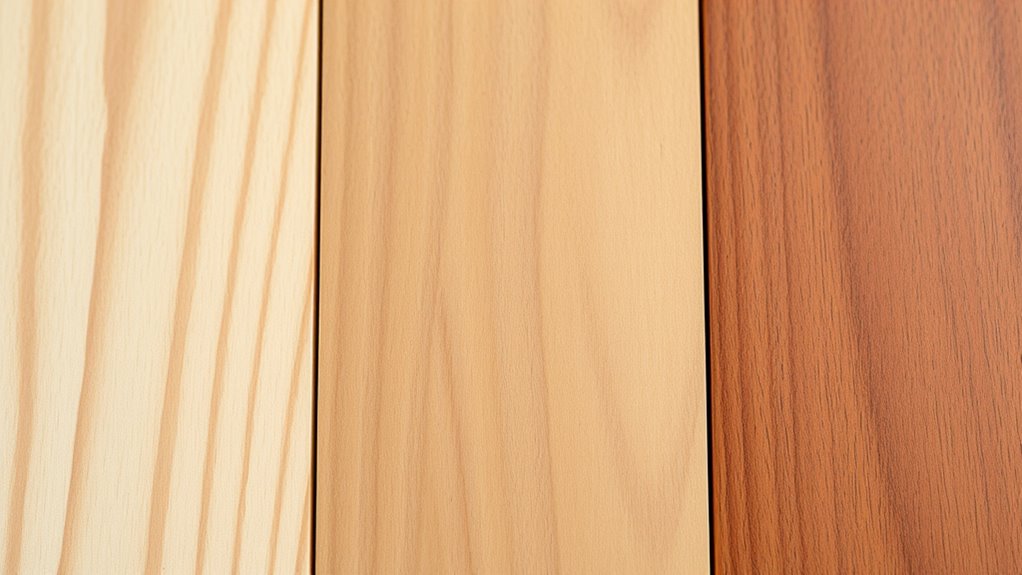
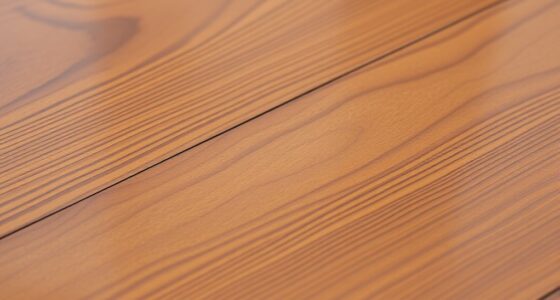
Blotching on pine and cherry can be frustrating, but the right pre-stain techniques can prevent uneven color and guarantee a smooth finish. To start, you need to focus on grain enhancement, which prepares the wood’s surface for better stain absorption. Pine and cherry are both prone to uneven stain penetration because of their unique grain structures; pine’s soft, open grain and cherry’s fine, tight grain can cause inconsistent color if not properly treated. By improving the grain’s appearance before staining, you assure the stain penetrates evenly, reducing the risk of blotches.
One effective way to enhance grain is to sand the wood thoroughly, starting with a medium grit and progressing to a fine grit. This process smooths out surface imperfections and opens up the grain, making it receptive to stain. When you sand, be careful not to oversand or leave scratches, as these can trap stain and create uneven spots. After sanding, a light brushing or vacuuming removes dust and debris that could interfere with stain absorption. Clean, dust-free surfaces promote consistent stain penetration and a uniform appearance.
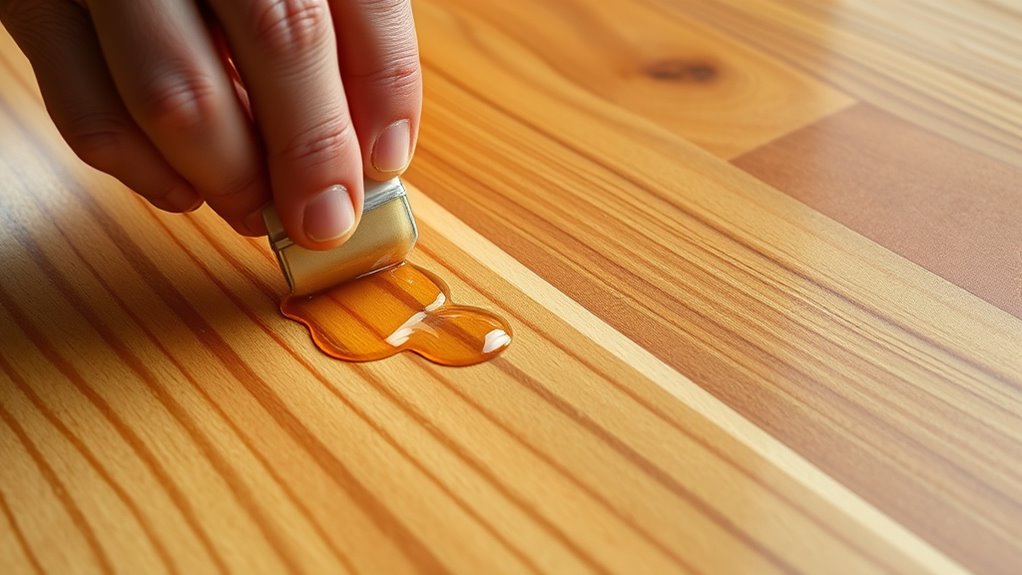
Applying a pre-stain conditioner is a vital step, especially on softwoods like pine and delicate woods like cherry. These conditioners work by sealing the wood’s surface and evening out porosity, which helps the stain penetrate more uniformly. Without a conditioner, the stain might soak into softer areas and remain lighter, while harder or denser sections absorb more, leading to blotchiness. When applying the conditioner, follow the manufacturer’s instructions carefully, and wipe off any excess to avoid a tacky surface that can interfere with stain application.
Applying a pre-stain conditioner ensures even absorption and prevents blotchiness on softwoods like pine and cherry.
Timing is also key. Allow the conditioner to penetrate the wood for the recommended time before wiping away any excess. This step guarantees the stain will interact with the wood evenly, preventing dark spots and uneven coloration. Once the conditioner dries, you can proceed with staining, confident that the wood’s surface is primed for a consistent finish.

General Finishes Oil Based Pre-Stain Wood Conditioner, 1 Quart
Designed for use before staining new, soft and porous wood surfaces, such as aspen, cherry, birch, poplar or…
As an affiliate, we earn on qualifying purchases.
As an affiliate, we earn on qualifying purchases.
Frequently Asked Questions
Can I Use a Universal Pre-Stain Conditioner on All Wood Types?
Yes, you can use a universal pre-stain conditioner on all wood types, but keep in mind that wood type compatibility varies. For best results, follow proper pre-stain application techniques, such as applying evenly and allowing adequate drying time. Testing the conditioner on a hidden area first helps verify it works well with your specific wood. This approach minimizes blotching and gives you a more uniform stain finish.
How Long Should I Wait After Applying Pre-Stain Conditioner Before Staining?
You should wait about 15 to 30 minutes after applying pre-stain conditioner before staining. This drying time allows the conditioner to penetrate and even out the wood surface, reducing blotching. Use a clean brush or cloth for application, ensuring even coverage. Don’t rush—patience here helps achieve a smooth, professional finish. Remember, waiting longer won’t harm, but sticking to the recommended drying time maximizes your results.
Are There Natural Alternatives to Chemical Pre-Stain Conditioners?
Yes, you can use natural oils like linseed or tung oil, and plant extracts such as aloe vera or chamomile as substitutes for chemical pre-stain conditioners. These natural options help condition the wood and reduce blotching without harsh chemicals. Apply them sparingly and let them soak in for a few hours before staining. Just ensure you test on a small area first to see how your wood reacts.
Will Pre-Stain Treatments Affect the Final Color of the Stain?
Think of pre-stain treatments as a gentle primer for your wood’s story. They can influence the final color, much like a background setting affects a scene. Applying pre-stain conditioners helps even out your wood grain, ensuring the stain’s consistency, and can subtly alter the hue. So, yes, they’ll affect the final color, making your finished piece more uniform and vibrant, with less blotching or unevenness.
How Do I Test for Blotch Susceptibility on New Wood?
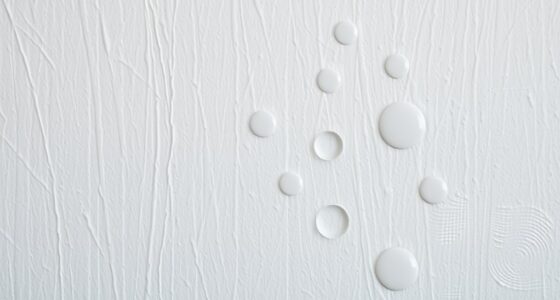
To test for blotch susceptibility on new wood, you should apply a small amount of stain to a hidden section. Observe how the grain pattern and wood density influence absorption. If the stain appears uneven, with darker patches, that indicates higher susceptibility. This quick test helps you decide if pre-stain treatments are necessary, ensuring a more uniform finish on your project.

4 Pack Hand Sanding Sponge Set -120 220 320 400 Grit- Coarse Medium Fine Grit Sanding Block, Sander Sponges for Wood-Working Drywall Metal, Washable and Reusable Sponge for Rust Removal Polishing
Assorted Grit Sanding Blocks – This set includes 4 sponge sanding blocks (4 x 2.6 x 0.7 inches)…
As an affiliate, we earn on qualifying purchases.
As an affiliate, we earn on qualifying purchases.
Conclusion
By applying proper pre-stain techniques, you prevent blotching on pine and cherry, ensuring a smooth finish. It’s like giving your wood a gentle handshake before the stain, setting the stage for even color. Without these strategies, your project risks uneven patches and frustration—like a painting with unintended streaks. So, embrace these simple steps; they’re your secret weapon for flawless results, turning what could be a mess into a masterpiece.

ANBOO 32mm 1 1/4 inches Vacuum Hardwood Floor Attachment Accessories Deluxe Extra Large Hardwood Brush 1-1/4inch Multi Surface Vacuum Attachments 360 Degrees Swivel Head Hard Floor Brush
The inner diameter is 1.25 incn(32mm), fits all vacuum cleaners accepting 1-1/4incn inner diameter attachment
As an affiliate, we earn on qualifying purchases.
As an affiliate, we earn on qualifying purchases.

Woodwise White Oak Test Kit
As an affiliate, we earn on qualifying purchases.
As an affiliate, we earn on qualifying purchases.