To guarantee a strong, flat edge glue-up, you need to apply proper clamp pressure—firm enough to squeeze out excess glue and promote even curing without warping the panels. Use cauls to distribute pressure evenly across the surface, preventing indentations and maintaining alignment. Place cauls securely on each side, tightening clamps gradually. Mastering these techniques helps avoid gaps and distortions; keep going to discover more tips for perfect joints.
Key Takeaways
- Maintain consistent, moderate clamp pressure to ensure even glue distribution without causing panel distortion.
- Use cauls to evenly spread pressure and keep panels flat during curing.
- Place cauls on each side of the joint, securing them with clamps for uniform contact.
- Apply a thin, even layer of glue before clamping to avoid excess squeeze-out and weak joints.
- Gradually tighten clamps, periodically checking pressure to prevent gaps, warping, or over-tightening.
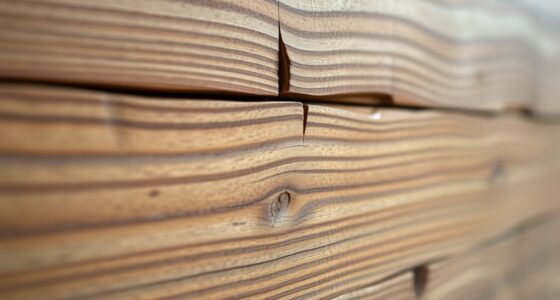
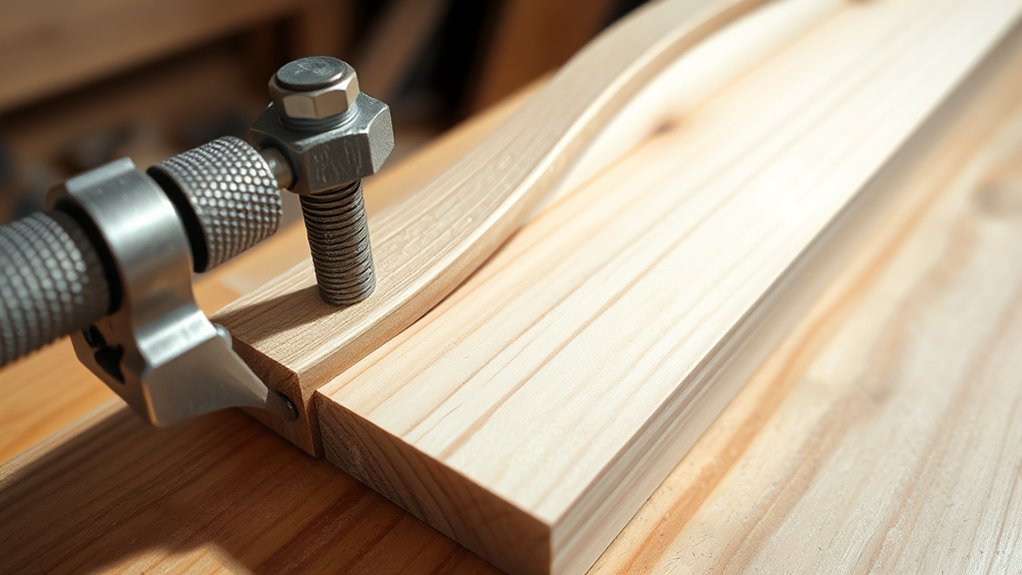
Edge gluing is a fundamental technique in woodworking and crafting that guarantees strong, seamless joints between panels and surfaces. To achieve the best results, you need to manage clamp pressure carefully and use cauls effectively. Proper clamp pressure ensures the glue spreads evenly and bonds tightly without causing warping or squeezing out excess glue. Too little pressure leaves gaps, weakening the joint, while too much can squeeze out too much glue or deform the panels. The key is applying just enough pressure to hold the panels tightly together, encouraging a uniform bond that cures properly.
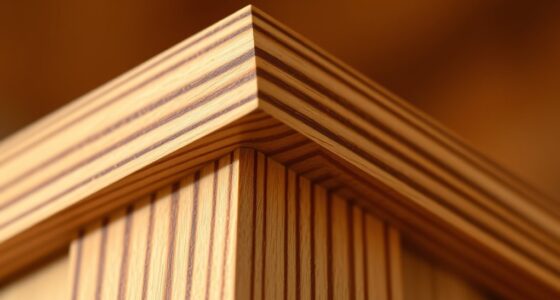
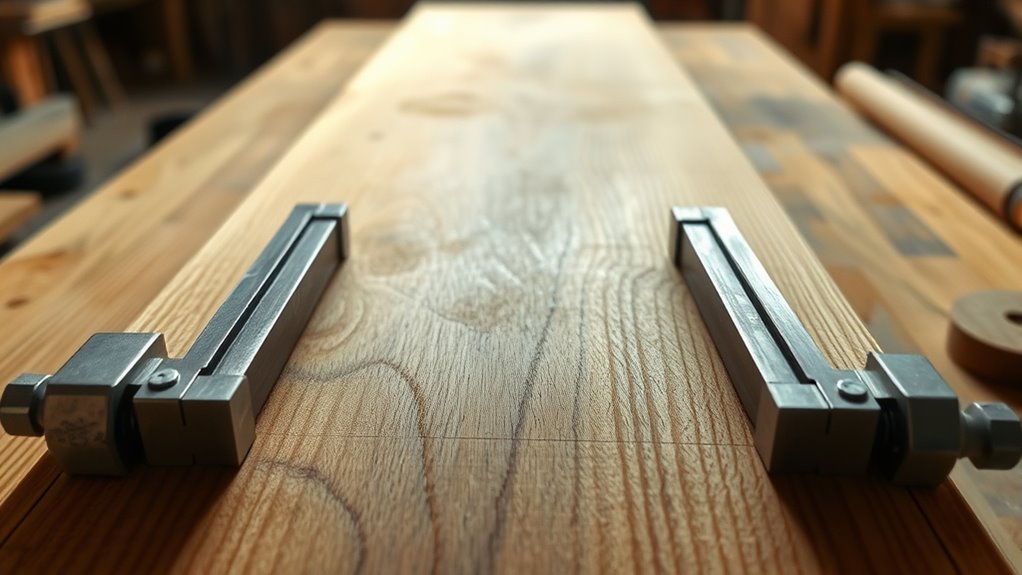
Using cauls is a smart way to distribute clamp pressure evenly across the surface. Cauls are flat, smooth strips of wood or other rigid material placed on top of the panels, acting as pressure distributors. They prevent concentrated force from pressing down on one spot, which can cause uneven joints or indentations. When you use cauls, you’re essentially spreading the clamp pressure across a wider area, helping to maintain a flat, tight joint and avoiding bowing or cupping. Position the cauls on each side of the panels and secure them with clamps, ensuring they sit flush and don’t create high spots. This technique helps maintain alignment and prevents the panels from shifting while the glue dries.
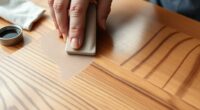
To get optimal results, start by applying a thin, even layer of glue to the edges you want to join. Be careful not to overload the joint with excess glue, as it can squeeze out and create mess or weaken the bond. Once the glue is spread, bring the panels together and apply clamps gradually, tightening them evenly to avoid shifting or misalignment. As you tighten the clamps, place cauls across the panels—these will help maintain even pressure across the entire joint. Check the pressure periodically; it should be firm enough to hold the panels tightly but not so tight that it causes deformation or squeezes out too much glue.

Rockler Small Spring Clamps (Pair) – Easy Squeeze Bandy Clamps Woodworking for Thinner Stock, & Delicate Moldings – One-Handed Operation – Easy to Grip Nylon Hand Clamps
Band Clamps for Woodworking: You'll find it easier than ever to clamp edge moldings of almost any contour…
As an affiliate, we earn on qualifying purchases.
As an affiliate, we earn on qualifying purchases.
Frequently Asked Questions
How Do I Prevent Glue Squeeze-Out During Edge Gluing?
To prevent glue squeeze-out during edge gluing, you should apply the right clamp pressure—firm enough to hold the pieces securely without forcing excess glue out. Use cauls to distribute pressure evenly across the joint, which helps control squeeze-out. Also, wipe away excess glue quickly with a damp cloth before it hardens. Adjust your clamp pressure as needed, and check frequently to make sure you’re not over-tightening, which causes unnecessary squeeze-out.
What Types of Clamps Are Best for Delicate Edges?
For delicate edges, you should choose clamps that provide gentle, even pressure to avoid damaging the material. Bar clamps with padded jaws or spring clamps are ideal because they allow you to control the pressure carefully. Guarantee the clamp selection matches the size of your workpiece, and use cauls if needed to distribute pressure evenly. This approach helps you secure your delicate edge without risking dents or deformation.
How Long Should I Leave Clamps in Place for a Strong Bond?
You should leave the clamps in place for the recommended clamp duration, typically 30 minutes to an hour, depending on the glue type. Most glues require their curing time to develop a strong bond, so check the manufacturer’s instructions. Avoid disturbing the glued edges during this period. Ensuring proper clamp pressure during this time helps achieve peak adhesion and a durable, professional finish.
Can I Use Cauls on Curved Edges Effectively?
Yes, you can use caul techniques on curved edges effectively. To do so, shape the cauls to match the curve precisely, guaranteeing even pressure across the entire edge. Use flexible or adjustable cauls if necessary, and secure them firmly with clamps. This approach helps maintain consistent glue joints, prevents gaps, and ensures a smooth, professional finish on your curved edges. Proper caul application is key for successful curved edge gluing.
What Are Signs of Insufficient Clamp Pressure During Gluing?
Think of your glue-up as a delicate dance; if you dance too hard with excessive pressure, you’ll see signs of trouble. Insufficient clamp pressure causes uneven clamping, leading to gaps or weak joints. You might notice the edges aren’t flush, or the glue isn’t squeezing out evenly. These signs indicate your clamps aren’t providing enough force. Adjust your pressure to make certain a tight, even bond that lasts.
Milescraft 5223 Glue Mate 450-15oz. (450ml) Precision Wood Glue Bottle – Anti-Drip – Dowel and Biscuit Tips Included – Easy Flow Multi-Chamber Design – Ideal for Woodworking
Holds 15oz. of wood glue or other liquids
As an affiliate, we earn on qualifying purchases.
As an affiliate, we earn on qualifying purchases.
Conclusion
Mastering the art of edge gluing means you manage pressure precisely, use cauls carefully, and maintain consistent clamping. By balancing these basics, you’ll build better boards without blemishes or bubbles. With patience and practice, perfecting your pressure and placement becomes second nature. Remember, proper prep prevents poor results. So, stay steady, set your clamps, and succeed with skill—because solid, stunning edges start with your savvy and steady hands.
Create idea 4PCS Pressure Gauge U-Clamp Compatible with Carbo Instruments for Dials with a Surface Diameter of 2-1/2 Inches Pressure Gauge Mounting Clamp
Compatibility: Compatible with CARBO INSTRUMENTS pressure gauges, ensuring a precise fit for your equipment.
As an affiliate, we earn on qualifying purchases.
As an affiliate, we earn on qualifying purchases.
Peachtree Woodworking Supply 2 Pack of 4 Way Pressure Clamps for Clamping Panels From All Four Directions. For Woodworkers, Cabinet and Furniture Makers (2 four way pressure clamps)
Clamping panels can certainly be a challenge. Especially when we try to use everyday pipe clamps or bar…
As an affiliate, we earn on qualifying purchases.
As an affiliate, we earn on qualifying purchases.