
To create stunning custom wood engravings, start by selecting the right wood—smooth, minimal knots, and appropriate hardness matter. Design simple, high-contrast artwork, and prepare your surface with cleaning and light sanding. Fine-tune your laser or hand tools with test runs on scrap material. Finish your project with sealing and coloring for contrast, and always maintain your tools for safety and precision. Keep exploring to refine your techniques and produce spectacular results.
Key Takeaways
- Choose high-quality, minimal knot hardwoods, and prepare the surface with cleaning, sanding, and sealing to ensure crisp, durable engravings.
- Simplify complex images into high-contrast vector formats and test on scrap wood for optimal line thickness and detail.
- Use proper laser focus, adjustable power and speed, and calibration tests to achieve precise, clean engravings.
- Enhance contrast by applying stains or finishes before or after engraving, and use fine brushes for detailed coloring.
- Experiment with different tools and techniques like hand carving, CNC routing, or power tools for customized, intricate designs.

Dunzoom 257 Pcs Laser Material Kit Laser Engraving Materials Including Acrylic, Metal, Wood, Fabric, PU Leather, Glass, Rock, Rubber Materials for Laser Engravers and Laser Cutters
257 Pieces Engraving Material Kit: this laser material kit package includes a generous quantity of 257 pieces distributed…
As an affiliate, we earn on qualifying purchases.
As an affiliate, we earn on qualifying purchases.
Choosing the Right Wood for Your Project
Choosing the right wood is essential for achieving the best results in your engraving project. When selecting wood, consider the type and its properties. Softer woods like pine, cedar, and basswood are easier to engrave and respond well to laser or pyrography. They’re ideal for beginners or detailed work, but they may show less contrast and wear faster over time. Hardwoods such as oak, walnut, and cherry have dense grains that produce crisp, detailed designs and are more durable. Natural, untreated wood is preferable because finishes or coatings can interfere with the engraving process. Also, look for wood with minimal knots and consistent grain to ensure clarity and reduce uneven burn marks. Preservation efforts in historic sites highlight the importance of selecting durable, high-quality materials for long-lasting results. Choosing the right wood sets a solid foundation for a successful engraving project. Additionally, understanding the properties of wood can help you select the most suitable material for your specific design and technique. For optimal results, consider the grain pattern of the wood, as it greatly affects how the engraving appears and how easily you can work with it. Being aware of the grain direction can also help prevent splintering during engraving. Recognizing different wood types can guide you in choosing the best material for your desired aesthetic and durability.

The Hardwood Edge Walnut Hardwood Planks – Walnut Wood for Unfinished Wood Crafts – 100% Pure Hardwood – Laser Engraving Blanks – Solid Hardwood Planks for Crafts (1/8″ x 6 1/2″ x 15″, 2)
Craft Wood — Thin-sawn, 100% pure hardwood planks designed for crafts; Natural wood blanks for laser cutting &…
As an affiliate, we earn on qualifying purchases.
As an affiliate, we earn on qualifying purchases.
Designing Your Artwork for Engraving
When designing your artwork for engraving, choose styles that work well with high-contrast lines and simple details. Simplify complex images by reducing colors and sharpening outlines, ensuring clarity on wood surfaces. Always prepare your digital files in compatible formats and preview your design at actual size before engraving.
Choosing Suitable Artwork Styles
To guarantee your engraved artwork turns out sharp and clear, opt for high-contrast, simplified designs with bold lines. Use design software to create or modify your engraved design, ensuring the lines are thick enough for clarity. High-contrast images with minimal detail translate better onto wood, avoiding loss of detail during engraving. Convert complex images into vector formats like SVG or DXF to preserve detail and allow easy scaling. Choose monochromatic or grayscale color schemes to make the design easier to adapt for laser or CNC engraving. Additionally, consider the natural grain and color of the wood when designing to enhance contrast and visual impact. Always test your artwork on scrap wood first, adjusting line thickness and detail to achieve the best final result. Incorporating automation technologies in your workflow can further streamline the design process and improve engraving precision, and understanding the Gold IRA options can inspire unique design themes for personalized projects. Moreover, staying updated on latest engraving tools can help you select the most effective equipment for your projects. Paying attention to vibrational energy during the design process can also enhance your creative flow and outcome.
Simplifying Complex Images
Simplifying complex images is a key step in preparing artwork for engraving. To achieve this, convert detailed photos into high-contrast black-and-white or grayscale versions, making engrave details clearer. Use vector graphic software like Adobe Illustrator or Inkscape to trace or redraw intricate designs, reducing them to clean, scalable lines. Break down complex images into key elements and remove unnecessary details to prevent clutter and highlight your main design. Adjust contrast and sharpness in your editing software to emphasize features and improve engraving accuracy. Before finalizing, test your simplified design on scrap wood and tweak line thickness or detail level as needed. Incorporating techniques from Water Parks can inspire creative designs for engraved wood projects. Here’s a quick overview:
| Step | Technique | Purpose |
|---|---|---|
| Simplify images | Convert to high-contrast B&W | Clarify engrave details |
| Trace designs | Use vector software | Create clean lines |
| Adjust contrast | Enhance key features | Improve engraving accuracy |
Preparing Digital Files Properly
Are you ready to guarantee your digital artwork prints perfectly on your engraving machine? Start by creating your digital files using vector graphic software like Adobe Illustrator or Inkscape. These programs produce scalable, high-resolution artwork essential for precise engraving details and enhanced engraving clarity. Save your design in compatible formats such as SVG, DXF, or PNG to ensure seamless integration with your machine’s software. Simplify complex images by reducing colors and removing unnecessary details, which improves engraving clarity and speeds up processing. Adjust contrast, line thickness, and fill areas to optimize how your design appears during engraving, ensuring depth and contrast. Always preview your digital file within your engraving software and run test engravings on scrap wood to verify alignment, size, and quality before committing to your final piece. Proper file preparation is crucial for achieving high-quality engravings, especially when working with detailed designs.

Craft Culture Wood Burning Tool Pen – Craft Burning Tools for Adults & Teens – Wood Burner Kit, Engraver, Carver, Pyrography, Woodburning – Includes 9 Premium Tips – Adjustable Temperature Control
THE ULTIMATE CRAFT BURNING TOOL: Take your projects to the next level with the Craft Burning Tool, featuring…
As an affiliate, we earn on qualifying purchases.
As an affiliate, we earn on qualifying purchases.
Preparing the Surface for Better Results
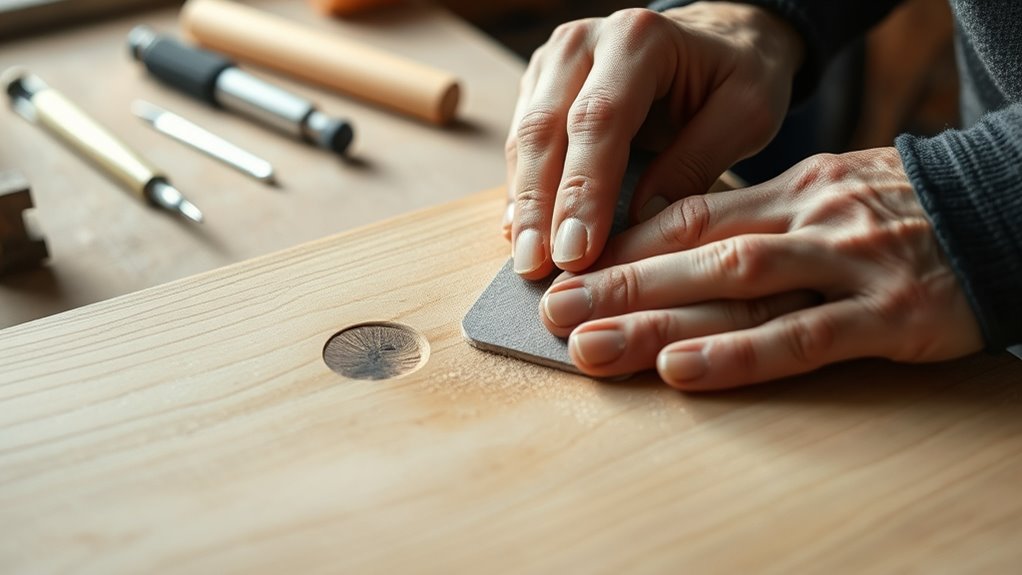
Before you start engraving, it’s essential to prepare the wood surface thoroughly. Proper surface preparation ensures clearer, more precise results. Begin by cleaning the wood with a damp cloth to remove dust, oils, and debris that could interfere with the engraving. Lightly sanding the surface with fine-grit sandpaper, like 220 grit, helps smooth out imperfections and enhances engraving clarity. After sanding, apply a thin, even coat of a compatible sealant or clear wood finish, such as water-based polyurethane. Let it dry completely, then carefully remove any excess with a clean cloth to prevent uneven surfaces. Conducting a test engraving on a scrap piece of the same wood will help you fine-tune your settings and predict how the surface will respond, ensuring ideal results. Surface preparation is also crucial for achieving professional-looking engravings. Incorporating automation’s role in business intelligence can streamline your workflow, making it easier to produce consistent and high-quality engravings. Additionally, understanding how fatherhood influences personal qualities can inspire a more mindful approach to craftsmanship and attention to detail. Properly storage solutions for your tools and materials can further enhance your efficiency and the quality of your work. Using professional-grade tools can also significantly improve the precision and finish of your engravings.
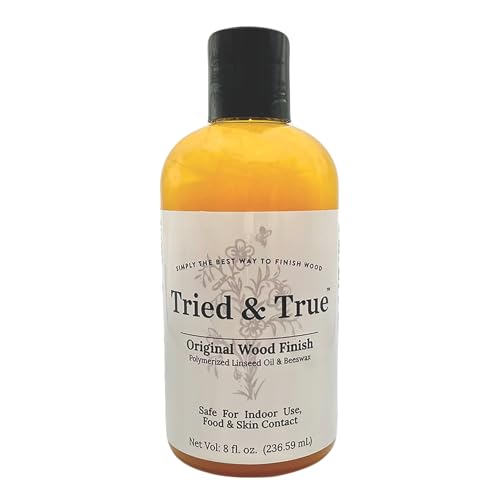
Tried & True Original Wood Finish, 8 oz. – Linseed Oil & Beeswax Blend, Ideal for All Woodwork, Long-Lasting Durability, Food Safe Sealer, Non-Toxic Wood Finish
SUPERIOR BLEND OF LINSEED OIL & BEESWAX: Tried and True wood finish is a superior blend of linseed…
As an affiliate, we earn on qualifying purchases.
As an affiliate, we earn on qualifying purchases.
Setting Up Your Laser Engraver for Precision
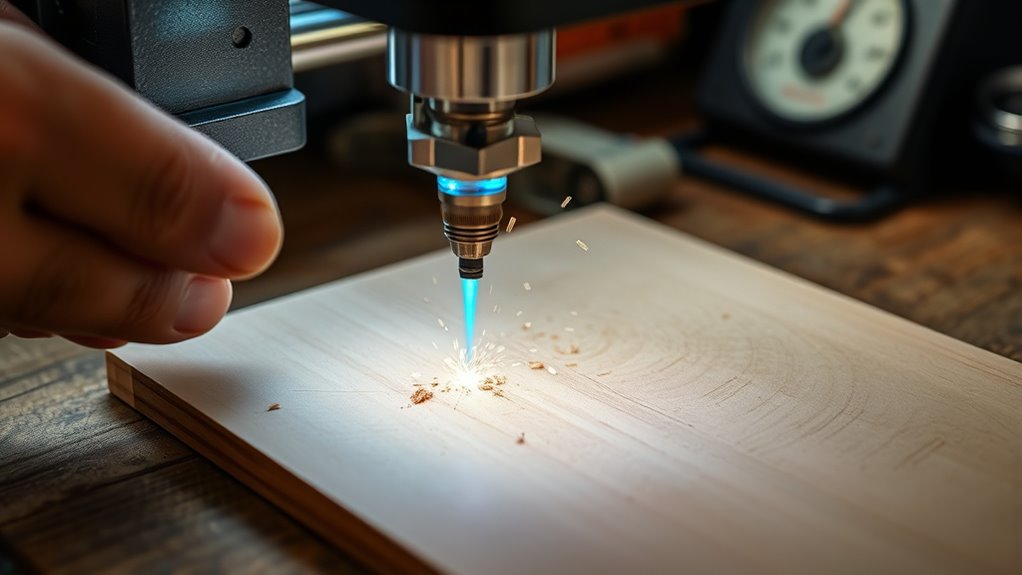
To achieve precise engraving results, you need to set up your laser engraver correctly. Start by placing it on a stable, level surface in a well-ventilated area to guarantee accuracy and safety. Focus the laser beam carefully on the wood surface using the machine’s focus adjustment feature, such as a focus gauge or manual calibration, to attain ideal laser focus. Proper calibration is essential; use the machine’s calibration tools and test runs on scrap wood to verify alignment and engraving area. Adjust the laser power and speed settings based on the wood type and desired engraving depth, preventing over or under-engraving. Always ensure the workspace is clear of obstructions and that the bed is secure, maintaining consistent precision throughout your project. Additionally, understanding the importance of calibration can significantly improve your engraving accuracy and results. Regularly monitoring the engraver’s performance and making necessary adjustments can help maintain optimal results over time, especially considering the importance of proper setup for achieving detailed and accurate engravings. Being aware of regional resources and local support options can also facilitate troubleshooting and enhance your overall engraving experience. Paying attention to material characteristics can further optimize your engraving process and outcome.
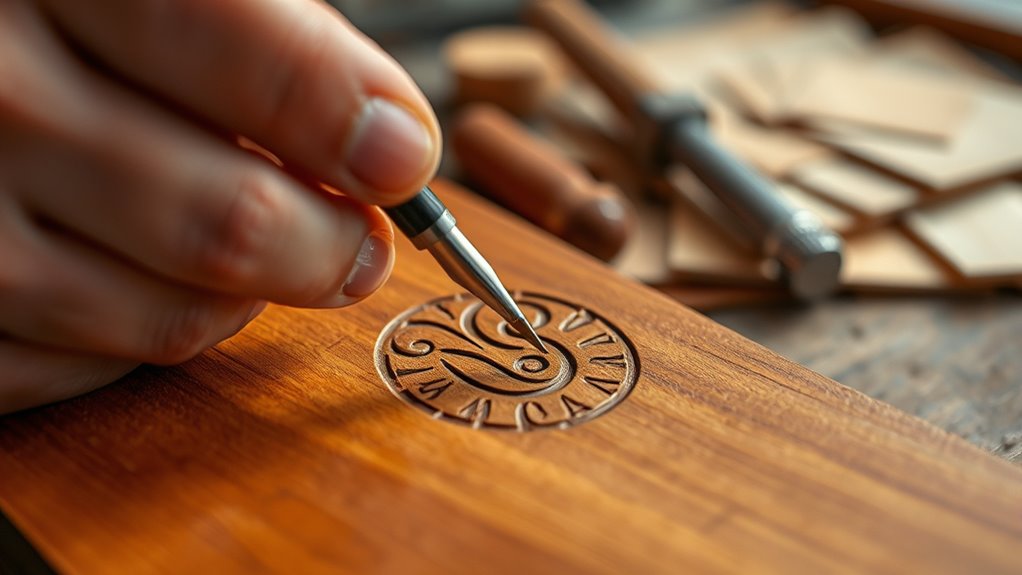
Mastering Hand Carving Techniques
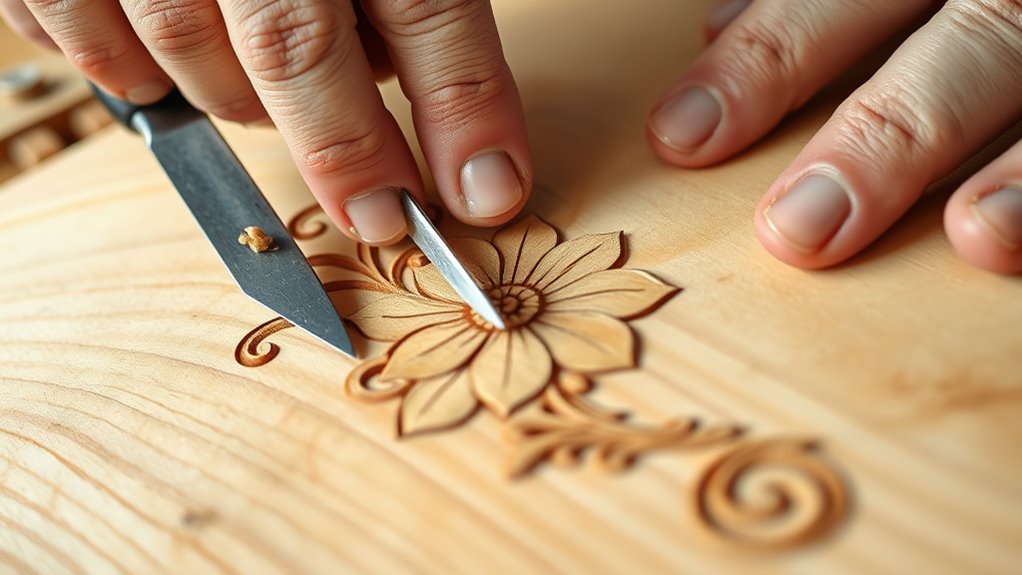
To master hand carving, you need to choose the right tools, like chisels and gouges, for different details and depths. Pay attention to your technique by carving with the grain and applying consistent, shallow pressure to keep your lines clean. Regularly sharpen your tools and clear shavings to maintain precision and safety as you work. Additionally, understanding wood grain patterns can significantly improve your carving results by helping you anticipate how the wood will respond to your cuts.
Choosing the Right Tools
Choosing the right tools is essential for achieving precise and clean engravings on wood. Whether you’re using a laser engraver or traditional hand tools, selecting the proper chisels and gouges is key. For detailed wood carving, different tools are designed for specific tasks like outlining, hollowing, or fine lines. Transferring your design accurately with pencil or carbon paper helps prevent mistakes during the engraving process. Using a mallet or liners allows you to apply controlled force, reducing the risk of damaging your work. It’s also important to understand the wood grain direction, as carving along it results in cleaner lines and less splintering. With the right tools and technique, you’ll master the craftsmanship needed for stunning custom engravings.
Techniques for Detailing
Mastering hand carving techniques requires careful control of your tools to achieve detailed and polished results. To enhance engraved areas, focus on using liners and fine gouges for intricate detailing and shading. This allows you to add depth and dimension, making your design stand out. Proper surface preparation is essential; ensure the wood is smooth and accurately transferred with pencil or transfer paper before carving. Consistent, controlled cuts with sharp tools prevent splintering and create clean, crisp lines. Pay attention to your tool angles and pressure to develop fine details without damaging the surface. Patience and practice are crucial—gradually refine your skills by working on small sections, building confidence in controlling your tools for highly detailed, professional-looking engravings.
Using Power Tools to Enhance Your Engraving
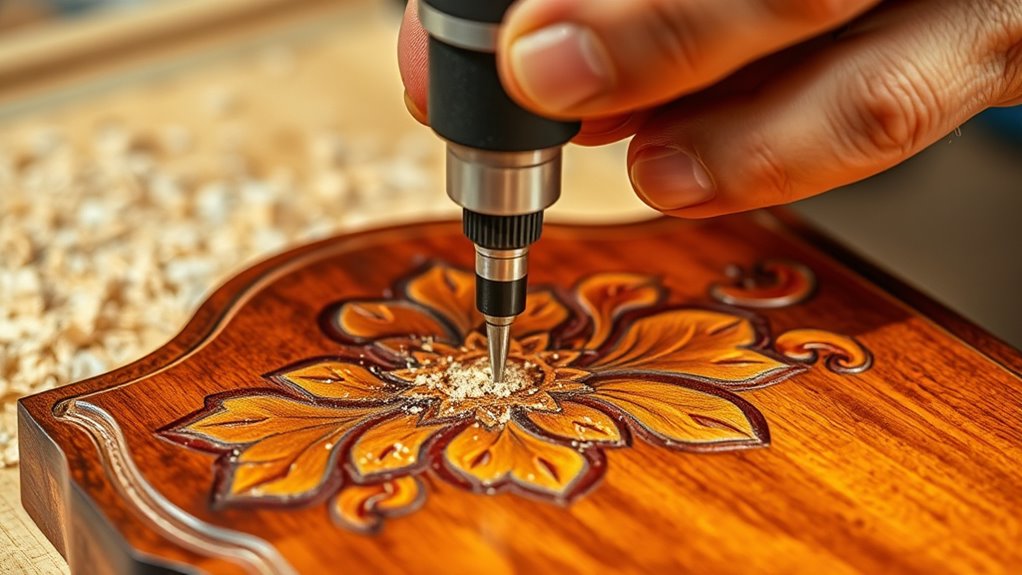
Using power tools can substantially improve your wood engraving process by allowing for faster, more precise carving of intricate designs. With tools like rotary tools, Dremels, and handheld engravers, you gain better control compared to manual carving. Adjustable speed settings let you fine-tune the engraving depth, reducing mistakes and ensuring consistent results. Using the right attachments, such as carbide or diamond bits, is vital for effectively engraving hard woods and achieving cleaner cuts. Guide jigs and templates help you produce accurate, repeatable patterns across multiple projects, saving time and effort. Remember to wear proper safety equipment, such as goggles and dust masks, to protect yourself from debris and dust generated during high-speed carving. Power tools truly elevate your engraving craftsmanship.
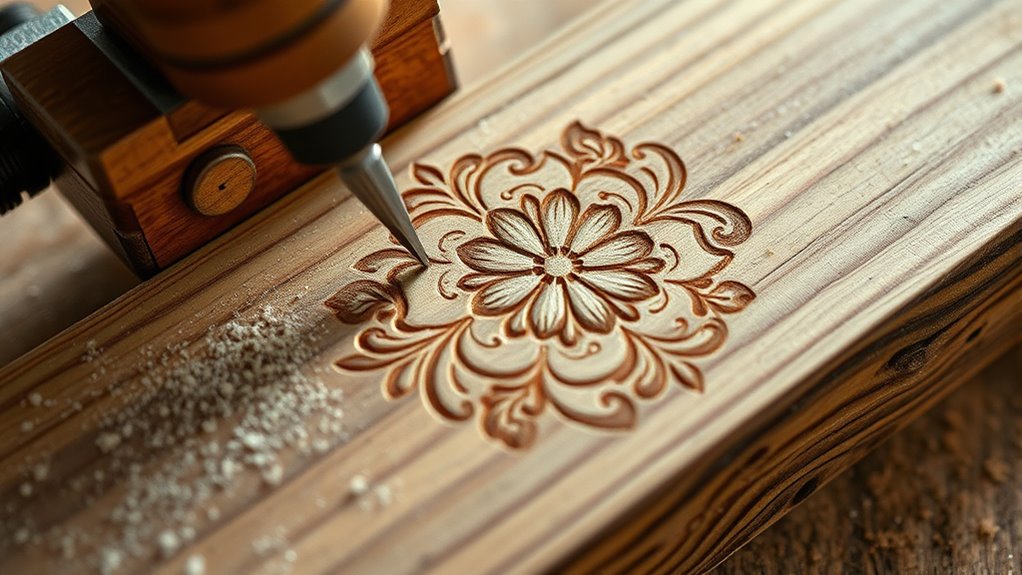
Implementing CNC Routing for Complex Designs
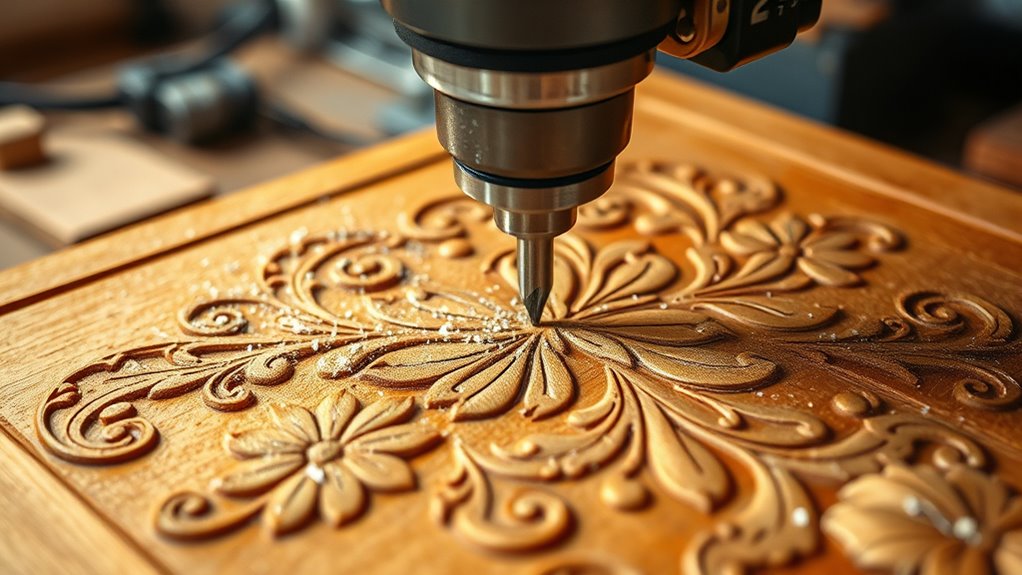
Implementing CNC routing opens up a world of possibilities for creating complex wood designs with precision and efficiency. By utilizing CAD software like AutoCAD or Fusion 360, you can design intricate patterns that the CNC machine executes flawlessly. To maximize engraving quality, select the right router bits, such as V-groove or ball nose, which influence detail and texture.
Consider these key steps:
- Secure the wood firmly on the CNC bed, ensuring it’s level to maintain accuracy.
- Properly calibrate the CNC machine by setting the zero point and adjusting feed rates for consistent depth.
- Use precise tool paths to achieve intricate, detailed engravings that highlight your design.
This approach ensures high-quality, detailed engravings tailored to complex projects.
Applying Finishes to Protect and Highlight Your Work

Applying a protective finish is essential to both preserve and enhance your engraved wood piece. It helps protect the wood from moisture, wear, and environmental damage while highlighting the engraving’s details. Use a thin, even coat with a brush or cloth to prevent uneven buildup and achieve a smooth finish. Be sure to let each coat dry completely, usually 24-48 hours, which preserves contrast and detail. Light sanding between coats improves adhesion and creates a glossy, professional look. For added protection, consider specialized finishes like waxes or sealants. Remember, choosing the right finish depends on your project’s purpose and environment. Here’s a quick comparison:
| Finish Type | Protects Against | Best For |
|---|---|---|
| Polyurethane | Moisture, scratches | Indoor furniture |
| Varnish | UV, wear | Decorative pieces |
| Linseed Oil | Moisture, aging | Artistic projects |
| Wax | Light wear, polishing | Fine detail work |
| Sealant | Environmental damage | Outdoor wood |
Adding Color and Effects to Your Engraved Wood
You can make your engraving stand out by adding color with contrasting paints, dyes, or stains, but proper surface prep is key for a clean look. Use fine brushes or applicators to apply colors carefully and avoid spillover, giving each layer time to dry thoroughly. Experiment with different techniques on scrap wood to find the best method for achieving vibrant, precise effects on your project.
Applying Paints and Dyes
To make your engraved wood stand out, using contrasting paints or dyes like acrylics or wood stains can add vibrant color and improve visibility. Before applying color, verify the engraved surface is clean and lightly sanded for smooth, even coverage. Use fine brushes or applicators to carefully apply paint or dyes, preventing overflow and maintaining detail accuracy within the design.
Consider these tips:
- Choose contrasting paint or dye to enhance the engraved design.
- Apply multiple thin coats for deeper, vibrant effects.
- Let each coat dry completely before handling or sealing to avoid smudging or bleeding.
Sealing with a clear finish can protect the color and preserve your work. Proper application heightens the visual impact of your engraved wood.
Enhancing Contrast With Stains
Enhancing contrast with stains offers a powerful way to make engraved designs pop on wood surfaces. By staining before or after engraving, you can darken the engraved areas, increasing contrast and highlighting details. Oil-based stains penetrate deeply, creating richer, more durable effects. Precise staining with small brushes allows you to add color specifically within the engraved lines, producing striking visuals. Light sanding ensures even absorption, resulting in consistent contrast. Combining stains with laser engraving enables multi-tone effects, adding depth to your design.
| Technique | Benefits | Tips |
|---|---|---|
| Pre-staining | Boosts contrast before engraving | Sand surface lightly for even stain |
| Post-staining | Highlights engraved areas selectively | Use small brushes for control |
| Multi-tone staining | Adds depth with different dyes | Apply stains in sections |
| Oil-based stains | Deep, rich color and durability | Let stain penetrate fully |
Techniques for Precise Coloring
Achieving precise coloring on engraved wood requires careful application of paints or dyes within the carved lines. Use fine-tipped brushes or applicators to fill the engraved areas with contrasting paints, guaranteeing accuracy. Apply color in thin, even layers, letting each dry completely to prevent bleeding outside the lines. For vibrant effects, consider using alcohol-based inks or stains that absorb quickly and last long. Adjust your laser settings beforehand; increasing laser power or running multiple passes can darken the engraved lines for more contrast, making coloring easier. To enhance durability, seal the surface with a clear finish after coloring. These techniques ensure clean, vivid results, elevating your engraved wood projects to professional standards.
- Use fine-tipped brushes for detailed work
- Apply contrasting paints in thin coats
- Adjust laser settings for deeper engravings
Tips for Maintaining Tools and Ensuring Safety
Regular maintenance of your woodworking tools is vital for safe and efficient engraving. Keep your tools like laser engravers, CNC routers, and wood burners clean and inspect them regularly to guarantee they perform optimally. Always unplug electrical tools before changing tips, blades, or performing maintenance to prevent accidental activation and injuries. Use safety gear such as goggles, dust masks, and gloves to protect against debris, fumes, and heat during engraving and burning. Proper ventilation is essential to disperse fumes and smoke, maintaining a safe workspace. Follow manufacturer guidelines for calibration and promptly replace worn parts to prevent accidents. Store tools in a dry, secure area to prolong their lifespan and maintain safety. Consistent maintenance and attention to safety measures keep your projects smooth and injury-free.
Frequently Asked Questions
How to Make Wood Engraving Stand Out?
To make your wood engraving stand out, you should increase the laser power and slow down the engraving speed to deepen the design. Use contrasting stains or paints afterward to highlight details, and consider multiple passes for darker lines. Opt for woods like cherry or walnut for natural contrast. Adding shading or textured carving can also create depth and dimension, making your engraving more eye-catching and vibrant.
What Is the Best Tool for Engraving Wood?
Ever wondered what tool works best for engraving wood? Generally, laser engravers with adjustable settings are your top choice. They deliver high precision and detailed results quickly, making your job easier. Hand tools like chisels or pyrography pens give a more artisanal touch but require more skill and time. CNC routers automate complex designs for larger projects. So, pick the tool that matches your project’s complexity, volume, and budget for perfect results.
Should I Seal Wood Before Engraving?
Yes, sealing wood before engraving is a smart move. It creates a smooth, uniform surface that improves the clarity of your design and prevents burn marks or soot from penetrating unevenly. Sealing also protects the wood from moisture and dirt, helping your engraving last longer. Just make sure the sealant dries completely before you start engraving, so your laser can work accurately and produce clean, detailed results.
What Is the Technique of Wood Engraving?
Wood engraving involves removing parts of the wood surface to create designs, textures, or patterns. You can use tools like laser, hand carving, CNC, or pyrography. Laser engraving uses focused beams guided by software, controlling depth and darkness through settings. Hand engraving requires transferring a design and carefully carving along lines, emphasizing craftsmanship. Each technique offers unique effects, so choose based on your desired detail, texture, and the tools available to you.
Conclusion
With the right techniques and tools, creating stunning engraved wood pieces is totally achievable. Don’t worry if it seems overwhelming at first—you’ll improve with practice, and your unique designs will shine through. Just remember, even if you make a mistake, you can always sand it down or add a finishing touch. Stay patient, keep experimenting, and soon you’ll be proud of beautiful, personalized creations that showcase your skill and creativity.