To restore old wooden items, start by cleaning the surface with a damp cloth to remove dirt. Next, strip any old finish with a chemical stripper, then gently sand the surface, progressing from coarse to fine grit. Repair any scratches or dents, then apply stain to enhance the wood’s color. Finish with a protective topcoat like polyurethane or wax. If you want to learn more detailed steps and tips, keep exploring ways to bring new life to your wood pieces.
Key Takeaways
- Clean the wooden item thoroughly with a damp cloth and mild detergent to remove dirt and debris.
- Remove old finishes using gentle chemical strippers or sanding to reveal a smooth surface.
- Sand the surface progressively with coarser to finer grit sandpaper for a polished look.
- Apply stain or finish to restore color and protect the wood, testing on a hidden area first.
- Seal with a topcoat like polyurethane or wax, then allow proper curing for durability and shine.
Restoring old wooden items can bring new life to cherished furniture and decorative pieces. The first step is to assess the item’s condition. Check for structural damage, loose joints, or surface imperfections. Once you know what needs fixing, gather your supplies. You’ll need microfiber cloths, a mild detergent, sandpaper ranging from 60 to 220 grit, and safety gear like a respirator and goggles to protect yourself from dust and chemicals.
Begin by inspecting your wooden piece for damage and gathering essential cleaning and sanding supplies.
Begin by removing dirt and debris. Use a damp cloth or soapy water to wipe down the piece, then dry it thoroughly. For light restorations, test a cleaning mixture of three parts olive oil to one part vinegar. This gentle solution can enhance the wood’s appearance without stripping its natural finish. Make sure your workspace is protected by laying down drop cloths and ensuring good ventilation, especially when using chemical products.
When it’s time to strip the old finish, choose your method. For thick finishes, chemical strippers work best. Apply the stripper thickly with a natural-bristle brush, then wait the recommended time before scraping. Use a plastic or metal scraper to carefully remove the finish without gouging the wood. Repeat this process until you expose bare wood.
Afterward, neutralize any remaining chemicals with lacquer thinner or water, following the product instructions. Always wear chemical-resistant gloves and eye protection during this process.
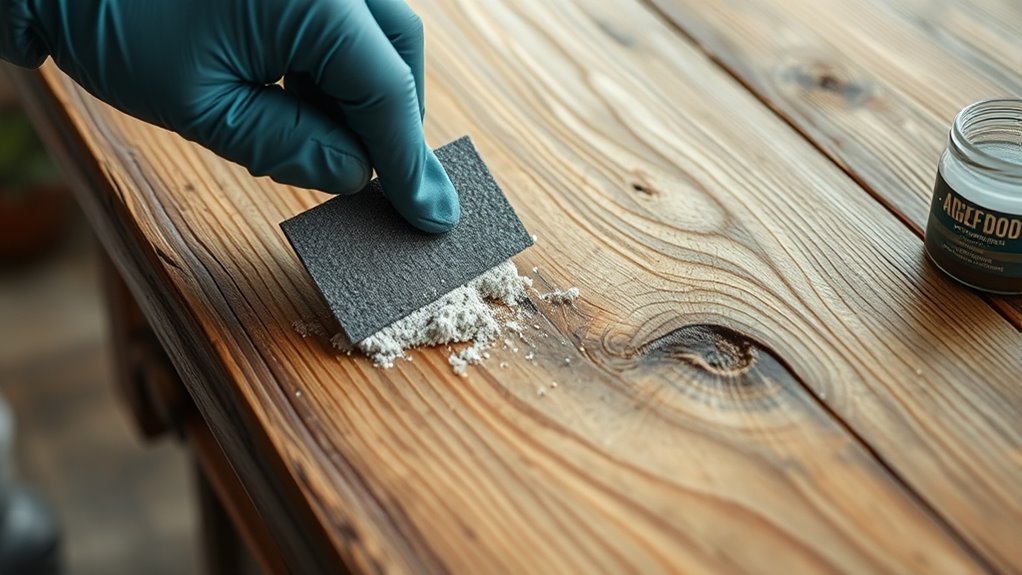
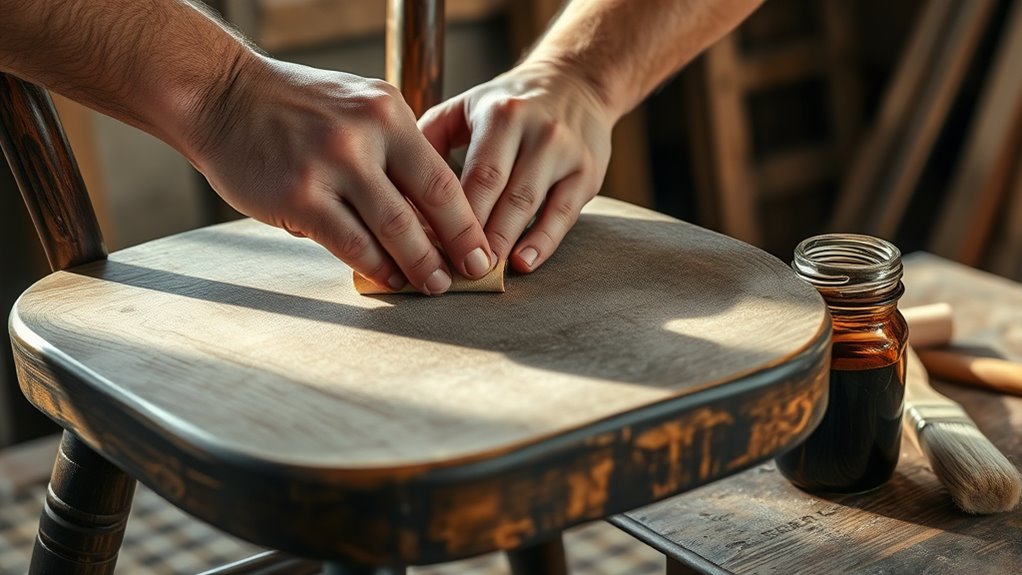
Sanding is vital for a smooth surface. Start with coarse grit sandpaper, around 60-80, to remove stubborn finishes. Move to medium (120 grit) and finish with fine (220 grit) sandpaper. Sand along the grain, either with an orbital sander or by hand, especially on intricate areas. Check the surface’s smoothness between grits and vacuum dust after each step. Additionally, understanding how Self Watering Planter Pots work can help you better prepare your wooden items for sealing and finishing.
If you notice dents or scratches, repair them with epoxy putty before the final sanding. Wipe the surface with a tack cloth to eliminate residual dust before moving on.
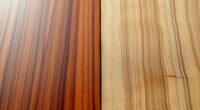
Applying a sealant helps prevent uneven stain absorption. Use a sanding sealer or a similar product. Choose your stain—oil or water-based—based on the desired color depth, testing it first on an inconspicuous spot. Wipe the stain along the grain with a lint-free cloth, waiting 5-15 minutes before removing excess.
Apply multiple layers for darker tones, lightly sanding with 220 grit between coats. Allow the stain to dry for 24-48 hours before applying a topcoat.
Finish your project with a clear protective coat. Options include polyurethane for durability, wax for a natural sheen, or varnish for high gloss. Apply thin coats with a natural-bristle brush, maintaining a wet edge to avoid lap marks. Between coats, lightly sand with 320 grit and vacuum dust.
For a satin finish, buff the final coat with steel wool. Let the piece cure for at least 72 hours before use, avoiding moisture.
For minor blemishes, you can skip full refinishing. Clean with your oil and vinegar mix, spot-repair scratches with wax sticks or touch-up markers, and reattach veneer with wood glue and clamps.
Regular maintenance, like weekly dusting and avoiding sunlight, helps preserve your restored piece. Reapplying wax annually on high-use furniture adds extra protection, keeping your wooden items looking beautiful for years.
Conclusion
Restoring old wooden items isn’t as intimidating as it seems. With just a few simple steps, you can bring back their charm and character, making them look as good as new. Remember, patience and a gentle touch are your best tools—think of it as channeling a modern-day Renaissance artist. So, don’t be afraid to roll up your sleeves; your treasured heirloom will thank you, and you’ll feel like a true craftsman. After all, even the most ancient oak can be reborn!