
To choose your first piece of wood, start by evaluating whether your project is for indoor or outdoor use, which guides your wood type choice. Measure critical dimensions accurately, and verify actual sizes since nominal measurements can be be misleading. Inspect for defects, warping, knots, and surface damage to guarantee quality. Consider grain, color, and moisture content for stability and appearance. If you keep these tips in mind, you’ll select the best piece—plus, there’s more to discover ahead.
Key Takeaways
- Determine if your project is indoor or outdoor to select moisture-resistant or stable hardwoods accordingly.
- Measure and verify the actual dimensions of the wood to ensure proper fit and consistency.
- Inspect for surface defects, knots, cracks, and warping to choose durable, high-quality boards.
- Match the wood’s grain pattern and color to your aesthetic preferences and project requirements.
- Ensure the moisture content is appropriate (6-12%) to prevent warping or cracking over time.

Barrington Hardwoods Domestic Variety Pack 5 Walnut, 5 Maple and 5 Cherry Boards – 3/4" x 2" (15Pcs) (3/4" x 2" x 12")
💯 Included are 5 Black Walnut 5 Cherry and 5 Hard Maple 3/4" x 2" x 12"
As an affiliate, we earn on qualifying purchases.
As an affiliate, we earn on qualifying purchases.
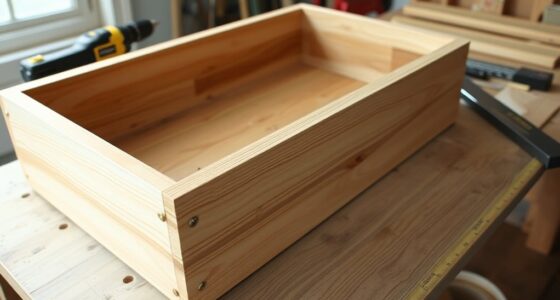
Assess Your Project’s Needs and Environment
Before choosing your first piece of wood, it’s essential to assess your project’s specific needs and environment. Consider whether your project is indoor or outdoor, as this influences the type of wood you select. For outdoor projects, you’ll want moisture-resistant wood like cedar or redwood that withstands exposure to elements. For indoor use, stable hardwoods such as maple or cherry are ideal, offering a smooth finish and attractive grain patterns. Evaluate the environment’s humidity levels and how much moisture the wood will encounter. Also, think about the project’s structural requirements—hardwoods like oak or hickory provide durability, while softer woods like pine are suitable for decorative or temporary projects. Matching your project needs with the environment ensures you choose the right wood for lasting results. Additionally, understanding building codes and regulations can help you select materials that meet safety and compliance standards. Considering the influence of AI on design trends can also inspire innovative material choices and improve planning accuracy. Being aware of hackathon best practices for collaborative problem-solving can further enhance your project’s development process. Furthermore, researching wood treatment methods can help prolong the lifespan and maintain the quality of your chosen material. Incorporating proper installation techniques from guides can ensure your project’s success and safety over time.

Cedarcide Cedarshield (1 Gallon) | Non-Toxic Wood Treatment and Stabilizer | Protects Wood from Moisture and Decay
✔️ Perfect for fences, decks, woodwork, garden boxes, docks, and outdoor furniture ✅ USE ON ALL WOOD TYPES:…
As an affiliate, we earn on qualifying purchases.
As an affiliate, we earn on qualifying purchases.
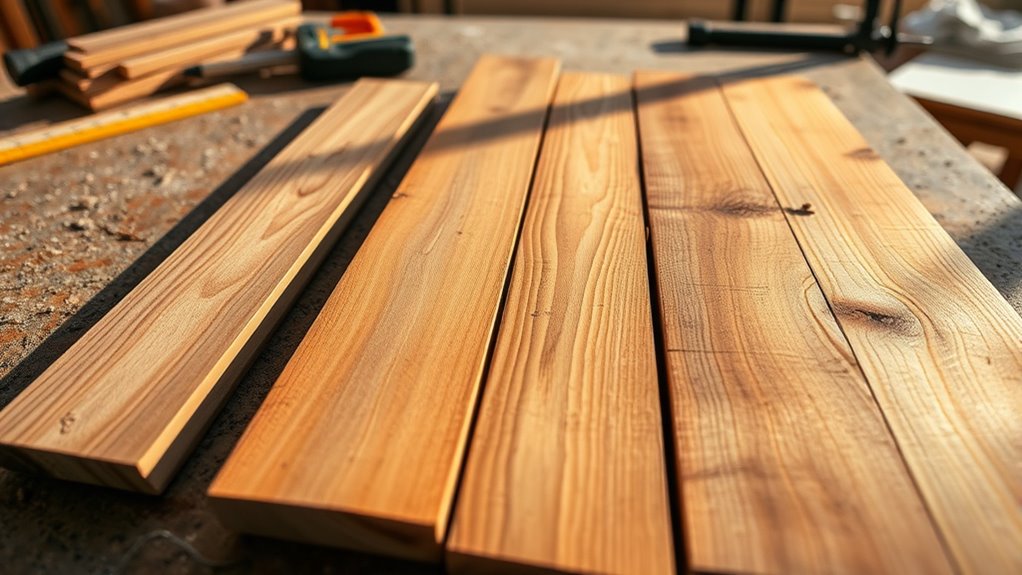
Select the Appropriate Type of Wood
Choosing the right type of wood depends on your project’s specific needs and desired outcome. For visible, durable indoor furniture, opt for hardwoods like oak or maple, which resist wear and look great with clear finishes. If you’re working on framing or rough projects where cost and ease of cutting matter, softwoods like pine or fir are ideal—they’re lighter and more affordable. For outdoor projects, consider cedar or redwood due to their natural moisture and decay resistance. When selecting wood species, think about the grain, color, and how well it accepts finishes like stain or varnish. Match the correct type of wood to your project requirements to ensure durability, aesthetic appeal, and ease of work. Solid wood with the appropriate grain can truly elevate your finished piece. Additionally, understanding celebrity lifestyle insights can inspire your project’s aesthetic and design choices. Being aware of auditory processing challenges can also help in choosing wood with the right acoustic properties, especially if your project involves soundproofing or acoustic design. Recognizing global cultural differences can help you select woods that suit diverse stylistic influences and environmental conditions. Knowing about Glycolic Acid Benefits for Skin may seem unrelated, but it highlights the importance of choosing materials that match the intended use and environment of your project. Considering the cost range of electric bikes can provide insight into budget planning for your woodworking tools and accessories.

BUGUUYO 2pcs High Precision Measurement Tool for Spot Detection and Surface Defects Multi Functional Crack Gauge and Film Ruler for Flaw Inspection and Line Measurement
User-friendly design: this flaw detection measurement tool is designed with clarity in mind, ensuring accurate readings for users,precise…
As an affiliate, we earn on qualifying purchases.
As an affiliate, we earn on qualifying purchases.
Verify Dimensions and Measure Critical Sizes

To guarantee your project fits together perfectly, it’s essential to verify the actual dimensions of your wood pieces before you start cutting or assembling. Measure the length, width, and thickness using a tape measure or caliper for greater precision. Remember, nominal sizes like 2×4 are often smaller than their actual size—usually around 1.75″ x 3.5″—so always check the real measurements. Confirm the units you’re using, whether inches or millimeters, to avoid confusion. Measure multiple boards if you’re purchasing more than one, since slight variations can occur. Verifying dimensions ensures your measurements are accurate, preventing surprises during assembly. Taking the time to confirm the actual size of each piece will help you achieve a precise, professional-looking finished project. Being aware of tuning laws can also help ensure your modifications stay within legal boundaries and won’t cause issues down the line. Additionally, understanding paint sprayer benefits can assist in preparing your workspace for a smooth application process.

Sauers North American Species Wood Identification Kit & Wood Veneer Sample Pack – 4” X 9” – 25 Pieces
25 Pieces of 4" x 9" veneer samples individually identified by its common name and country of origin
As an affiliate, we earn on qualifying purchases.
As an affiliate, we earn on qualifying purchases.
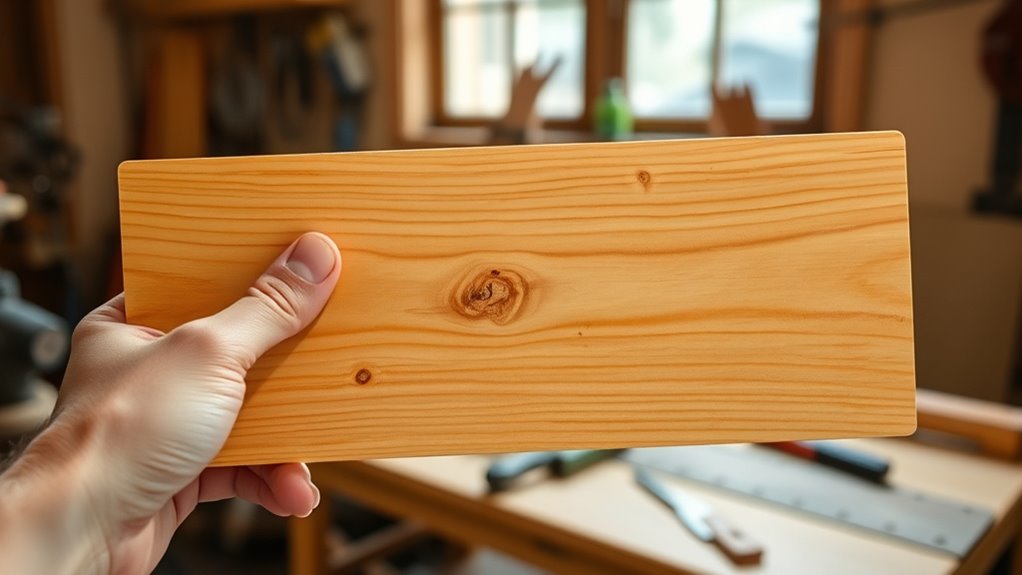
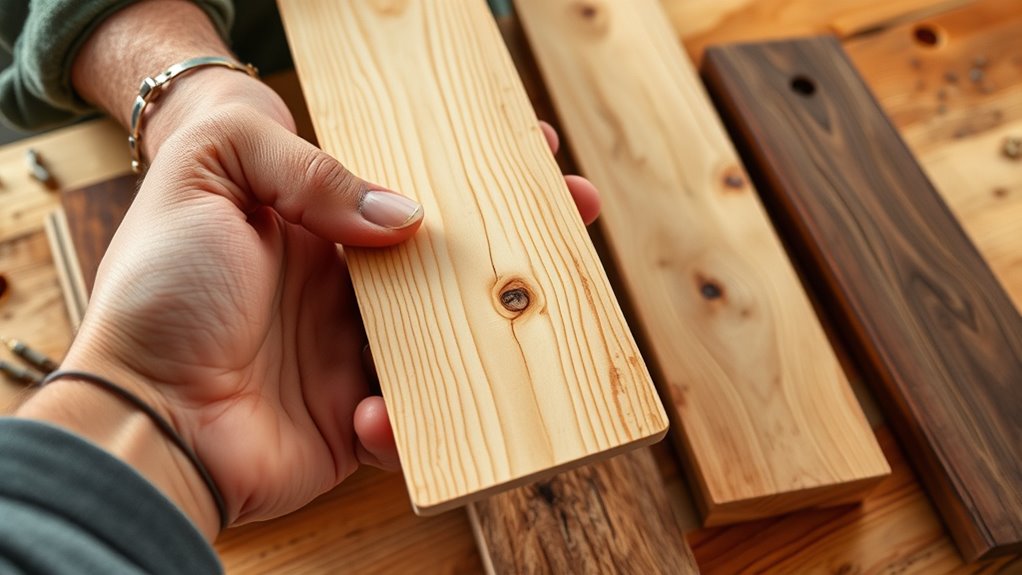
Inspect for Defects and Warping
Carefully examine each board for knots, cracks, or splits that could weaken or mar its appearance. Check the edges by looking along them to spot warping, bowing, or twisting, and inspect the ends for cupping or irregularities. Use a straightedge to confirm the surface is flat and free of dips or bulges before making your choice. Additionally, ensure the wood is free of defects and warping that could compromise your project’s stability and aesthetics. Regularly inspecting the wood for material integrity can prevent issues during construction and ensure a durable finished product. Being aware of moisture content is also important, as it affects the wood’s stability over time.
Knot and Crack Evaluation
When inspecting a piece of wood for your project, it’s essential to look for knots and cracks that could compromise its strength. Knots are areas where branches once grew, and they can weaken the wood or cause it to split over time. Check along the surface and edges for visible cracks or splits, especially near the ends of the board, as these weaken structural integrity. Examine the ends for warping, cupping, or bowing, which indicate uneven drying or internal defects. Also, look for dents, scratches, or gouges that might affect the smoothness and durability of your finished piece. Placing the board on a flat surface and sighting along its length helps identify any twisting or bowing. For added durability, consider choosing water-resistant wood options that better withstand environmental factors. Additionally, understanding the grain pattern can help you select boards that are less prone to splitting and warping over time. Being aware of wood defects can guide you in avoiding compromised boards that might jeopardize your project’s success. Consider the moisture content of the wood, as properly dried lumber is less likely to warp or crack after construction. Avoid boards with extensive knots, cracks, or warping to guarantee a strong, reliable project.
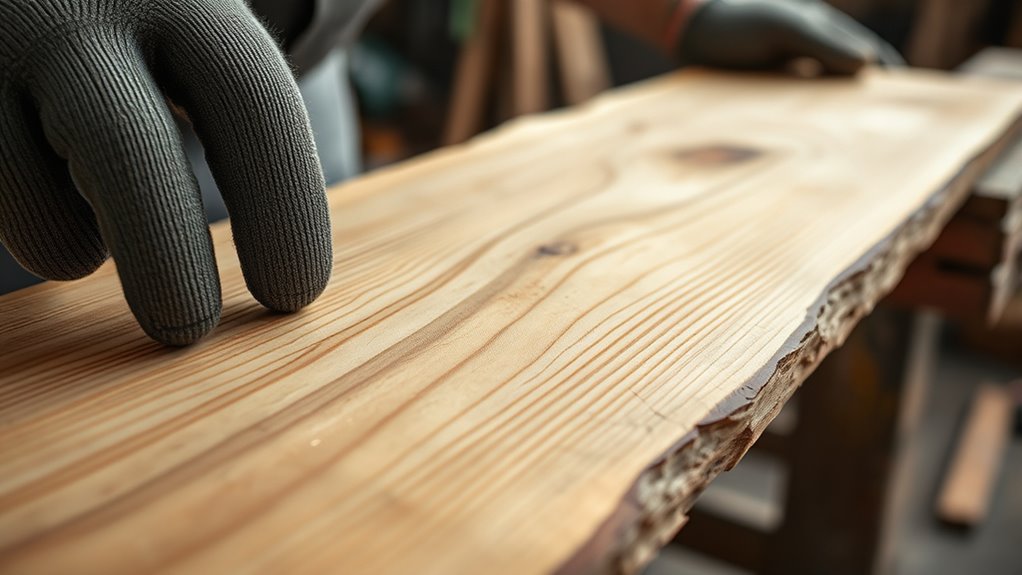
Warping and Cupping Checks
Warping and cupping can considerably weaken your wood, so it’s important to check for these defects before starting your project. Start by placing the board on a flat surface and sighting along each edge to spot warping or bowing. Examine the ends for cupping, which shows as a concave or convex shape. Look closely for visible cracks, splits, or twists that suggest structural issues. Run your hand along the surface to feel for uneven thickness or irregularities caused by warping. Be sure to perform warping checks on both sides of the board. If you detect cupping, twisting, or warping, set the board aside. Only select pieces with straight grain and stable surfaces to ensure your project’s durability and quality. Understanding wood quality can help you choose the best materials for your project. Additionally, inspecting for grain consistency can further ensure that the wood will behave well under stress and won’t warp after installation. Checking for moisture content is also crucial, as excess moisture can lead to future warping or cracking.
Surface Damage Inspection
To guarantee your wood pieces are suitable for your project, thoroughly inspect the entire surface for any visible defects. Look closely for surface damage like dents, scratches, gouges, or gouges that might affect the finish or strength. Check for knots, cracks, or splits, as these weaken the wood and could cause problems later. During inspection, also examine the edges and ends for warping, cupping, or unevenness, which signal moisture issues. Use a flat surface and sight along the edges to identify bows or twists. Setting aside boards with significant defects ensures you select the best quality for both durability and appearance.
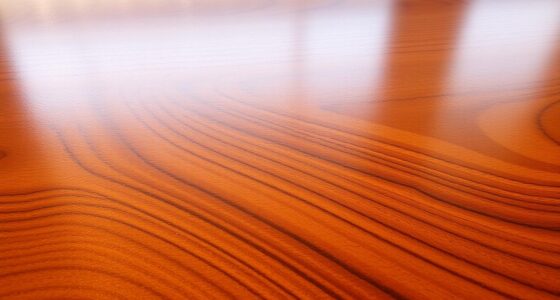
Consider Grain, Color, and Appearance
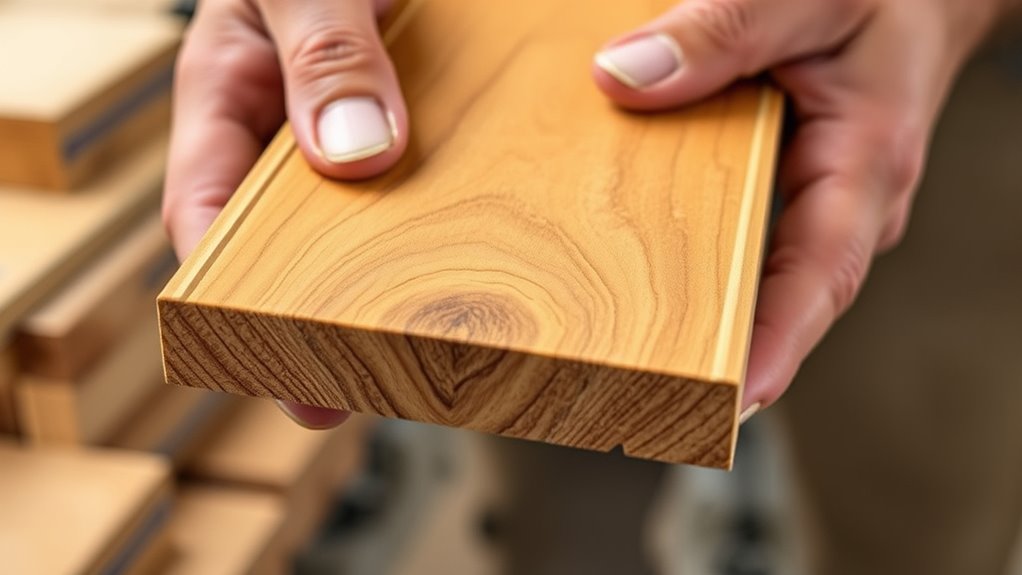
When choosing your first piece of wood, pay attention to the grain pattern and texture, as they influence the look and feel of your project. Consider how the wood’s color matches your vision—light woods like maple offer a uniform appearance, while darker woods like walnut provide richer tones. Picking a piece with a consistent grain and complementary color helps create a polished, cohesive final piece. Additionally, selecting a wood with desired moisture levels can help ensure your project remains stable over time.
Grain Pattern and Texture
Choosing the right wood for your project involves paying close attention to its grain pattern and texture, as these features substantially influence its appearance and stability. Grain patterns can be straight, wavy, or rift, each adding different visual appeal and affecting the grain surface’s stability. The grain texture varies from smooth and fine to coarse and pronounced, impacting how the wood feels and accepts finishes. Grain variation and character, such as cathedral or medullary ray figures, add unique charm to your piece. Enhancing the grain with clear finishes highlights its natural beauty and pattern, making the grain surface more attractive. Additionally, understanding Fokos helps in selecting woods with desirable grain pattern and texture, ensuring your project not only looks appealing but remains stable over time.
Aesthetic and Color Match
Selecting the right wood for your project involves considering how its color and grain pattern will complement your overall design. You want a wood selection that enhances the visual appeal and creates a cohesive look. Match the color of the wood to other materials, such as the warm reddish tone of cherry or the light, creamy hue of maple. Choose a grain pattern that aligns with your design—wavy oak for texture or straight walnut for sleekness. Think about how the grain and color will age; cherry develops a richer patina, while maple stays light. Highlight the grain with a clear finish to emphasize natural patterns and add depth. Overall, balancing color, grain, and appearance ensures your project looks harmonious and polished.
Ensure Proper Moisture Content and Dryness

Ensuring your wood has the proper moisture content is essential for a stable and durable project. Use a moisture meter to check that the moisture content is between 6-8% for indoor use, which minimizes warping and cracking. Kiln-dried lumber is ideal because it has a moisture level of around 6-12%, providing better stability than green or air-dried wood. Avoid green wood, which can have over 20% moisture, leading to shrinking and splitting over time. Properly dried wood resists seasonal changes, keeping its shape. Before using, allow freshly purchased lumber to acclimate in your workspace for at least 48 hours. This drying process helps stabilize moisture levels and ensures consistent wood stability throughout your project.
Choose the Best Piece and Prepare for Use

To get the best results, you need to pick a piece of wood that suits your project’s purpose and is free of defects. Focus on hardwoods like oak or maple for durability, and check for knots, cracks, or warping. Measure the actual dimensions with a tape measure, as nominal sizes can be misleading. Perform a thorough inspection by sighting along the grain to identify warping, splits, or other defects that could compromise quality. Organize your selection by grouping similar grain patterns and colors for a consistent finish. Prepare the wood by lightly sanding rough surfaces and pre-cutting if needed, ensuring it’s clean and ready for assembly. Use this table to guide your choice:
| Step | What to Check | Why It Matters |
|---|---|---|
| Inspection | Defects, warping | Structural integrity |
| Measure | Dimensions, grain | Fit and appearance |
| Preparation | Sanding, cutting | Smooth finish |
| Quality | Overall condition | Project durability |
| Grain | Consistency | Aesthetic uniformity |
Frequently Asked Questions
How Do I Choose the Right Wood Finish for My Project?
When choosing a wood finish, consider the wood type and desired look. For outdoor projects, pick weather-resistant finishes like marine varnish. For indoors, opt for oil or water-based finishes for a smooth surface. Test different finishes on scrap wood to see how they enhance the grain and color. Match the finish’s gloss level to your style, and verify it’s compatible with the wood’s porosity for a durable result.
How Do I Figure Out How Much Wood I Need for a Project?
Ever wonder how to figure out your wood needs? Start by measuring each piece’s length, width, and thickness, then multiply these to find the volume in cubic inches. Convert that to board feet by dividing by 144. Add 10-15% extra for waste and mistakes. Use your project plans to list all pieces, double-check dimensions, and purchase slightly more than calculated to guarantee you’re covered.
How to Buy Lumber for a Project?
When buying lumber for your project, you start by creating a detailed plan or sketch to identify the types and sizes of wood needed. Then, choose the right species based on durability and appearance. Measure and check each board in the store to match your specifications, inspecting for defects like knots or cracks. Organize your selections, buy extra to cover mistakes, and handle the wood carefully during transportation.
What Are the 5 Steps in Planning Your Wood Work Project?
When planning your woodworking project, start by creating a detailed sketch or plan to determine the exact sizes and types of wood you’ll need. Next, organize your list by grouping similar boards to make shopping easier and reduce waste. Measure your transport options to guarantee your wood fits comfortably. Allocate time at the store for quality checks, and finally, review your plan thoroughly before purchasing to avoid mistakes and delays.
Conclusion
Choosing your first piece of wood isn’t just about picking any board—it’s about setting a foundation for your craft, much like building a house on solid ground. Trust your assessment, pay attention to details, and select with care. Remember, even the finest wood can be flawed if mishandled, so approach each piece with patience and respect. As the wise carpenter once said, “A good foundation makes all the difference”—your project’s success starts here.