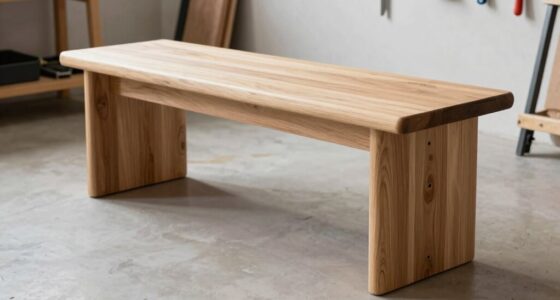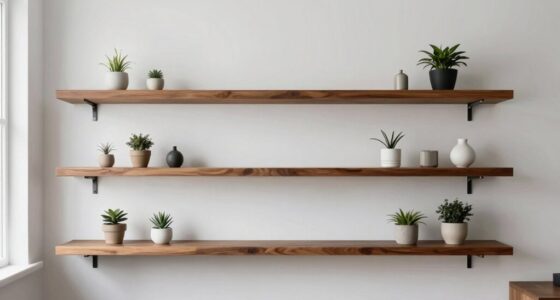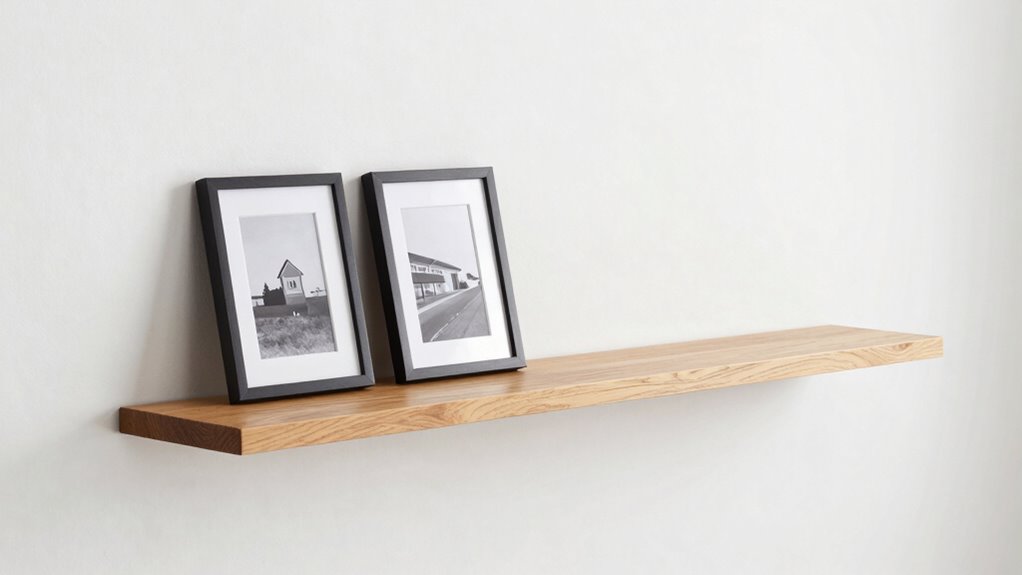

To create the simplest picture ledge that still looks custom, opt for a single, smooth wooden plank cut to your desired length. Use a level to mark the placement and secure it with discreet brackets hidden beneath the shelf or use floating ledges for a seamless look. Stain or paint the wood to match your decor for a polished finish. Keep it minimal yet personalized—more ideas to help you craft a stylish display await beyond this.

Get business pricing on tools and workshop supplies
- Business-only prices and quantity discounts
- Tax-exempt purchasing
- Multiple users, one account, clear invoices
Key Takeaways
- Use a single, smooth wood plank cut to desired length for a clean, minimalist look.
- Mount with discreet brackets or hidden supports for a seamless, custom appearance.
- Choose a neutral stain or paint to match your decor and enhance a personalized touch.
- Keep the design simple with no decorative trim or hardware visible for a sleek aesthetic.
- Arrange photos or artwork casually on the ledge for a relaxed, yet curated, display.

Have you ever wondered how to display your favorite photos or artwork without cluttering your space? A picture ledge is a perfect solution, offering a sleek way to showcase your collection while keeping things organized. The best part? You can create a simple yet stylish ledge yourself with minimal effort, thanks to DIY installation. This approach not only saves you money but also lets you customize the look to match your decor perfectly.
When it comes to material options, you have plenty of choices that suit different styles and skill levels. Wood is the classic pick—smooth, sturdy, and easy to work with. Pine or cedar are affordable and lightweight, making installation straightforward. If you want a more modern vibe, consider using MDF or pre-finished plywood, which come in a variety of finishes and are easy to cut to size. For a touch of elegance, metal brackets paired with a wooden shelf can lend an industrial or contemporary feel. Even reclaimed materials or floating shelves made from sturdy glass can work if you’re aiming for a unique look.
Installing your picture ledge is simple, especially if you opt for a DIY approach. First, measure the length of the wall where you want your ledge to sit, then cut your chosen material to size. To make the installation seamless, use a level to mark where the brackets or supports will go. Anchors or screws secure the ledge to the wall, and choosing the right hardware depends on your wall type—drywall, plaster, or brick. If you’re unsure, pre-drilling holes and using wall anchors will give your shelf extra stability. Once mounted, you can place your photos, artwork, or decorative pieces on the ledge, leaning or propping them up for an effortless display. Additionally, considering a variety of mounting hardware can ensure your ledge stays secure and safe over time. To further enhance its appearance, you might also explore decorative trim options to give your ledge a more finished look. Moreover, selecting hardware that is designed specifically for weight capacity can help prevent accidents and ensure your display remains secure. Remember that understanding the materials used is key to choosing the right hardware and finishing touches.
Measure, mark, and secure your ledge for an easy, stylish display setup.
A key advantage of this simple project is how versatile it is. You can paint or stain the wood to match your room’s color scheme, or leave it natural for a more rustic look. Because it’s a floating or supported ledge, rearranging your artwork is quick and easy—no need to drill new holes. Plus, the minimalist design means it won’t overpower your space, giving your favorite pieces room to breathe. Whether you’re decorating a living room, bedroom, or hallway, this picture ledge adds a personalized touch without feeling cluttered or overwhelming. With just a few tools and some basic materials, you can craft a custom-looking display that elevates your space effortlessly.
As an affiliate, we earn on qualifying purchases.
Frequently Asked Questions
What Materials Are Best for a DIY Picture Ledge?
For a DIY picture ledge, you should choose materials like pine or MDF because they’re affordable and easy to work with. These picture ledge styles are simple to customize, and using basic tools, you can cut and sand them smoothly. Follow DIY project tips like measuring carefully and securing brackets properly. This way, your picture ledge will look polished and stylish, fitting seamlessly into your space.
How to Securely Mount a Picture Ledge on Different Wall Types?
To securely mount a picture ledge on different wall types, start with wall anchoring suited for your surface—use toggle bolts for drywall, masonry anchors for brick or concrete, and appropriate screws for wood. Always follow safety tips by checking the wall’s weight capacity and ensuring anchors are properly installed. Use a level to keep the ledge straight, and double-check stability before placing your pictures. This approach guarantees a safe, lasting display.
Can a Picture Ledge Be Customized for Specific Decor Styles?
Yes, you can customize a picture ledge to match your decor style. For a modern look, choose sleek materials and add gallery lighting to highlight your art. For a cozy, eclectic vibe, incorporate decorative accents like vintage frames or colorful objects on the ledge. You can also paint or stain the ledge to blend seamlessly with your wall color, creating a personalized display that complements your overall interior design.
What’s the Ideal Length and Depth for a Picture Ledge?
Imagine a slender shelf, like a whisper on your wall, about 3 to 4 feet long to showcase a curated collection. For depth, 4 to 6 inches offers enough space for artwork without overwhelming the room. Incorporate gallery lighting to highlight pieces, and choose a wall color that complements your decor. This balance guarantees your ledge blends seamlessly, adding charm while letting your art take center stage.
How to Prevent Pictures From Slipping off the Ledge?
To prevent pictures from slipping off your ledge, lean them slightly backward, creating natural pressure that keeps them in place. Use small, unobtrusive museum-grade clips or adhesive strips for extra security if needed. Incorporate gallery lighting to highlight your displays and confirm wall color coordination to reduce visual clutter. This approach maintains a sleek, custom look while ensuring your artwork stays securely on your picture ledge.
Conclusion
You’ve seen how a simple picture ledge can transform your space without the fuss. It’s a quick fix that looks custom, yet costs next to nothing. With just a few supplies and a little effort, you can create a stylish display that’s all your own. Remember, sometimes the simplest things pack the biggest punch—don’t judge a book by its cover. So go ahead, give it a try and let your walls do the talking!
Fall yard work Picks
leaf blowers
As an affiliate, we earn on qualifying purchases.