To build a better utility rack from basic materials, start by selecting durable items like galvanized pipes for the frame and reclaimed wood or pallets for shelves. Use adjustable shelves, hooks, and pegboards for flexible, organized storage. Assemble with a drill, screws, and brackets, ensuring stability with cross-bracing or supports. Opt for casters if you want mobility. Following these steps, you’ll create an adaptable, space-maximizing rack; learn more to perfect your design.

Get tools and workshop supplies delivered free — and shop member deals
- Fast, free delivery on millions of items
- Access to Prime Big Deal Days deals on October 6–7
- Prime Video, Amazon Music and more included
Key Takeaways
- Use reclaimed wood or pallets for cost-effective, rustic shelving and support surfaces.
- Incorporate adjustable shelves and hooks for versatile, customizable storage options.
- Reinforce the frame with galvanized pipes and metal brackets for stability and durability.
- Add casters or feet to enable mobility or fixed positioning based on workspace needs.
- Prioritize proper assembly with secure fasteners and cross-bracing to ensure safety and longevity.
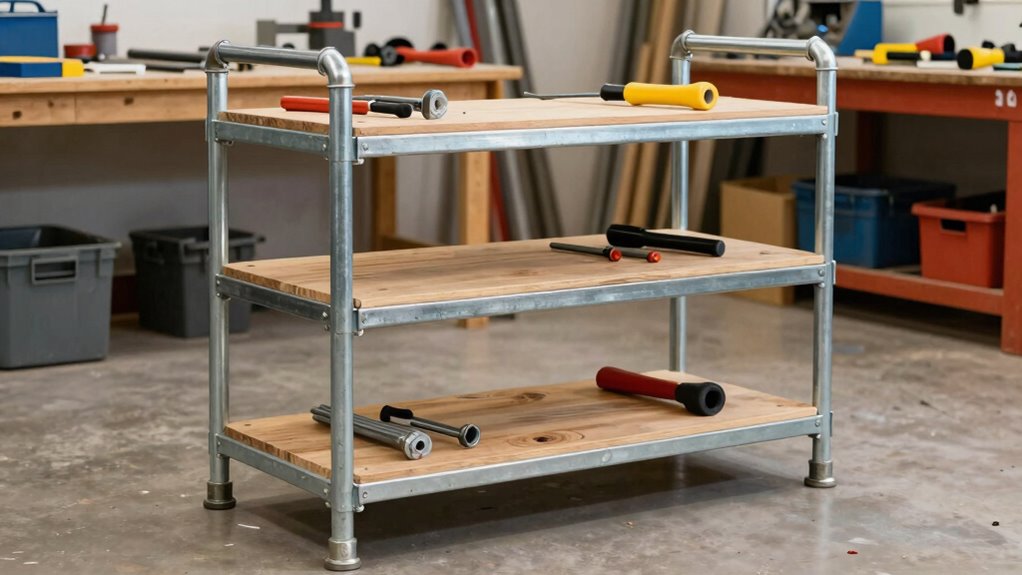
Building a utility rack from basic materials is a practical way to organize your workspace or garage without spending a fortune. When you’re designing your rack, think about innovative storage solutions that maximize space and functionality. This approach guarantees your rack isn’t just a simple frame but a customized storage system that adapts to your needs.
Create a versatile, customized storage system with adjustable shelves, hooks, and compartments to maximize space and organization.
Material selection plays a vital role in how durable and versatile your utility rack will be. You want materials that are strong enough to hold heavy tools or supplies but also easy to work with. For example, steel or galvanized pipes are excellent choices because they’re sturdy and resistant to rust, making them suitable for long-term use. Wooden pallets or reclaimed wood can also serve as a cost-effective option, especially if you’re aiming for a more rustic look. Just make sure to sand down rough edges and treat the wood for added durability. Plastic crates or bins can be integrated into your design for versatile, easily removable storage. Additionally, considering material strength can help ensure your rack supports the weight of your intended items.
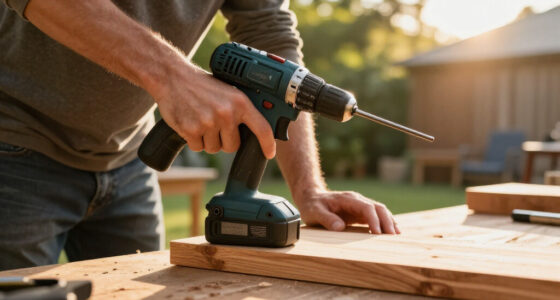
When you’re gathering your materials, keep in mind how you’ll assemble the rack. Using basic tools like a drill, screws, and brackets, you can create a sturdy frame that supports your storage needs. If you want to add a bit of extra stability, consider cross-bracing with metal rods or additional supports. Think about the height of your rack and whether you want it to be mobile or fixed in place. Casters can make it easy to move your rack around, especially if you need flexibility in your workspace. Additionally, choosing durable materials ensures your rack remains functional over time and withstands daily wear and tear. Incorporating ergonomic design principles can also improve accessibility and reduce strain during use. Paying attention to proper assembly techniques can further enhance the longevity and safety of your rack.
As you put everything together, focus on creating a clean, organized layout. Use hooks or pegboards attached to the frame for hanging tools and smaller items. Incorporate adjustable shelves that can be repositioned as your storage needs change. Remember, the key to a better utility rack is not just its strength but how well it helps you keep your space tidy and accessible. With careful material selection and a bit of ingenuity, you’ll end up with a custom storage solution that’s both functional and cost-effective, making your workspace more efficient and less cluttered.
As an affiliate, we earn on qualifying purchases.
Frequently Asked Questions
What Safety Precautions Should I Take During Construction?
You should wear safety gear like goggles, gloves, and a dust mask to protect yourself during construction. Always stay aware of hazards, such as sharp tools or falling objects, and keep your workspace organized. Use tools properly and follow safety instructions to prevent accidents. Keep a first aid kit nearby, and work in a well-ventilated area. Staying alert and cautious reduces risks and guarantees a safe building process.
How Do I Customize the Rack for Different Tools?
Customizing your rack is like tailoring a suit to fit perfectly. You can add adjustable shelves or hooks to suit different tools, ensuring tool organization and storage flexibility. Use removable or adjustable components so you can reconfigure the rack based on your needs. Incorporate different-sized compartments for small tools and larger sections for power tools. This way, your rack adapts easily, keeping everything organized and accessible.
What Are the Best Locations to Install the Rack?
You should install the rack in areas that maximize storage organization and accessibility, like garage walls or workshop corners. Choose a location close to your main work zone for convenience. Follow installation tips such as mounting on studs for stability and avoiding high-humidity spots to prevent rust. Make certain the rack is at a comfortable height for easy tool access, making your workspace more efficient and organized.
Can I Modify the Design for Heavier Items?
You can modify your rack for heavier items by reinforcing its structure, much like beefing up a bridge to bear more weight. Focus on increasing material strength—switch to thicker, more durable wood or metal, and add extra support brackets. For example, doubling the number of crossbars can considerably boost weight capacity, ensuring your utility rack holds heavier tools safely without risking collapse or damage.
How Do I Maintain or Clean the Utility Rack?
To keep your utility rack in top shape, regularly clean it using gentle cleaning tips like wiping with a damp cloth and mild soap. Establish a maintenance schedule, such as once a month, to inspect for rust or loose parts. Keep it dry and free of debris to prevent deterioration. Consistent cleaning and timely upkeep guarantee your rack stays sturdy and functional for years to come.
Conclusion
By building your own utility rack from basic materials, you not only save money but also create a customized storage solution that suits your needs. Did you know that DIY projects like this can reduce clutter by up to 30%, making your space more organized and efficient? With a few simple tools and some creativity, you can transform common materials into a sturdy, functional rack that lasts. Get started today and enjoy the satisfaction of a job well done!
Halloween Picks
halloween
As an affiliate, we earn on qualifying purchases.