TL;DR
Placing your rig in a closet can improve sound quality and reduce noise, but only if you handle dampening, placement, and ventilation smartly. Proper sealing, absorption, and airflow are key to a quiet, effective space.
Ever wondered if a closet can double as a vocal booth? The answer is yes — if you know how to treat it right. Most people think more foam or thicker drywall is the fix. But the real magic lies in smart placement, proper dampening, and ventilation. But the real magic lies in smart placement, proper dampening, and ventilation.
This guide cuts through the noise. You’ll learn how to make your closet quieter, sound better, and stay cool — without overhauling your entire room. Whether you want crisp vocals or reduce equipment noise, these tricks will make a difference.
Acoustic dampening
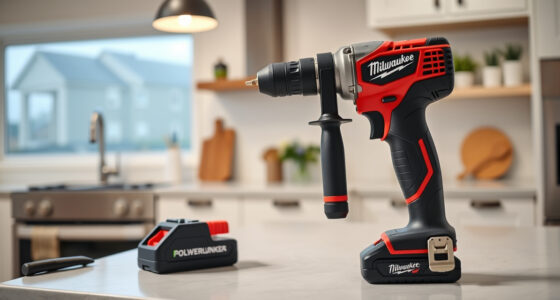
& the rig in the closet.
The most powerful noise fix isn’t a material — it’s a floor plan. A rig you can’t hear because it’s in another room beats any amount of foam. Tap the approaches in Part 1 to see what actually works.
(another room)
(levers 1–4)
(door / barrier)
(acoustic foam)
Contain the noise, not the heat
Key Takeaways
- In small spaces, bass traps and corner absorption are vital for clear recordings.
- Sealing gaps and covering reflective surfaces greatly improve isolation without expensive builds.
- Placement matters: treat the wall behind your mic and the ceiling to tame reflections.
- Ventilation is essential — a sealed closet traps heat, risking hardware damage.
- Quick fixes like blankets and rugs can dramatically cut noise and reflections at low cost.
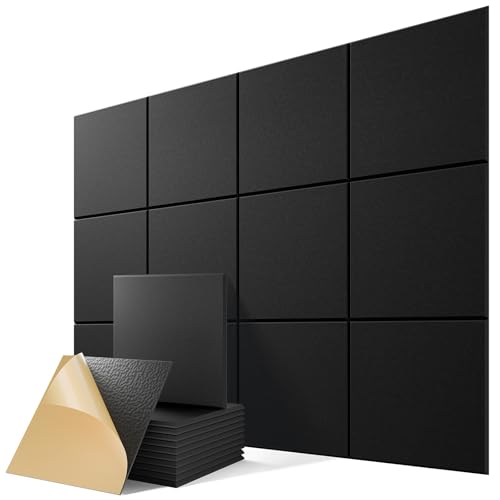
12 Pack Self-Adhesive Acoustic Panels, 12" X 12" X 0.4" High-Density Sound Proof Foam Panels for Walls, Soundproof Wall Panels for Home & Office (Black)
- Effective Noise and Echo Reduction: Absorbs noise and minimizes echo
- Easy Peel-and-Stick Installation: Quick DIY setup without tools
- Premium Eco-Friendly Material: Made of durable, eco-friendly polyester fiber
As an affiliate, we earn on qualifying purchases.
As an affiliate, we earn on qualifying purchases.
Why a Closet Can Actually Improve Your Recordings (And When It Won't)
Closets can be surprisingly good for recordings — if you understand their strengths and limits. They naturally block outside noise, reduce echo, and can become focused vocal spaces with some treatment. But they can also trap low frequencies and heat up fast if not managed.
For example, a friend used a small closet to record vocals. By adding a blanket over the door and some foam panels, her voice sounded clearer and less echoey. You can learn more about acoustic dampening and placement. But her bass was boomy until she added corner traps. It’s all about understanding what your closet does best and fixing the weak spots.
How to Place Acoustic Materials for Real Results in a Small Space
Effective placement is the secret to making a closet work. Start by focusing on the wall behind the mic. Put absorption panels there to cut down on reflections. You can also explore acoustic dampening placement for better results. Start by focusing on the wall behind the mic. Put absorption panels there to cut down on reflections. Next, target side walls and ceiling, especially if they’re reflective surfaces like bare drywall or metal shelves.
For example, hanging a foam panel directly behind your mic can cut early reflections by over 50%. Covering the ceiling with a soft cloth or foam can tame flutter echoes. Remember: strategic placement beats just buying more panels.
Where Bass Traps and Thick Absorbers Make the Biggest Difference
Bass buildup is a common problem in tiny spaces. Installing bass traps in the corners can cut boominess by up to 60%. For more tips, see bass trap placement. Low frequencies bounce around, making your recordings muddy. Installing bass traps in the corners can cut boominess by up to 60%. Thick panels or rockwool are excellent for this, especially in the corners of your closet.
Take the example of a DIY musician who added corner traps made from mineral wool. Her vocal recordings cleared up instantly, and her guitar tone became more defined. In small rooms, bass traps are worth their weight in gold.
How to Seal Gaps and Block Sound Leaks from Your Closet Door
Gaps around the door or cracks in the walls are major weak points. Sealing these with weatherstripping or a heavy curtain makes a big difference. Learn more about soundproofing gaps. Sealing these with weatherstripping or a heavy curtain makes a big difference. For example, adding a thick blanket over the door can reduce sound leakage by 20-30%. Covering the floor with a rug also cuts down impact noise and reflections.
In practice, sealing gaps turned a noisy closet into a much quieter space — even without adding extra panels. These simple fixes are often the most cost-effective way to improve isolation.
DIY vs. Permanent: When to Build a Vocal Booth in Your Closet
DIY solutions like hanging blankets or installing foam are quick and cheap. But they only go so far. For serious work, consider building a permanent booth or installing soundproof drywall. These methods drastically cut outside noise and reduce low-frequency leaks.
The tradeoff? Cost and effort. A quick setup can improve your recordings immediately, but a dedicated booth with proper damping and insulation can turn your closet into a pro-level studio.
How to Keep Your Rig Cool and Quiet in a Closet Setup
A sealed closet traps heat, which can melt your hardware over time. To prevent overheating, ensure your space has active ventilation — like a quiet exhaust fan or passive vents. For more on cooling solutions, visit cooling tips for audio rigs. To prevent overheating, ensure your space has active ventilation — like a quiet exhaust fan or passive vents. For example, installing a small ducted exhaust fan can keep the temperature stable while still muffling noise.
Check out [this guide](https://thorstenmeyerai.com/reduce-heat-noise-ai-workstation/) for more on cooling solutions. Without proper airflow, your rig might throttle and ramp up noise or even shut down.
How to Use Placement and Dampening to Maximize Your Closet’s Potential
Combine strategic placement with dampening materials for best results. Keep the mic away from reflective surfaces, point it toward absorption-treated walls, and use soft furnishings to tame reflections. A rug under your chair, a blanket draped nearby, and foam panels behind the mic can drastically improve sound quality.
For example, placing a large blanket over the closet door and a foam panel behind the mic made her vocals sound studio-quality, even in a tiny space.
Quick Fixes vs. Big Investments: What’s Worth It?
Sealing gaps, hanging blankets, and adding rugs are quick wins that cost little but deliver noticeable improvements. Larger investments like bass traps, drywall upgrades, or custom soundproofing cabinets take time and money but pay off in sound clarity and isolation.
For example, sealing every crack and hanging a thick blanket can cut noise by nearly 50%, enough for most hobbyist needs. For professional-grade recordings, investing in bass traps and soundproof walls makes a real difference.
The Biggest Mistakes People Make with Closet Soundproofing
Relying solely on foam panels is a common error. Foam absorbs reflections but does little to block low-frequency leaks or outside noise. Also, ignoring door gaps and floor reflections hampers your efforts.
For example, a hobbyist added foam panels but still heard street noise. It turned out his door had a big crack at the bottom. Sealing it with weatherstripping made a bigger difference than all the foam combined.
Frequently Asked Questions
Will a closet actually improve my vocal recordings?
Yes, in most cases, a closet can reduce echo and reflections, making vocals sound clearer. Just add some absorption behind the mic and seal gaps around the door for best results.Where should I place acoustic panels in my closet booth?
Focus on the wall behind the mic, side walls, and ceiling. Placing panels strategically reduces early reflections and flutter echoes, especially near the mic and ceiling.Do bass traps matter in such a small space?
Absolutely. Bass traps in corners can cut low-frequency boom by up to 60%, which is key for clean recordings in tiny closets.Is acoustic foam enough, or do I need blankets or drywall?
Foam helps with reflections, but for isolation and low-frequency control, blankets, curtains, or drywall upgrades are more effective.How do I stop sound from leaking through the closet door?
Seal gaps with weatherstripping, hang a heavy curtain, or add a blanket to block sound leaks. Covering the floor with a rug also helps reduce impact noise.Conclusion
Turning a closet into a decent recording space isn’t about overhauling. It’s about smart placement, sealing leaks, and managing heat. With these simple steps, you can create a quiet, effective space for vocals or equipment.
Remember: the best soundproofing isn’t just about blocking noise. It’s about controlling reflections and keeping your gear cool. Your closet can become a hidden gem in your audio setup — just treat it right.