
To showcase your work effectively, plan your shot list with clear angles, formats, and details to guarantee thorough coverage. Use composition techniques like the Rule of Thirds and experiment with angles to add visual interest. Harness natural light during golden hours and pay attention to backgrounds and settings that complement your subject. Maintain consistency in your style and update your portfolio regularly to reflect growth and new techniques. Keep exploring to open more tips for impactful photography.
Key Takeaways
- Curate a cohesive, high-quality portfolio by regularly updating images and maintaining consistent style and editing techniques.
- Showcase a variety of shot types, angles, and lighting conditions to highlight your versatility and technical skill.
- Use natural light and environmental elements to add depth, mood, and storytelling to your images.
- Organize your work systematically in folders, making it easy to update and present a polished collection.
- Collaborate early with clients and plan your shots with detailed frameworks to ensure impactful, well-executed photographs.

Findbuytool Carbide Inserts cutters (15x15x2.5mm-30°-R150-4R0.5) Insert for Woodworking Helical Cutter Head Tools, 10 Pcs (10)
{Product Contains}:10pcs Carbide Insert Knife 15x15x2.5mm-30°-R150-4R0.5 for Helical Cutterhead.
As an affiliate, we earn on qualifying purchases.
Planning Your Shot List for Maximum Impact

To create a shot list that delivers maximum impact, start by developing a centralized framework that organizes all your planned shots. Use a single document or board to keep everything accessible and easy to update. Incorporate essential oils into your planning process to ensure that all aspects of your subject are effectively highlighted. Include details like shot angles, formats, and arrangements so you cover every aspect of your subject. Break down shots by elements such as product angles, camera positions, and lighting needs. Use checklists or to-do lists to track progress and make certain nothing gets missed. Collaborate with clients or team members early on to brainstorm creative options and stay aligned with your project’s vision. Conducting thorough market research can help you understand current trends and audience preferences, making your shots more compelling. Researching popular lighting techniques can dramatically enhance the mood and visual impact of your photos. Exploring different shot compositions can help you craft more engaging and visually appealing images. Additionally, considering gelato flavors and presentation styles can inspire creative composition and styling. This organized approach helps you plan efficiently, minimizes confusion, and ensures you capture all essential shots for a compelling final result.

POWERTEC 14.3mm Carbide Inserts Cutter Knives for Spiral & Helical Cutterheads - Fits Wen PL1326, JT630H & Rikon 25-130H, Tungsten Carbide Replacement Blades for Planer and Jointer (14301)
INCLUDES: (10) Carbide Insert Blades
As an affiliate, we earn on qualifying purchases.
Mastering Composition With the Rule of Thirds and Angles

Mastering composition begins with understanding how the Rule of Thirds guides your framing to create more engaging images. This technique divides your frame into nine equal parts with two vertical and two horizontal lines. Key elements should align with these lines or their intersection points, called “power points,” to boost visual interest.
Positioning your subject off-center adds energy and makes the shot more dynamic, avoiding dull, centered compositions. For landscapes, place horizons on the top or bottom thirds, and for portraits, align eyes with a horizontal line.
Experiment with angles—high, low, or tilted—to deepen storytelling and evoke emotion. Combining these angles with the rule of thirds enhances visual interest and balance, making your images more compelling. Additionally, understanding how visual balance and market trends influence viewer preferences can help you craft more impactful photographs that resonate with your audience. Recognizing the importance of technical specifications, such as camera settings and equipment, can also significantly improve the quality of your images. Incorporating proper lighting techniques further elevates the visual appeal of your photos. Exploring creative framing techniques can also add unique perspectives and artistic flair to your compositions.

2733-20 M18 Fuel, 7-1/4", Dual Bevel, Sliding, Compound Miter Saw
Increases productivity and efficiency
As an affiliate, we earn on qualifying purchases.
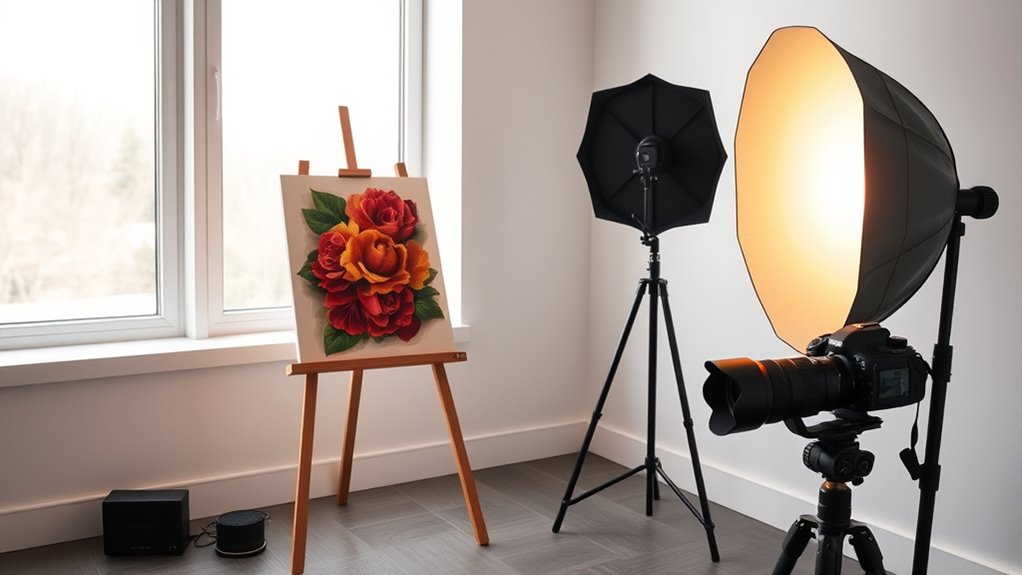
Harnessing Natural Light to Enhance Your Work

Harnessing natural light can dramatically improve your photographs by adding warmth, depth, and authenticity. The sun’s position throughout the day influences color temperature and shadow quality, so timing your shoot is key. Using natural light effectively can make a significant difference in your images. Golden hours—shortly after sunrise and before sunset—offer soft, warm light that flatters portraits and enhances colors. Midday sun creates harsh shadows and cooler tones, but you can soften this with reflectors or modifiers. Overcast days provide diffuse light, reducing shadows and producing even illumination ideal for skin tones and products. Understanding sound design principles such as layering and manipulation can inspire creative approaches to lighting and composition. Use natural elements like trees or blinds to create interesting shadows. Position your subjects near windows for side lighting that adds depth. Additionally, staying informed about AI advancements can help you explore innovative tools for editing and enhancing your photographs. Leveraging lighting control techniques allows you to better manipulate natural light conditions and achieve your desired artistic effect. Recognizing ice cream flavors and their visual appeal can also inspire colorful and enticing setups for food photography. By understanding these characteristics, you can control and maximize natural light to elevate your work’s visual impact.

BOSCH GCM18V-07SN14 PROFACTOR™ 18V 7-1/4 In. Single-Bevel Slide Miter Saw Kit with (1) CORE18V 8 Ah High Power Battery
PROFACTOR PERFORMANCE: A truly mobile jobsite solution, this saw provides light weight and pro capacity
As an affiliate, we earn on qualifying purchases.
Capturing Close-up Details to Highlight Craftsmanship

Capturing close-up details allows you to showcase the craftsmanship and intricate features of your subject with striking clarity. Use a DSLR or mirrorless camera for better control over focus and depth of field, and consider macro lenses or extension tubes to capture fine details without distortion. Manual focus is ideal for precise control over intricate features. Natural, soft light from shaded areas or large windows helps reveal textures without harsh shadows, while diffusers and reflectors can balance lighting and soften shadows. Frame your shot to isolate specific details, and employ a shallow depth of field to make craftsmanship stand out against blurred backgrounds. A tripod stabilizes your camera, preventing shake and ensuring sharpness. Incorporating professional equipment can significantly improve the quality of your close-up shots, making intricate details more vivid and engaging. These techniques highlight the skill and detail in your work effectively.
Documenting the Creative Process Through Progressive Shots
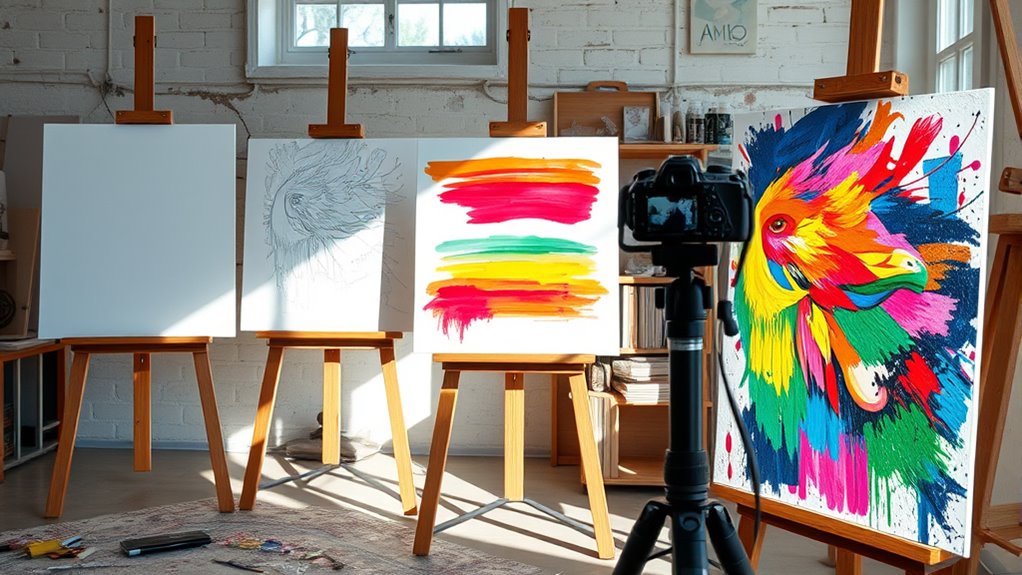
Documenting the creative process through progressive shots allows you to tell a compelling visual story of your work’s evolution. To do this effectively, schedule sessions around key stages, capturing meaningful moments without disrupting your flow. Allocate enough time—around three hours per session—to photograph multiple phases or pieces. Use intervals like time-lapse or real-time videos to show transformation over time, experimenting with shot frequency to find a rhythm that feels natural. Keep your camera steady with simple supports, and position lighting above your work to highlight textures and colors accurately. Vary your shots—close-ups, wide, and mid-range—to showcase layers and progress. Incorporating consistent documentation techniques can enhance your storytelling and ensure your creative journey is clearly conveyed. Additionally, maintaining proper mental clarity and health during your sessions can help you stay focused and motivated throughout the project. Being aware of support hours from entertainment venues like SeaWorld or Dutch Wonderland can help you plan your sessions during times when the environment is less crowded, allowing for better focus and less interruption. Paying attention to your mindset and focus can significantly improve the quality and coherence of your documentation. Moreover, understanding best anime movies can inspire creative storytelling approaches in your work.
Incorporating Environmental Context to Tell Your Story

Incorporating environmental context into your photography enriches your storytelling by revealing the relationship between subjects and their surroundings. Use natural elements like wind, rain, or snow to show how nature interacts with the landscape or wildlife, adding depth to your images.
Capture animals in action—birds in flight or predators hunting—to highlight survival and adaptation. Include dynamic weather conditions, such as storms or sunsets, to boost the narrative.
Utilize natural light—golden hour or overcast days—to create mood and atmosphere. Incorporate unique geological features like waterfalls or canyons to add visual interest.
Show human connection by featuring hikers, fishermen, or small structures, emphasizing how people engage with nature. These elements combine to tell compelling stories rooted in the environment.
Using Creative Angles to Add Visual Interest
Using creative angles in your photography allows you to transform ordinary scenes into visually compelling images.
Experimenting with creative angles transforms ordinary scenes into captivating, visually compelling images.
Low angle shots, where you position the camera below the subject, emphasize size and power, adding grandeur and drama—perfect for portraits or architecture.
High angle shots, from above, make subjects appear smaller and vulnerable, providing a sense of context and storytelling.
The Dutch tilt, tilting the camera around 30 degrees, injects energy and tension, creating a dynamic feel suited for fashion or action shots.
Extreme close-ups focus on minute details like textures or eyes, offering intimacy and abstraction.
Lastly, super wide-angle perspectives distort proportions and exaggerate foreground elements, adding humor or impact.
Experimenting with these angles introduces fresh perspectives that captivate viewers and elevate your work.
Selecting Backgrounds and Settings That Complement Your Work

Choosing the right background and setting is essential to making your photos stand out and convey your intended message. Start by selecting background colors that match your subject’s mood. Bright colors boost energy and positivity, perfect for portraits or products, while neutral tones keep the focus on your subject. Dark backgrounds create a dramatic, introspective vibe, ideal for low-key lighting. Pastels add elegance, suitable for fashion or artistic portraits.
Consider lighting effects too; high-key lighting with white backgrounds emphasizes clarity, while low-key lighting adds depth with shadows. Choose backdrop types that suit your style—seamless paper for simplicity, textured backgrounds for depth, or natural settings for authenticity.
Position your subject thoughtfully—maintain distance to avoid shadows, use negative space, and focus on creating a balanced, compelling scene.
Ensuring Consistency and Quality in Portfolio Images
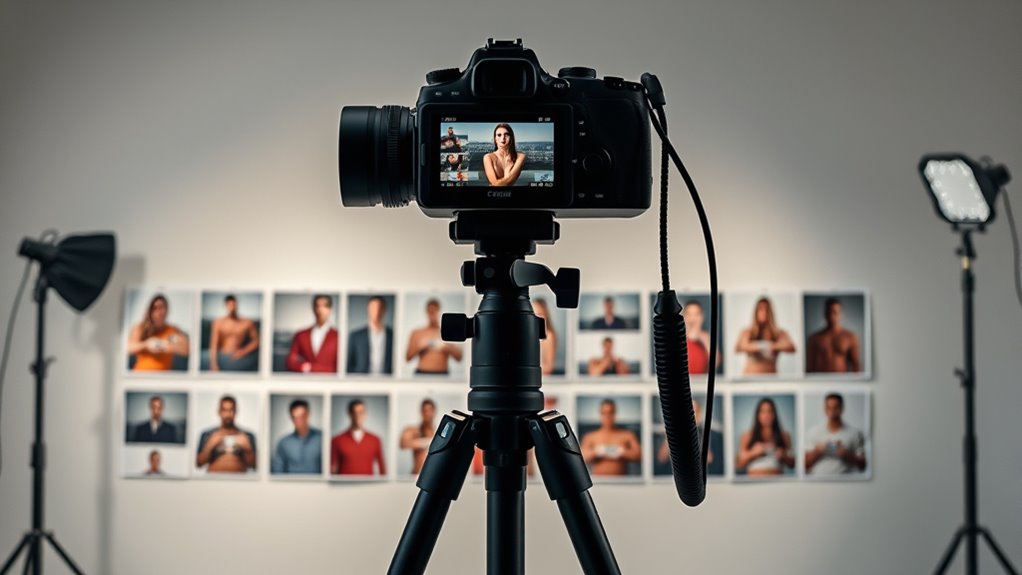
Maintaining consistency and quality across your portfolio images is essential for establishing a professional and cohesive brand identity. You should choose a unified color scheme and stick to it throughout your portfolio. Use a consistent composition style and lighting setup to create visual harmony. Developing a signature editing style, including specific filters and adjustments, helps reinforce your brand.
Always use the same editing software and presets to avoid visual dissonance, and review images side-by-side to identify inconsistencies. When shooting, maintain similar lighting conditions and avoid mixing different types of light.
Prioritize high-resolution images, check focus and exposure, and crop uniformly for a tidy presentation. Use standardized sizes, borders, and backgrounds to ensure your portfolio looks polished and professional from start to finish.
Regularly Updating Your Portfolio to Reflect Growth

Regularly updating your portfolio showcases your growth as a photographer and keeps your work fresh for potential clients. It acts as a visual resume, reflecting your evolving skills, styles, and projects.
Regularly updating your portfolio highlights growth and keeps your work appealing to potential clients.
By staying current, you demonstrate active engagement with your craft and highlight recent work that appeals to clients looking for fresh talent. Aim to refresh your portfolio every 3-6 months, with more frequent updates if you’re highly active.
Use organized folders and add standout images promptly, replacing older or weaker work. Incorporate new techniques and themes to tell your story of growth.
An updated portfolio not only projects professionalism but also attracts inquiries by aligning your work with current market trends. Consistent updates show your dedication and ongoing creativity, boosting your reputation.
Frequently Asked Questions
How Can I Make My Portfolio Stand Out Among Competitors?
To make your portfolio stand out among competitors, focus on showcasing your unique style and versatility. Select your best, most diverse work, and organize it thoughtfully into themed galleries or sequences that tell a story.
Include behind-the-scenes content and client testimonials to build trust, and keep your portfolio fresh by regularly updating and refining it based on feedback. This approach highlights your strengths and keeps your work relevant and engaging.
What Are the Best Practices for Photographing Large or Bulky Items?
Photographing large or bulky items is like capturing a giant’s silhouette—you need the right approach. Use a wide-angle lens or shoot outdoors to fit the entire piece.
Make certain your background is simple and clutter-free, with ample space around the product. Keep lighting soft, natural if possible, and use a tripod for stability.
Capture multiple angles, including close-ups of details, to showcase the item’s full dimensions and craftsmanship effectively.
How Do I Effectively Showcase the Scale of My Work?
To effectively showcase the scale of your work, include recognizable reference objects like people or familiar items to give viewers a sense of size.
Use composition techniques such as leading lines, perspective, and wide-angle lenses to emphasize depth and contrast.
Play with shadows and lighting to add three-dimensional cues, and capture entire scenes rather than close-ups.
Elevate your perspective with drone shots or high vantage points to clearly illustrate the size and context of your work.
What Equipment Is Essential for High-Quality Product Photography?
For high-quality product photos, you need a good camera, like a DSLR or a smartphone with a high-resolution camera.
Use a sturdy tripod to keep shots sharp and consistent.
Proper lighting is essential—use natural light, reflectors, or diffusers to eliminate shadows and color shifts.
A clean backdrop keeps the focus on your product.
Accessories like remote triggers can help capture perfect images without camera shake.
How Can I Optimize Images for Online Galleries and Social Media?
Ever wondered how to make your images stand out online? You should compress your images to 200-500KB using tools like Optimizilla or Squoosh, choosing formats like WebP or AVIF for faster loading without quality loss.
Resize images to match display needs, crop strategically, and use descriptive filenames and alt text for SEO.
Test across devices, and tailor image sizes to each platform’s specifications to boost engagement effortlessly.
Conclusion
By applying these tips, your portfolio will become a vibrant gallery, each image a window into your creative journey. Picture your work illuminated by natural light, captured from intriguing angles, and set against backgrounds that make every detail pop. Keep your images fresh and consistent, like a well-curated exhibition that evolves with your growth. With each shot, you’re painting a compelling visual story that invites viewers to explore and connect with your artistry.