
To transform a plain box into a marquetry masterpiece, start by selecting contrasting wood veneers and sketching your design onto the surface. Carefully cut the veneer pieces, then inlay them precisely into carved or marked areas using glue. Trim excess veneer for sharp lines, fill gaps for clarity, and layer small inlays for detail. Finish with varnish to protect and highlight your work. If you keep exploring, you’ll discover even more techniques to perfect your craft.
Key Takeaways
- Sketch your desired design on paper and transfer it accurately onto the box surface.
- Carefully cut and prepare contrasting veneer pieces following your pattern with precision.
- Use thin adhesive to inlay veneer pieces into carved or marked areas, ensuring flush and aligned placement.
- Trim excess veneer and fill gaps for clean, crisp lines, adding small inlays for intricate details.
- Finish with a protective coat of varnish or lacquer to enhance durability and showcase craftsmanship.

If you’ve ever admired intricate marquetry and wondered how to create it yourself, transforming a plain box into a stunning masterpiece is a rewarding project that combines artistry with craftsmanship. The key to achieving detailed, beautiful designs lies in understanding how to work with wood veneer and mastering inlay techniques. Wood veneer, thin slices of high-quality wood, allows you to create elaborate patterns without the bulk of solid wood. It’s the perfect material for fine detail and precision, enabling you to craft complex images and motifs on your box’s surface.
Master the art of marquetry using wood veneer and precise inlay techniques for stunning, detailed designs.
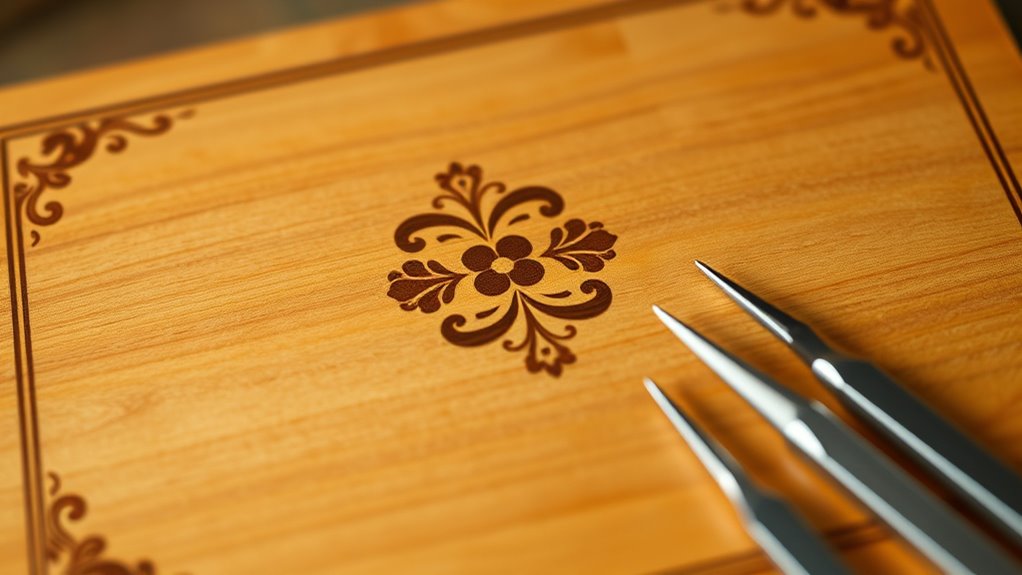
To start, choose a variety of veneers in contrasting colors and grains. This variety will give your design depth and visual interest. You’ll want to sketch your pattern on paper first, then transfer it onto the surface of the box. Using a fine blade or craft knife, carefully cut out your veneer pieces following your pattern, paying close attention to details. Precision is essential here—imperfect cuts can ruin the overall look, so take your time. Once your veneer pieces are cut, you’ll need to work on inlay techniques. These involve fitting each veneer piece perfectly into the surface of the box, creating a seamless design.
Begin by preparing the surface, making sure it’s smooth and clean. Apply a thin layer of adhesive to the back of each veneer piece, then carefully place them into the carved or marked areas of your box. Use a small press or gently tap with a soft mallet to ensure a flush fit. This step demands patience, as aligning each piece accurately will determine the final quality of your marquetry. After the veneer is set, use a sharp chisel or fine sandpaper to trim any excess veneer that extends beyond the edges. This helps achieve crisp, clean lines in your design. Additionally, understanding the importance of craftsmanship and attention to detail is crucial for success.
Inlay techniques also include filling gaps with a contrasting veneer or a filler material to improve the pattern’s clarity. For more intricate details, you might consider layering veneers or adding small, detailed inlays for embellishment. The process may take some trial and error, but the results are worth it. Once all pieces are in place and trimmed, finish your project with a protective coat of varnish or lacquer to enhance the wood’s natural beauty and guarantee durability.
Transforming a plain box into a marquetry masterpiece requires patience and skill, but with the right use of wood veneer and inlay techniques, you’ll create an eye-catching piece that showcases your craftsmanship and artistic vision.

Rolling Tool Chest, 5 Drawers Tool Storage Cabinet with Wheels, Portable Tool Cabinet Organizer with Locking System & Drawer Liners,Universal Lockable Wheels, Tool Storage Cart for Garage, Workshop
【Ample Storage Space】Streamline your tool organization with this Rolling Tool Cabinet, which includes five generous drawers perfect for...
As an affiliate, we earn on qualifying purchases.
Frequently Asked Questions
What Types of Wood Are Best for Marquetry?
When choosing wood for marquetry, you want to focus on wood selection and grain patterns. Opt for hardwoods like maple, walnut, and cherry, which cut cleanly and display attractive grain patterns. These woods offer contrast and detail, bringing your design to life. Avoid soft woods that may dent or wear quickly. Good contrast between light and dark woods enhances the visual impact, making your marquetry work stand out beautifully.
How Long Does It Typically Take to Complete a Project?
Imagine your project as a delicate dance, each step carefully timed. The time it takes depends on your skill level, the complexity of the design, and your dedication, making it a unique journey. Timing considerations are vital; rushing can lead to mistakes. With proper project planning, you might spend days or weeks turning a plain box into a stunning masterpiece. Patience and precision are your best tools.
What Tools Are Essential for Beginners?
When selecting tools for marquetry, you need precision knives, a cutting mat, and fine tweezers. Focus on tools selection that suits beginners, ensuring they’re easy to handle. Always follow safety precautions, like wearing safety glasses and working in a well-ventilated space. Starting with basic tools helps you learn the craft without feeling overwhelmed. As you progress, you can add more specialized tools to refine your skills.
How Do I Prevent Wood From Warping?
To prevent wood from warping, you need to focus on wood stabilization and climate control. Store your wood in a stable environment with consistent humidity and temperature, avoiding direct sunlight and drafts. Use proper sealing techniques and consider applying sealants or stabilizers to the wood before working on it. These steps help maintain moisture balance, reducing the risk of warping and ensuring your marquetry project stays smooth and precise.
Can I Incorporate Inlays or Other Materials?
Yes, you can definitely incorporate inlays or alternative materials into your marquetry project. Using inlay techniques, you can add materials like metal, shell, or contrasting woods to create intricate designs. These techniques allow you to enhance your piece’s visual appeal and add texture. Just make certain your chosen materials are compatible with the wood and work carefully to achieve clean, precise inlays that elevate your marquetry masterpiece.
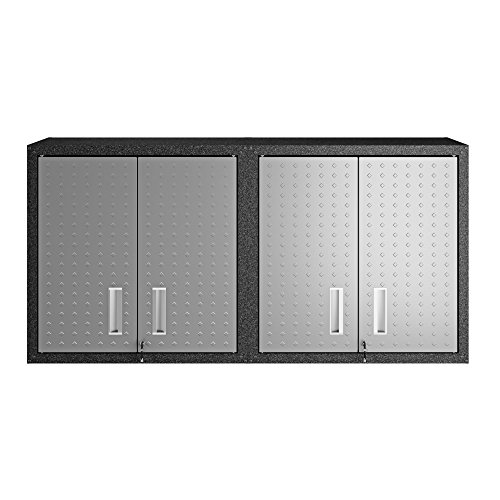
Manhattan Comfort Fortress 30" Floating Garage Storage Cabinet Set of 2, Lockable, Adjustable Shelves, Recessed Handles, Steel Wall Mounted Utility Cabinet for Workshop, Garage, Basement in Black/Grey
STURDY CONSTRUCTION: Made from durable 24-gauge metal, this garage storage cabinet ensures long-lasting use and reliability for all...
As an affiliate, we earn on qualifying purchases.
Conclusion
Just like Da Vinci turned a blank canvas into a work of art, you’ve now transformed a plain box into a stunning marquetry masterpiece. With patience and attention to detail, you’ve revealed your inner artist, proving that even simple materials can become extraordinary. Remember, every master was once an amateur—so keep practicing and dreaming. Now, sit back and admire your creation, knowing you’ve added your own brushstroke to the timeless art of craftsmanship.

Wagner Spraytech C900051 HomeRight Small Spray Shelter Portable Paint Booth for DIY Spray Painting, Hobby Paint Booth Tool Painting Station, Spray Paint Tent
DITCH THE CARDBOARD BOX: This paint booth is great for spraying small to medium sized projects with spray...
As an affiliate, we earn on qualifying purchases.
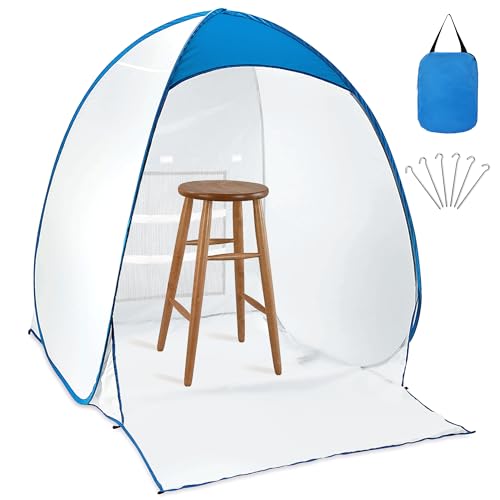
Bofoho Paint Spray Booth Tent - Portable and Foldable Spray Paint Booth Tool with Vents, Tool for Small DIY Painting, Pop-up, Windproof, Easy-to-Clean Paint Station (Blue)
Perfect DIY Size & Versatile Projects – 35in(L) x 34in(W) x 30.8in(H) interior fits miniatures, small furniture, crafts,...
As an affiliate, we earn on qualifying purchases.