TL;DR

Get business pricing on tools and workshop supplies
- Business-only prices and quantity discounts
- Tax-exempt purchasing
- Multiple users, one account, clear invoices
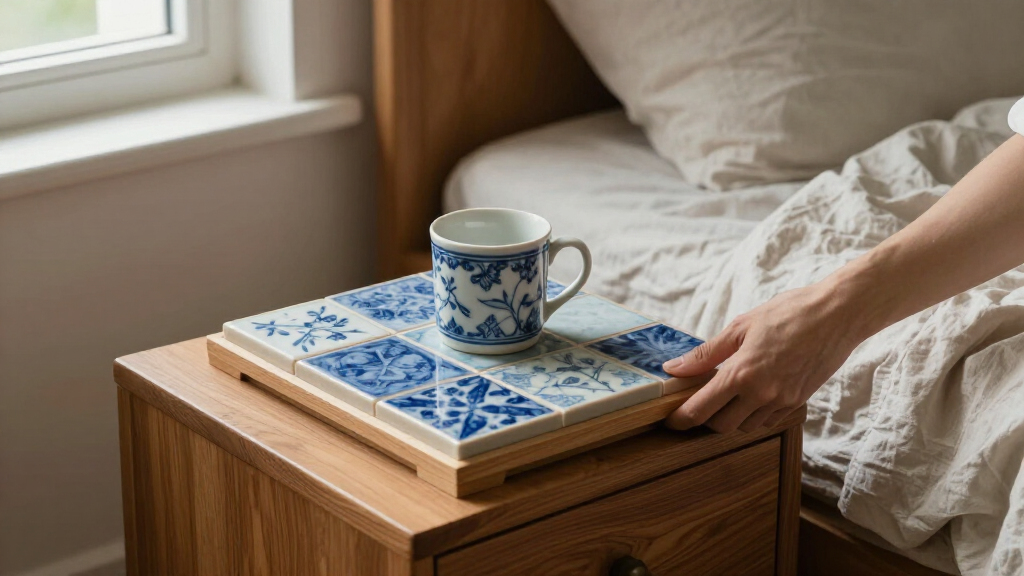
Hunker reports that DIYer Christina Dennis made a bedside tray by attaching two metallic drawer pulls to a large hexagonal tile with E6000 adhesive. The project offers a way to reuse spare tile, though its final cost and durability depend on the materials, assembly and use.
DIYer Christina Dennis has shown how to turn a large tile into a bedside tray by gluing metallic cabinet pulls to its sides, according to a Hunker report. The project offers a practical way to reuse leftover tile and gather small nightstand items in one place, although the source does not report testing the tray’s load capacity or long-term durability.
Dennis’s version uses a large hexagonal floor tile as the base and two bar-style drawer pulls as handles. The report says to apply E6000 clear adhesive to each side of the pulls, press them onto the tile, and allow the bond to form. The source does not give a specific curing time, so makers should follow the adhesive manufacturer’s instructions before lifting or loading the tray.
The tile needs enough surface area for items such as a phone or eye mask, while the pulls should be slightly shorter than the tile’s sides. Hunker describes porcelain and marble tile options priced below $4 each and estimates that the project’s other supplies bring the overall cost to about $20. Those figures are the report’s price estimates, not a guaranteed current total; prices and availability can vary.
Dennis used two pulls as handles, but Hunker says pulls could instead be added along each side to form a border. That approach requires more hardware and can raise the cost. For rough tile edges or an abrasive underside, the report suggests sanding and adding self-adhesive felt pads at the corners to help protect the nightstand.
A Small Project for Nightstand Clutter
The idea turns an offcut or spare tile into a defined place for everyday bedside items, rather than requiring a purpose-made organizer. A tray can also make it easier to limit what stays on the nightstand, though Hunker’s report does not establish that this DIY project improves sleep or reduces clutter in every home.
For readers with leftover renovation materials, reuse may offer a low-cost alternative to buying a new tray. But the stated roughly $20 estimate depends on supplies and prices, and buying a tile and pulls specifically for the project may make it less economical than using existing materials.
As an affiliate, we earn on qualifying purchases.
How the Tile Tray Is Assembled
Hunker presents the project as one option for people with spare tile from a bathroom upgrade, while noting that a single tile could also be purchased for the purpose. The report favors a large hexagonal floor tile for its usable surface and compact footprint, but says the design can accommodate other shapes if they are large enough for the intended contents.
The source also links bedside organization to research published in the journal Sleep, saying clutter may interfere with a good night’s rest. It provides no study details or evidence that this particular tray changes sleep outcomes. Its central focus is the DIY construction method: attach hardware with adhesive, check the fit beforehand, and protect surfaces where needed.
Costs and Durability Need Checking
The report does not specify how long the adhesive must cure, how much weight the tray can safely hold, or how it performs with regular handling. It also does not provide independent testing of the bond between the selected pulls and tile. Readers should follow the adhesive label and avoid treating the tray as suitable for heavy or fragile loads without testing it carefully.
The cited prices are estimates from the source and may no longer reflect local store prices. Hunker also does not identify a specific tile size, pull model or finished tray dimensions, so fit and final cost will vary. The report’s reference to sleep research is broad and does not establish a health benefit from making or using the tray.
Measure, Assemble and Check the Bond
Before buying hardware, measure the tile’s sides and confirm that each pull will fit without extending beyond the edges. Choose a tile large enough for the items it will hold, then apply the adhesive according to its packaging and allow the stated curing period before use. Check that the pulls are firmly attached and that the tile sits steadily on the nightstand.
If the tile has rough edges or an abrasive underside, Hunker recommends smoothing it with sandpaper and adding felt pads. The report does not name a follow-up test or further development; the next step for anyone trying the idea is to verify the materials, dimensions and bond for their own setup.
Key Questions
What materials does the bedside tray use?
The version described by Hunker uses a large tile, two metallic cabinet pulls and E6000 clear adhesive. Felt pads and sandpaper are optional additions for surface protection and smoothing.
How much does the project cost?
Hunker estimates that supplies beyond the tile bring the total to about $20, and cites tile prices below $4 each. These are source-reported estimates; current costs vary by store, location and hardware choice.
Can a different tile shape be used?
Yes. The report says the shape is flexible, provided the tile is large enough for the items intended for the tray and the pulls fit its sides.
How can the tray be kept from scratching a nightstand?
Hunker suggests sanding rough tile edges, beginning with 60- or 80-grit paper and moving to finer 200- or 400-grit paper, and adding self-adhesive felt pads to the corners.
How long should the adhesive cure, and how much can the tray hold?
The source does not specify either a curing time or a weight limit. Follow the adhesive manufacturer’s instructions, let the bond cure as directed and test the finished tray cautiously before regular use.
Source: rss
Halloween Picks
halloween
As an affiliate, we earn on qualifying purchases.