To create custom woodworking plans, start by sketching your ideas from multiple angles, focusing on proportions and aesthetics. Use 3D modeling tools like SketchUp or AutoCAD to refine your design, and plan materials carefully with optimized cuts to minimize waste. Document your details clearly, including measurements and hardware. Sharing your plans online and ensuring safety and precision in your workspace will help bring your project to life effectively. Keep exploring for detailed steps to master each stage.
Key Takeaways
- Start with freehand sketches from multiple angles to visualize your design concepts clearly.
- Use precise CAD or modeling software to develop detailed 2D plans and 3D prototypes.
- Select suitable materials and optimize cuts with software to minimize waste and ensure accurate assembly.
- Document measurements, joinery techniques, and hardware details clearly for accurate construction.
- Share your plans on online platforms and social media to gather feedback and promote your custom designs.
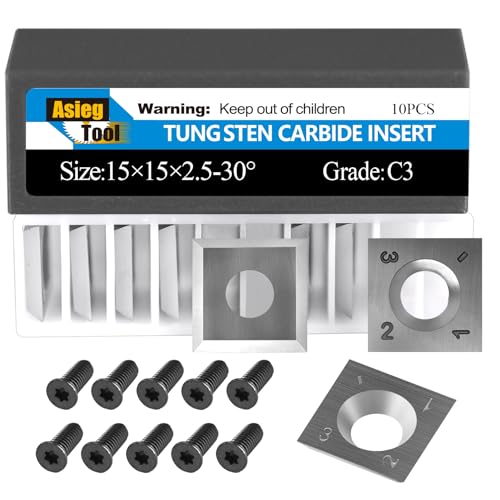
15mm Standard Square Straight Tungsten Carbide Replacement Cutter Inserts Knives 15mm x 15 x 2.5mm for Woodworking Spiral Helical Planer Head and DIY Wood Lathe Turning Tools 10pcs
Standard Size-15mm(length)X15mm(width)X2.5mm(thickness) square straight with 4 edges,30 degree cutting angle.
As an affiliate, we earn on qualifying purchases.
Envisioning and Sketching Your Project

Envisioning and sketching your woodworking project lays the foundation for a successful build. Start with freehand concept sketches to visualize your idea from a perspective view. Don’t worry about details; focus on exploring different design options. Focus on proportions and overall aesthetics, not exact measurements. Gathering inspiration from images or existing designs can fuel your creativity and help you incorporate market trends into your project. Conduct brainstorming sessions to identify the most appealing ideas. Guarantee your sketches convey rough proportions and layout, even if dimensions aren’t finalized yet. Developing basic freehand skills using mechanical pencils for consistent lines and easy corrections can significantly improve your sketches. Sketch from classic views—top, front, and side—to maintain accurate proportions. Paying attention to negative space helps create balanced, visually appealing designs. Understanding targeted audience segmentation can help tailor your project design to specific preferences, increasing its appeal and functionality. Additionally, considering natural techniques for seed production can inspire innovative design elements that emphasize sustainability and organic aesthetics in your woodworking plans. Incorporating payment processing insights, such as secure online payment methods, can streamline the purchasing process for custom plans or related services, enhancing overall customer experience. Exploring innovative materials used in modern woodworking can also inspire creative applications and unique finishes in your projects. This process sets a clear vision for your project’s success.

POWERTEC 14.3mm Carbide Inserts Cutter Knives for Spiral & Helical Cutterheads - Fits Wen PL1326, JT630H & Rikon 25-130H, Tungsten Carbide Replacement Blades for Planer and Jointer (14301)
INCLUDES: (10) Carbide Insert Blades
As an affiliate, we earn on qualifying purchases.
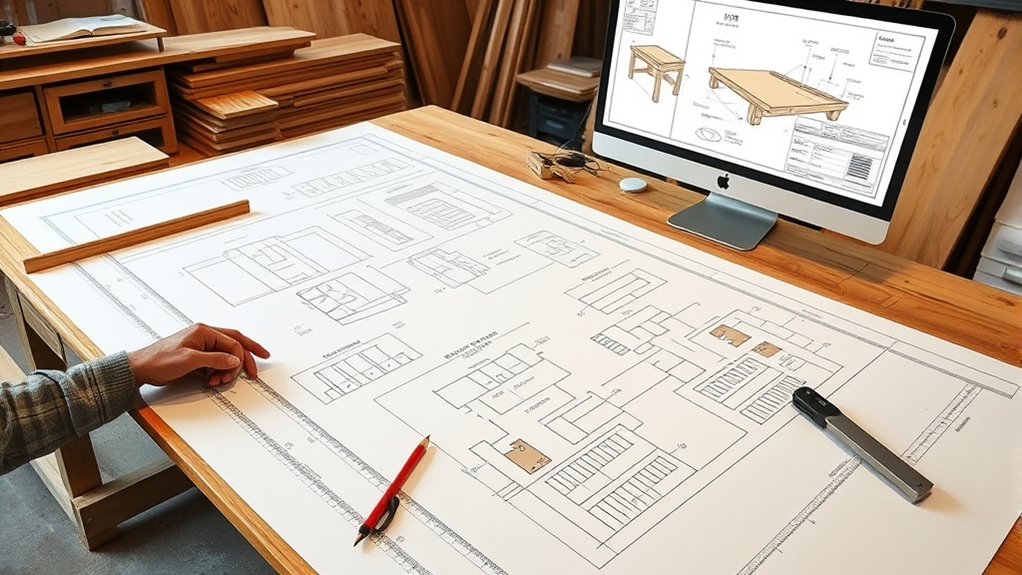
Designing and 3D Modeling Techniques
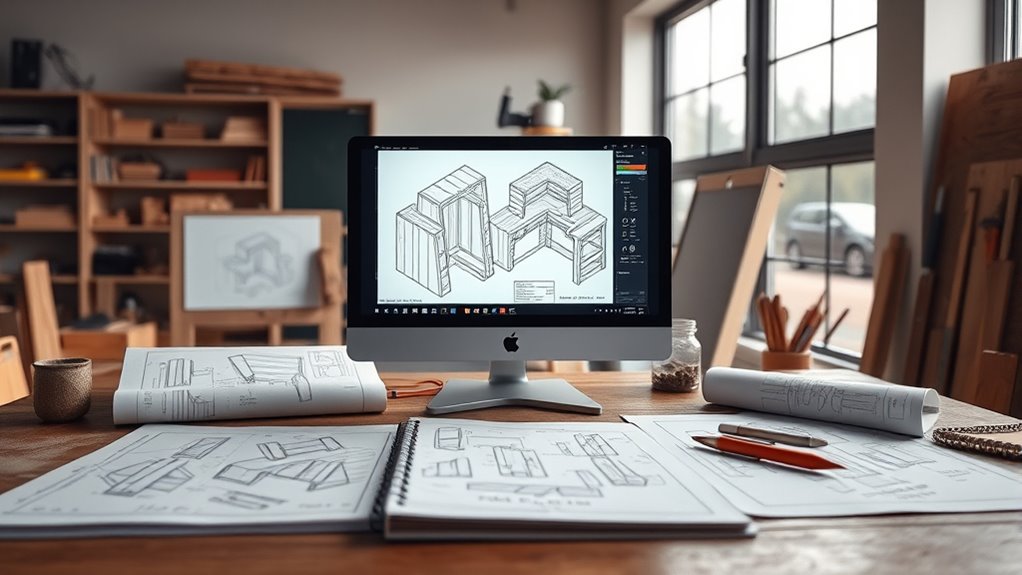
Mastering designing and 3D modeling techniques is essential for turning your woodworking ideas into accurate, detailed plans. Using tools like SketchUp, AutoCAD, or Shapr3D helps you create precise 2D drawings and intricate 3D models, ensuring your design is clear before construction begins. Techniques such as box modeling and surface modeling enable you to shape solid objects and organic forms, while primitive modeling helps build basic furniture components. Sculpting allows for detailed carvings, and procedural modeling automates repetitive patterns. The benefits include better visualization, testing different materials, and reducing errors. Despite the learning curve and managing complex details, integrating 3D modeling with other tools improves accuracy, minimizes waste, and streamlines collaboration, making your woodworking projects more efficient and professional. Additionally, understanding GMC tuning can inspire innovative modifications and customizations for your woodworking projects, emphasizing the importance of precision and customization in your work. Developing a solid understanding of design software can further enhance your ability to create complex and highly accurate plans, especially when considering material properties for your designs.

FHONK 15mm Arc-Edge Square Carbide Inserts, for Helical Cutterhead Replacement Cutter Knives, Fits Spiral Planer Blades, Wood Lathe Turning Tools, 10 pcs (15x15x2.5-30°-R150)
COMPATIBILITY: Suitable for DeWalt DW733, DW734, DW735, Jet JJ-6 and other planer spiral and helical planer cutters replacement...
As an affiliate, we earn on qualifying purchases.
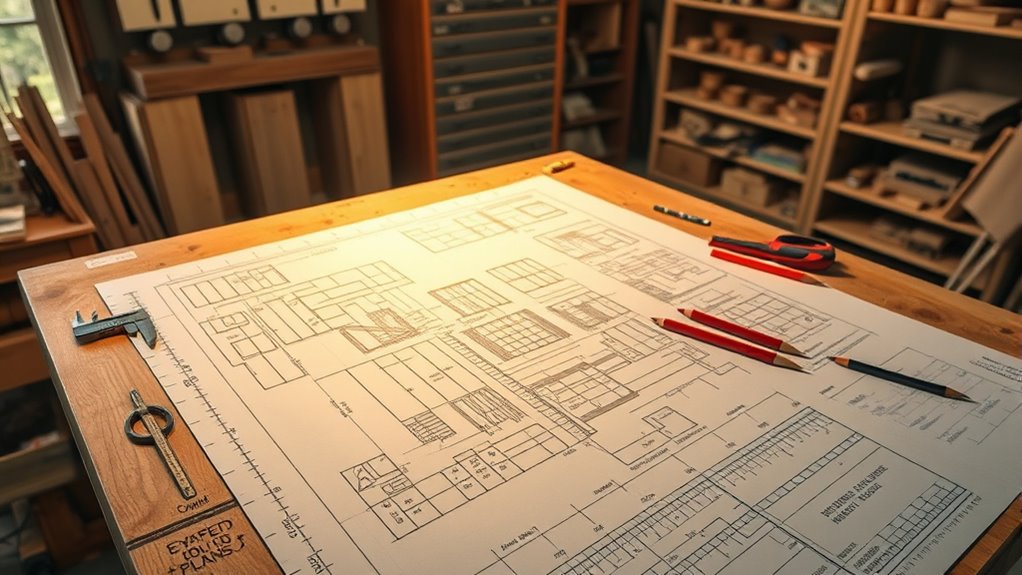
Planning Materials and Optimizing Cuts
Once your woodworking designs are complete, focusing on planning materials and optimizing cuts guarantees your project stays within budget and minimizes waste. Start by selecting the right materials—hardwoods, softwoods, or engineered options—based on durability, appearance, and cost. Properly considering drivetrain components can also influence your material choices, especially when planning for precise cuts and assembly. Use cut list optimizers or software like SketchList 3D to arrange cuts efficiently, reducing leftover scraps. Create detailed cutting diagrams that account for sheet sizes, kerf width, and sequential cutting to maximize material yield. Group similar cuts to minimize waste and consider nesting techniques to fit multiple pieces within a single sheet. Additionally, understanding Gold IRA strategies can further enhance efficiency in your project. Incorporating sustainable practices into your planning not only benefits the environment but also promotes responsible material usage. Applying material optimization techniques can significantly reduce waste and improve overall project efficiency. By planning ahead, you avoid overbuying and ensure precise cuts, saving time and money. This careful approach helps you craft a sustainable, cost-effective project with minimal material waste.

DW-15x15x2.5R150 10PCS TCT Carbide Cutters,Arc Square Tungsten Carbide Inserts (DW-15x15x2.5R150),Replacement Cutter Blades for Woodworking Spiral/Helical Planer Cutter Head and Wood Turning Tool.
Carbide Cutter size:15mmx15mmx2.5mm,4-indexable cutting edge,30* Cutting bevel, With 150mm Radius and 4 Radius Corners,polished to a mirror finish...
As an affiliate, we earn on qualifying purchases.
Developing an Assembly Strategy

Developing an effective assembly strategy is essential for building a strong, accurate woodworking project. Start by assembling the foundation first—this provides a stable base for the rest. Dry fit pieces to identify potential fit issues before applying glue or fasteners. When working with joinery, consider each joint’s strength and prepare accordingly, using the right method and proper fit to ensure durability. Organizing parts by assembly order, labeling each piece clearly to maintain orientation and simplify the process. Use clamps strategically to hold joints tightly during glue curing, ensuring even pressure to prevent gaps or misalignment. Incorporate temporary fasteners to stabilize components as needed. Continuous inspection allows you to catch misalignments early, making adjustments like shimming or sanding before final curing. Paying attention to emotional support can help maintain patience and focus during complex assembly steps. Additionally, understanding how to prepare your workspace can improve efficiency and safety throughout the project. Recognizing the importance of vetted tools and materials ensures that only quality components are used, reducing the risk of issues later on. Being aware of size restrictions and managing your preferences can help keep your workspace organized and your focus clear.
Documenting and Formatting Your Plans
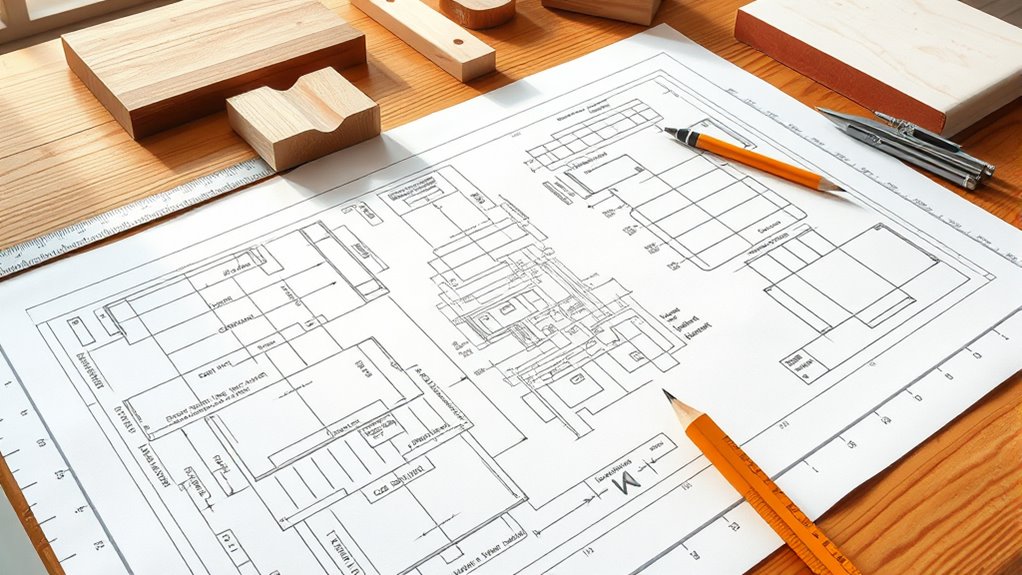
Creating detailed and well-organized woodworking plans guarantees your project proceeds smoothly and accurately. Use clear, legible fonts and line weights to differentiate part outlines, dimensions, and notes. Include scales—1:1 for small parts, 1:4 or 1:8 for larger assemblies—and annotate all necessary measurements, such as overall sizes and critical joinery points.
Add notes for materials, finishes, special techniques, and hardware to enhance clarity. Date your plans and templates to track revisions. Utilize vector graphic software like Adobe Illustrator for precise, scalable drawings, and create full-size physical templates from durable materials like MDF or plywood.
Affix paper plans to templates using spray adhesive, then refine edges for accuracy. Proper formatting and organization, including grouping related elements and using consistent layouts, make your plans easier to follow and reproduce. Additionally, consider the hours today list for local store hours if you need to purchase supplies or hardware during your project.
Being aware of family photoshoot fails can help you avoid common mistakes when documenting your projects, ensuring your plans are clear and effective. To improve your planning process, familiarize yourself with woodworking standards that ensure safety and quality in your finished pieces.
Sharing and Marketing Your Woodworking Plans
Wondering how to effectively share and promote your woodworking plans? You can start by uploading your projects to online galleries like Woodworking Source or DIY sites such as Ana White. Social media platforms like Instagram and Pinterest are excellent for reaching a broader audience and showcasing your work.
Share your woodworking plans on online galleries and social media to reach a wider audience.
Join online forums and discussion groups to exchange ideas and gather feedback. For marketing, optimize your plans for search engines to boost visibility and consider paid ads on Google or Facebook to target interested buyers.
Collaborate with woodworking influencers or build an email list with newsletters to keep your audience engaged. Creating a dedicated website or using e-commerce platforms makes selling your digital plans easier.
These strategies help you grow your community and increase your plans’ reach.
Tips for Ensuring Precision and Safety

Achieving precision and maintaining safety are essential for successful woodworking projects. Always measure twice before cutting to avoid costly mistakes and ensure accuracy. Use high-quality tools, like sharp saws and routers, to make precise cuts and detailed work easier.
Consider the seasonal expansion and contraction of wood when designing joints to prevent future issues. Digital planning software helps visualize your project, reducing errors and waste.
Proper tool maintenance and regular inspections keep equipment safe and effective. Wear safety gear such as goggles, gloves, and dust masks at all times. Keep your workspace clean and organized to prevent accidents and improve efficiency.
Guarantee all operators are trained properly, and have emergency supplies nearby. Prioritizing precision and safety creates professional results and a safer working environment.
Frequently Asked Questions
How Do I Estimate the Total Project Cost Accurately?
To estimate the total project cost accurately, start by calculating material quantities and getting current prices, adding a markup for extras.
Next, estimate labor hours, set an appropriate hourly rate, and include overhead costs.
Factor in taxes, potential alternative materials, and market research.
Be transparent with clients about costs, and adjust your estimate based on their feedback.
This approach guarantees you cover expenses and stay competitive.
What Are the Best Tools for Creating Detailed Cut Sheets?
You need the best tools to create detailed cut sheets, starting with cut list optimizers that minimize waste and improve material use. Use CAD software for precise design, and organize data in spreadsheets for clarity.
Digital cameras help document samples, while collaboration platforms streamline sharing. Combine these with manual tools like tape measures and marking gauges for accuracy.
Together, these tools guarantee your cut sheets are detailed, accurate, and efficient for your woodworking projects.
How Can I Modify Plans for Different Material Types?
When modifying plans for different material types, you need to take into account their unique properties. Adjust dimensions for thickness variations, change fasteners for engineered woods, and alter joinery techniques to suit grain orientation.
Modify cutting speeds and tooling for hardness, and select appropriate surface treatments like sealing MDF or using specialized adhesives for laminates.
Always account for expansion, contraction, and porosity to ensure your project remains durable and well-finished.
What Are Common Mistakes in 3D Modeling for Woodworking?
Imagine building a house with missing bricks—that’s what common 3D modeling mistakes feel like in woodworking. You might overlook details like dimensions or materials, leading to confusion and errors.
Poor topology, incorrect scaling, or ignoring assembly constraints can cause delays and extra costs. Always double-check your design, verify proper detailing, and simulate assembly to catch mistakes early.
This way, your model becomes a sturdy foundation, not a shaky structure.
How Do I Protect My Plans When Sharing Online?
When sharing your plans online, you need to protect your intellectual property. Use watermarks and encryption to deter unauthorized use, and implement access controls and DRM systems to limit who can view or download them.
Consider sharing through private platforms or with contractual agreements that specify usage terms. Offering sample plans can also attract customers while keeping your full designs secure.
These steps help safeguard your work while reaching your audience.
Conclusion
Creating your own woodworking plans allows you to craft unique, personalized projects that reflect your style and skills. Did you know that DIY woodworkers save an average of 30% compared to buying pre-made furniture? By mastering planning, designing, and safety tips, you’ll boost both your confidence and craftsmanship. Keep honing your skills, and your custom creations will become more precise and impressive with each project—turning your vision into reality.