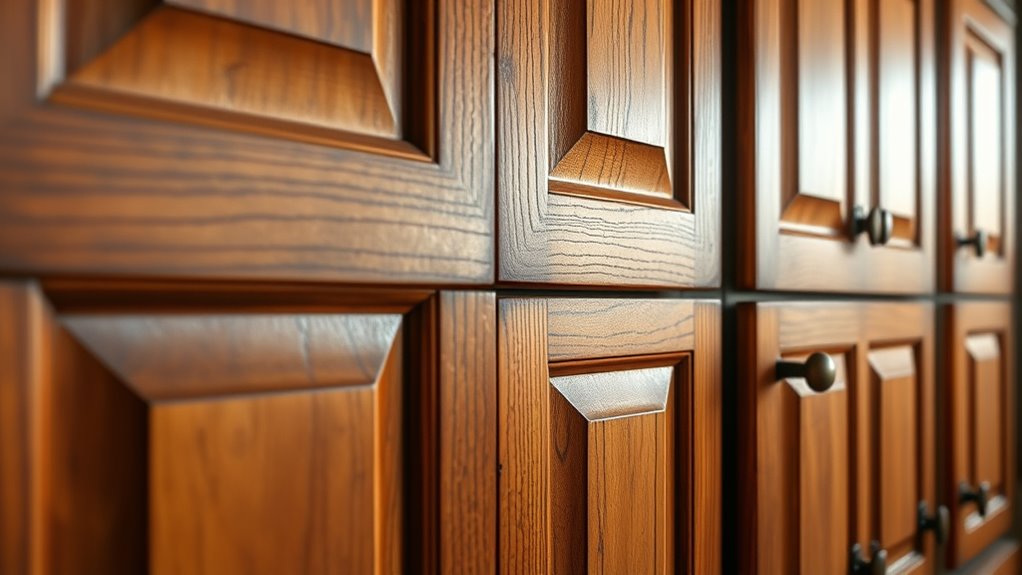
To refinish vintage kitchen cabinets without losing their patina, use gentle techniques like chalk paint with minimal sanding or distressing. Focus on highlighting their original wood grain with a light glaze or stain, and avoid heavy coatings that cover character. Keep hardware authentic or restore existing pieces to maintain historical charm. By carefully blending updates with traditional methods, you can refresh your cabinets while honoring their vintage appeal—there’s more to explore on perfecting this balance.
Key Takeaways
- Use gentle cleaning and minimal sanding to preserve existing patina while preparing surfaces for refinishing.
- Apply chalk paint or milk paint with light, uneven strokes to enhance vintage charm without overcovering.
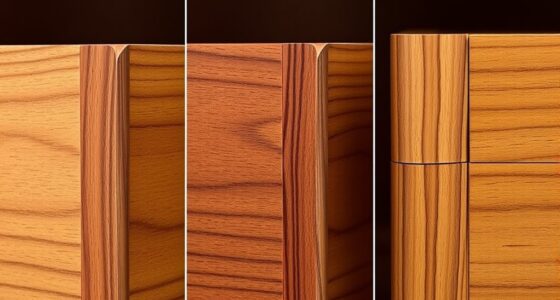
- Incorporate glazing or stain techniques to add depth, highlighting the wood’s natural grain and history.
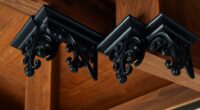
- Opt for hardware restoration or subtle updates in antique finishes to maintain authentic character.
- Focus on subtle, layered techniques and avoid heavy coats to keep the cabinet’s aged and unique patina intact.
Have you ever wondered how to restore the charm of vintage kitchen cabinets? It’s a delicate balance—you want to refresh their appearance without stripping away the character that makes them unique. The key lies in carefully choosing your paint techniques and thoughtfully updating hardware to enhance their vintage appeal. Instead of a full overhaul, focus on methods that highlight the original craftsmanship while giving them a fresh look.
Restoring vintage kitchen cabinets balances charm with renewal through careful paint and hardware updates.
When it comes to paint techniques, less is often more. You might consider a distressed or shabby-chic finish, which involves lightly sanding the edges and surfaces after applying a coat of paint. This process creates a weathered look that preserves the cabinet’s antique charm while updating its appearance. Using chalk paint is an excellent choice, as it adheres well to old surfaces and requires minimal prep. You can also opt for a glaze or stain to add depth and highlight the wood grain, maintaining the cabinet’s patina rather than covering it up entirely. The goal is to enhance, not erase, the vintage character.
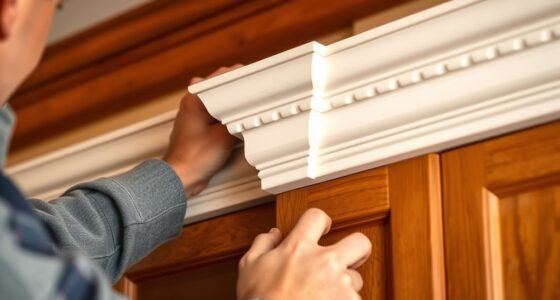
Updating hardware is equally important in achieving a balanced, restored look. Original knobs and pulls often carry a lot of history, but if they’re damaged or outdated, replacing them thoughtfully can make a big difference. Look for hardware that complements the age and style of your cabinets—brass, bronze, or antique finishes often work well. When installing new hardware, be mindful of the placement; maintaining or restoring the original holes can help preserve authenticity. If you prefer to keep the existing hardware, a simple cleaning or a quick touch-up with paint or wax can breathe new life into worn pieces.
You’ll also want to focus on the overall aesthetic harmony. Combining subtle paint techniques with hardware updates ensures your vintage cabinets look refreshed but still true to their roots. For example, a soft, muted color paired with aged brass handles can evoke a timeless feel. Remember to test your paint and hardware choices on small sections first, so you’re confident about the final look. Taking your time with these details allows you to refine the appearance without compromising the cabinet’s original patina.
In the end, restoring vintage kitchen cabinets is about celebrating their history while giving them a new lease on life. By using the right paint techniques and updating hardware thoughtfully, you can achieve a beautiful, authentic result that respects the past and suits your modern style. Incorporating creative techniques can also help you personalize your project and make it truly unique.
Frequently Asked Questions
What Tools Are Best for Refinishing Vintage Cabinets?
When refinishing vintage cabinets, you want tools that help you preserve their charm. A high-quality brush is essential for smooth paint application and detailed work. Use a paint stripper to carefully remove old finishes without damaging the patina. For cleaning, a gentle brush helps with brush cleaning, ensuring your tools stay effective. These tools make it easier to refresh your cabinets while maintaining their vintage appeal.
How Long Does the Refinishing Process Typically Take?
Think of refinishing as a delicate dance, where timing is key. Typically, it takes about a week, including drying time and the curing process, for your cabinets to be ready. You’ll spend a day prepping, a day applying finish, and then allow proper drying and curing to preserve the patina. Patience guarantees your vintage cabinets retain their charm while achieving a fresh, lasting look.
Can I Refinish Cabinets Without Removing the Hardware?
Yes, you can refinish cabinets without removing the hardware. To preserve your hardware and maintain the vintage look, carefully tape around it for protection during sanding and staining. This allows you to focus on stain matching and refinishing the wood while keeping the hardware intact. Just take your time, ensuring the tape is secure, so you avoid damage and preserve the character of your vintage cabinets.
What Type of Finish Protects the Patina?
To protect patina preservation and guarantee finish durability, you should choose a clear, matte or satin finish like wax, oil, or polyurethane. These finishes allow the character of the wood to shine through while safeguarding it from moisture and scratches. You apply them carefully to avoid removing the aged look, and they create a protective barrier that maintains the vintage charm without compromising the cabinet’s authentic patina.
Is It Necessary to Sand the Cabinets First?
You don’t always need to sand vintage cabinets first, but proper surface preparation is key. Using gentle sanding techniques helps remove grime and old finish without damaging the patina. Lightly sanding with fine-grit paper creates a smooth surface for new finishes while preserving character. Skipping rough sanding preserves the cabinet’s charm, but thorough cleaning and light sanding ensure better adhesion and a professional look.
Conclusion
By carefully preserving the patina, you’re keeping the soul of your vintage cabinets alive—like a cherished story passed down through generations. Every brush stroke is a vow to honor their history, turning your kitchen into a timeless piece of art. When you finish, you’re not just restoring wood; you’re safeguarding a symbol of craftsmanship and memories. Embrace this process, and let your cabinets whisper tales of the past for years to come.