
To guarantee a foolproof glue-up for large panel doors, start by thoroughly planning your assembly order and preparing all components. Apply glue evenly along the edges, working swiftly to prevent slipping, and use minimal pressure to avoid distortion. Clamp carefully with even pressure across the panels, ensuring proper alignment and avoiding over-tightening. Keep the clamps in place for the recommended drying time, then inspect the joints for quality. Continue on to discover expert tips for perfect results.
Key Takeaways
- Plan the assembly order and layout all panels before applying glue.
- Apply an even, minimal amount of glue along joint edges to prevent squeeze-out.
- Use evenly spaced clamps and distribute pressure with cauls to avoid panel distortion.
- Cure panels undisturbed for the recommended time, typically 30 minutes to 24 hours.
- Inspect and clean joints after curing, ensuring panels are flat, square, and properly aligned.
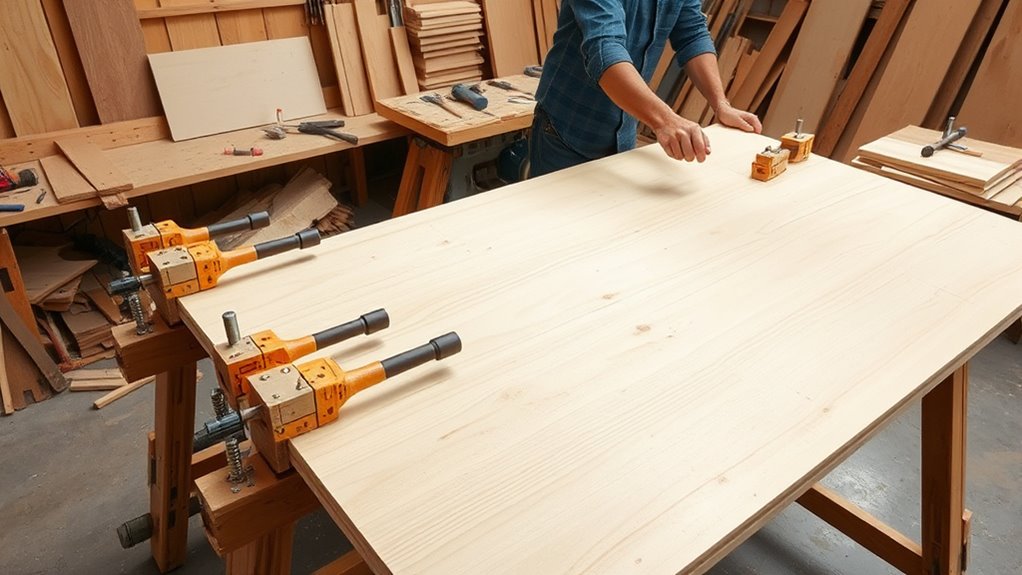
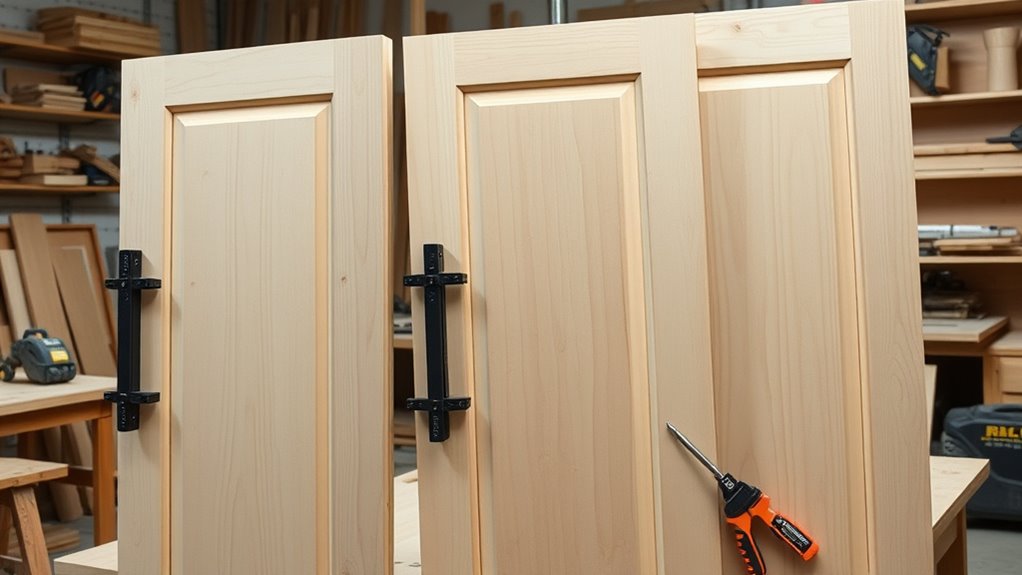
When assembling large panel doors, proper glue-up sequencing is essential to guarantee stability and a high-quality finish. You want the panels to come together seamlessly, without warping or misalignment. The key lies in understanding how to organize your assembly process, especially when it comes to applying glue and clamping the panels. By planning your steps carefully, you ensure each piece fits perfectly and that the glue dries uniformly, resulting in a strong, durable door.
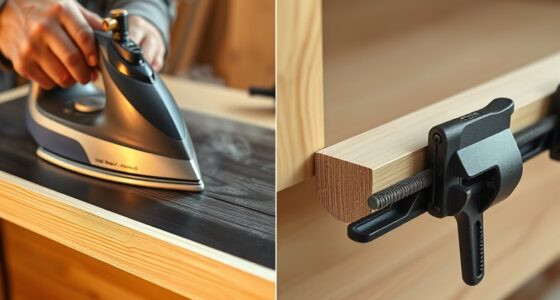
Start by laying out all your panels and components to verify fit and identify the order of assembly. Once you’re ready, apply glue evenly to the edges that will join together. It’s important to work quickly but carefully, as excess glue can cause slipping, and insufficient glue might lead to weak joints. When it’s time to clamp, use the right clamping techniques—think about the pressure you need and the distribution. You want enough force to hold everything tightly but not so much that it causes glue squeeze-out or distorts the panels. Clamps should be positioned to apply even pressure along the entire length of the joint, which helps prevent gaps and misalignment.
While clamping, keep in mind the glue drying time. Different adhesives have different curing periods, so check the manufacturer’s instructions. Rushing the process by removing clamps too early can weaken the joint, while waiting too long might delay your project unnecessarily. A good rule of thumb is to leave clamps in place for the minimum recommended time, usually at least 30 minutes to an hour, but avoid disturbing the panels during the initial curing phase. For best results, let the glue cure fully—sometimes 24 hours—to achieve maximum strength.
Additionally, clamp pressure plays a crucial role in ensuring the panels bond correctly and maintain their shape during drying. Throughout the glue-up, maintain consistent pressure across all joints. This prevents uneven drying, which can lead to warping or weak spots. Use scrap pieces or cauls if necessary to distribute pressure evenly, especially on larger panels. After the glue has dried completely, carefully remove the clamps and inspect the joints. Any excess glue squeeze-out should be scraped off, and the panels should sit flat and square.

Milescraft 1338 Lock Mate PLUS – Self Clamping, Professional Door Lock Installation Kit, Door Lock Jig for Wood/Metal Doors with 1-3/8” and 1-3/4” Thickness. Bi-Metal Cobalt Hole Saws Included
Door lock kit self clamps to door. No screws or hardware and no surface damage
As an affiliate, we earn on qualifying purchases.
As an affiliate, we earn on qualifying purchases.
Frequently Asked Questions
How Do I Adjust for Wood Movement in Large Panels?
To adjust for wood movement in large panels, you need to plan for seasonal changes that cause expansion and contraction. Use floating panel construction or allow for expansion gaps to accommodate this movement. When assembling, leave room for panel adjustment by not overly tightening joints. Regularly check the panel’s fit during different seasons, and make slight adjustments as needed to prevent warping or cracking.
What Safety Precautions Are Recommended During Glue-Up?
Like a tightrope walker’s balance, safety during glue-up keeps you steady. You should always wear proper safety gear, including gloves and eye protection, to guard against fumes and accidental spills. Make certain good ventilation measures are in place, like working in a well-ventilated area or using fans, to prevent inhaling harmful fumes. These precautions help keep you safe while you focus on creating quality large panel doors.
Can I Reuse Glue-Up Jigs for Different Projects?
You can reuse glue-up jigs for different projects, but you should carefully assess glue reuse potential and make jig adjustments as needed. Clean the jig thoroughly after each use to prevent glue buildup and guarantee accuracy. Reusing jigs saves time and resources, but always verify that they still align properly and haven’t warped or been damaged. Proper maintenance and adjustments will help you achieve consistent, high-quality glue-ups across multiple projects.
How Long Should I Wait Before Installing the Door?
You should wait at least 24 to 48 hours before installing your door to verify proper glue curing. This allows the glue to set fully, accounting for wood expansion and contraction caused by humidity changes. Rushing the installation can lead to misalignment or warping. During this time, keep the door in a stable environment to prevent issues and guarantee a strong, lasting bond.
What Are Alternative Methods if Glue-Up Fails?
If your glue-up fails, don’t panic. You can reinforce joints with mechanical fasteners like dowels or screws, which help account for wood expansion and provide extra stability. Using corner blocks or biscuits can also improve joint strength. These methods guarantee your door remains durable and aligned, even if the initial glue doesn’t hold perfectly. Always assess your project and choose the reinforcement that best suits your door’s size and design.
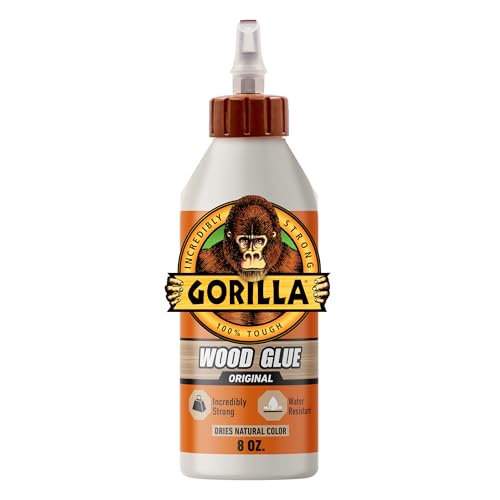
Gorilla Wood Glue; 8 Ounce Bottle; Natural Wood Color; (Pack of 1)
Complete Projects Fast: Requires only 20-30 minutes of clamp time; fully cured in 24 hours. Quickly creates an…
As an affiliate, we earn on qualifying purchases.
As an affiliate, we earn on qualifying purchases.
Conclusion
By following this foolproof glue-up sequencing, you’ll confidently craft large panel doors with strong, seamless joints. Did you know that properly glued panel doors can last over 50 years with minimal maintenance? That’s a proof to the importance of the right techniques. So, take your time, follow the steps carefully, and enjoy the process. Your patience and attention to detail will pay off, giving you a stunning, durable door that stands the test of time.

HORUSDY 8-Pack Bar Clamps for Woodworking, 12" and 6" Bar Clamps, Wood Working Clamp Sets, Quick Clamps F Clamp with 150 LBS Load Limit (8-Pack Wood Clamps)
1. The complete set includes 4pcs 6" bar clamps,2pcs 12" bar clamps and 2pcs 6" spring clamps, which…
As an affiliate, we earn on qualifying purchases.
As an affiliate, we earn on qualifying purchases.
Peachtree Woodworking Supply 2 Pack of 4 Way Pressure Clamps for Clamping Panels From All Four Directions. For Woodworkers, Cabinet and Furniture Makers (2 four way pressure clamps)
Clamping panels can certainly be a challenge. Especially when we try to use everyday pipe clamps or bar…
As an affiliate, we earn on qualifying purchases.
As an affiliate, we earn on qualifying purchases.