
To build a DIY camera slider from scrap wood for viral videos, start by selecting sturdy, straight wood pieces and secure them with quality screws. Guarantee the base is stable and smooth by using metal or plastic rail tracks for easy camera movement. Keep safety in mind and double-check all connections. Properly assembled, your slider will produce smooth footage, and if you continue, you’ll discover tips to optimize durability and operation.
Key Takeaways
- Select straight, sturdy scrap wood like plywood or pine, ensuring no warping or cracks for stability.
- Incorporate metal or plastic rail tracks for smooth, wobble-free camera movement.
- Securely assemble the frame with quality screws and bolts, double-checking all connections for stability.
- Use clamps and safety gear during cutting and drilling, maintaining a clean workspace to prevent accidents.
- Test the slider’s movement and stability before mounting the camera to ensure smooth footage.
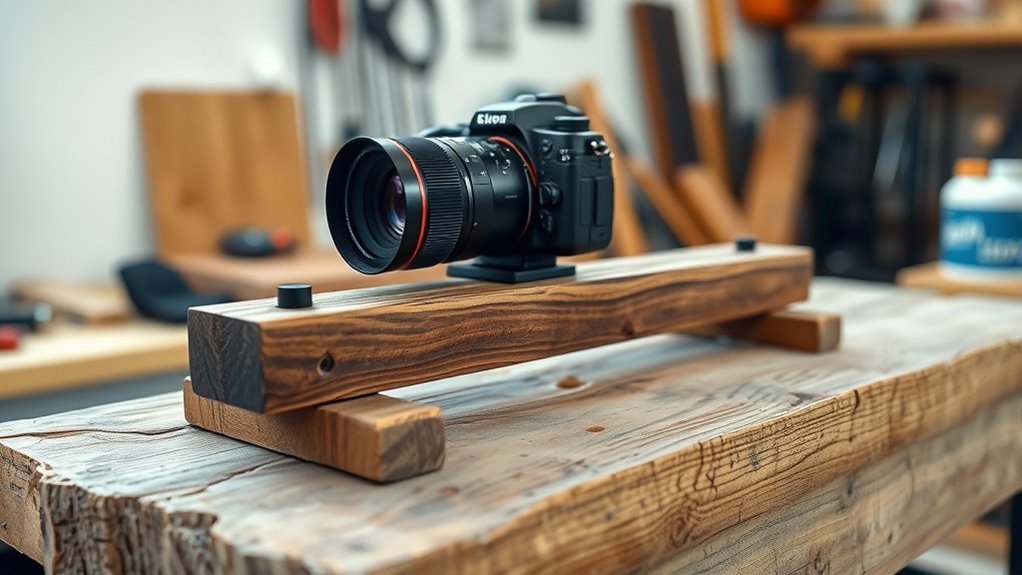
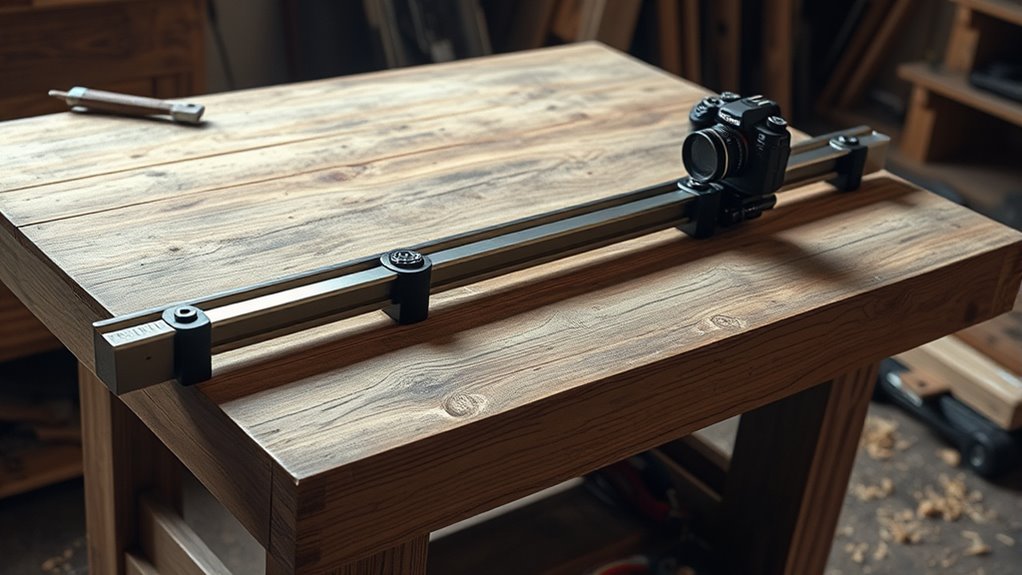
Creating a smooth, professional-looking camera slider doesn’t require expensive equipment or professional skills—just some scrap wood and a bit of ingenuity. To start, focus on material selection, which is vital for durability and smooth operation. You’ll want to choose sturdy, straight pieces of wood like plywood, pine, or hardwood. Avoid warped or cracked boards because they can cause wobbling or uneven movement. Measure your materials carefully, ensuring the lengths are appropriate for your desired slider length. Using quality screws, nuts, and bolts is essential to keep everything tightly secured and to prevent wobbling during shoots. If you’re unsure, visit a local hardware store and ask for advice on suitable materials for DIY projects. Also, consider adding a metal or plastic rail track for smoother sliding, which can be salvaged from old equipment or purchased cheaply. Remember, material selection isn’t just about sturdiness; it’s about creating a reliable base that won’t compromise your footage. Additionally, understanding power consumption insights can help you ensure your camera setup doesn’t drain your batteries unnecessarily during filming. Safety precautions are equally important throughout your build. Always wear safety glasses when cutting or sanding wood to protect your eyes from splinters or flying debris. Use a saw with a proper guard and handle it carefully, keeping your fingers away from the blade. When drilling, secure the wood firmly with clamps to prevent slipping, and always drill away from your body. If you’re working with power tools, ensure your workspace is well-ventilated and free of clutter to avoid accidents. Gloves can help protect your hands, but avoid loose-fitting gloves that could get caught in machinery. Keep a first aid kit nearby in case of minor injuries, and never rush the process. Take your time to double-check each connection and ensure all screws and bolts are tight before mounting your camera. Remember, rushing can lead to unstable builds that could damage your equipment or cause injury. By prioritizing safety precautions, you protect yourself and increase the likelihood of building a reliable slider that produces smooth, professional footage.
DIY camera slider kit
As an affiliate, we earn on qualifying purchases.
As an affiliate, we earn on qualifying purchases.
Frequently Asked Questions
What Materials Are Best for Smooth Slider Movement?
For smooth motion and material durability, you should choose materials like aluminum or stainless steel for your slider. These materials reduce friction and guarantee consistent, smooth movement over time. Avoid cheap plastic parts, as they can cause jerky motion and wear out quickly. Using high-quality, durable materials helps your DIY camera slider perform reliably and creates professional-looking videos, even during long shooting sessions.
How Can I Ensure the Slider Is Level?
To guarantee your camera slider is level, start by checking the surface where it’s placed using a bubble level. Adjust the slider’s position for proper camera leveling, then use alignment adjustment screws or shims if needed. Regularly verify the level during use, especially when moving the slider, to prevent tilt and ensure smooth shots. Proper leveling is key for professional-looking videos and steady footage.
What Camera Weight Can This Slider Support?
Ever wonder how much your DIY slider can handle? It depends on your build’s strength and materials. Typically, a scrap wood slider can support a camera weight of up to 2-3 pounds, but be cautious—exceeding the slider capacity risks instability. To guarantee safety and smooth shots, test your setup with your camera’s weight beforehand. Always aim for a sturdy, well-balanced design to avoid accidents.
How Do I Adjust Tension for Different Shot Speeds?
To adjust tension for different shot speeds, you need to tweak the tension adjustment mechanism on your slider. Loosen or tighten the tension control to slow down or speed up the slider movement. For smoother shots at various speeds, guarantee the tension is balanced properly—too tight slows the shot, too loose makes it jerky. Experiment with small adjustments to find the perfect tension for your desired shot speed.
Can This Slider Be Motorized for Automation?
The sky’s the limit when it comes to motorization options for your slider. Yes, you can definitely automate it using various automation techniques like stepper motors, Arduino controllers, or motorized camera sliders designed for DIY projects. It’s a smart move that can turn your shots into smooth, professional-looking footage. Just remember, a little tinkering goes a long way, and you’ll have a slick, automated slider in no time!
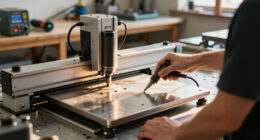
budget camera slider rail
As an affiliate, we earn on qualifying purchases.
As an affiliate, we earn on qualifying purchases.
Conclusion
As you gently slide your makeshift camera along the scrap wood, it’s almost like watching your creativity come full circle. That humble piece of wood, once forgotten, now captures smooth shots that could make your videos go viral. Sometimes, the simplest materials lead to the most impressive results. With just a little effort and a bit of coincidence, you’ve turned scrap into a tool that elevates your content and brings your vision to life.
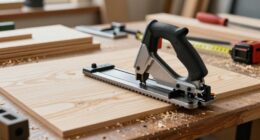
wooden camera slider parts
As an affiliate, we earn on qualifying purchases.
As an affiliate, we earn on qualifying purchases.
professional camera slider
As an affiliate, we earn on qualifying purchases.
As an affiliate, we earn on qualifying purchases.