
To re-caulk outdoor wood joints like a pro, start by removing old, cracked caulk with a utility knife and cleaning the area thoroughly. Apply painter’s tape along the edges for crisp lines before squeezing new exterior-grade caulk into the gaps. Smooth the bead with a caulk tool or your finger, then carefully remove the tape. Guarantee the sealant cures fully before exposing it to weather or foot traffic. Keep going, and you’ll uncover more expert tips for lasting results.
Key Takeaways
- Remove old caulk completely and clean joints thoroughly before applying new sealant.
- Use high-quality, exterior-grade caulk suitable for outdoor wood to ensure durability.
- Apply painter’s tape along edges for clean, straight lines and a professional finish.
- Fill gaps completely with steady pressure from the caulk gun, then smooth for a seamless seal.
- Allow proper curing time (typically 24 hours) before exposing the joint to weather or foot traffic.
Have you noticed gaps or cracks forming in the joints of your outdoor wood structures? If so, it’s a clear sign that your deck or other wooden features need some attention. Over time, weather exposure causes wood to expand and contract, which can lead to deterioration of the caulk or sealant. Addressing these issues promptly is essential for proper deck maintenance and to prevent further damage. Re-caulking your outdoor wood joints isn’t just about aesthetics; it’s a crucial step in weatherproofing your deck against moisture, mold, and rot.
Cracks in outdoor wood joints signal the need for re-caulking to prevent moisture damage.
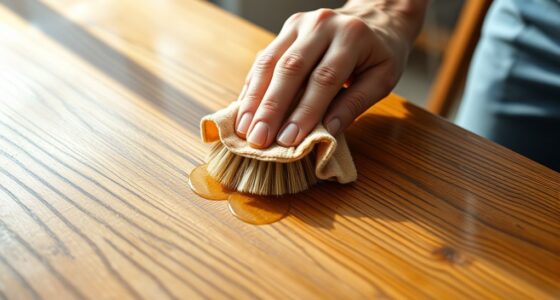
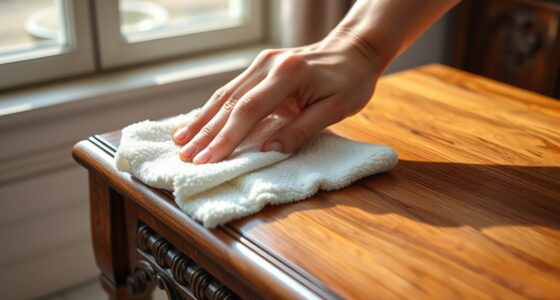
Before you start, it’s important to gather the right supplies: a good-quality caulk suitable for exterior use, a caulk gun, a utility knife, a wire brush, and some painter’s tape. Begin by removing the old, cracked caulk carefully with the utility knife or a caulking remover tool. Be thorough—leftover debris or old sealant can prevent the new caulk from adhering properly. Once the joint is clean and dry, use the wire brush to eliminate any remaining dirt or loose wood fibers. This step ensures a solid bond for the new sealant and helps maximize the longevity of your work. Proper preparation can also enhance dental health and overall durability of your outdoor structures.
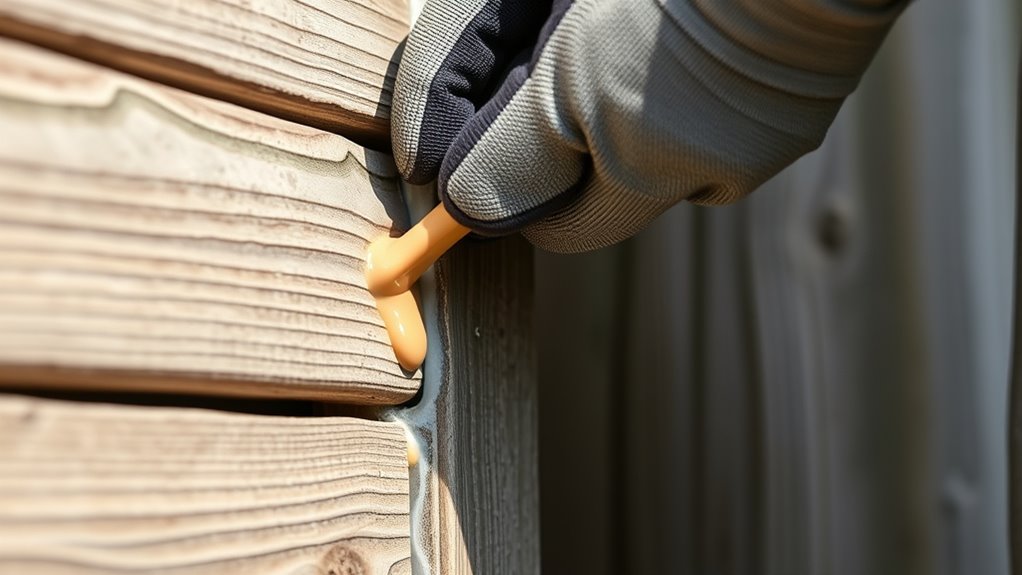
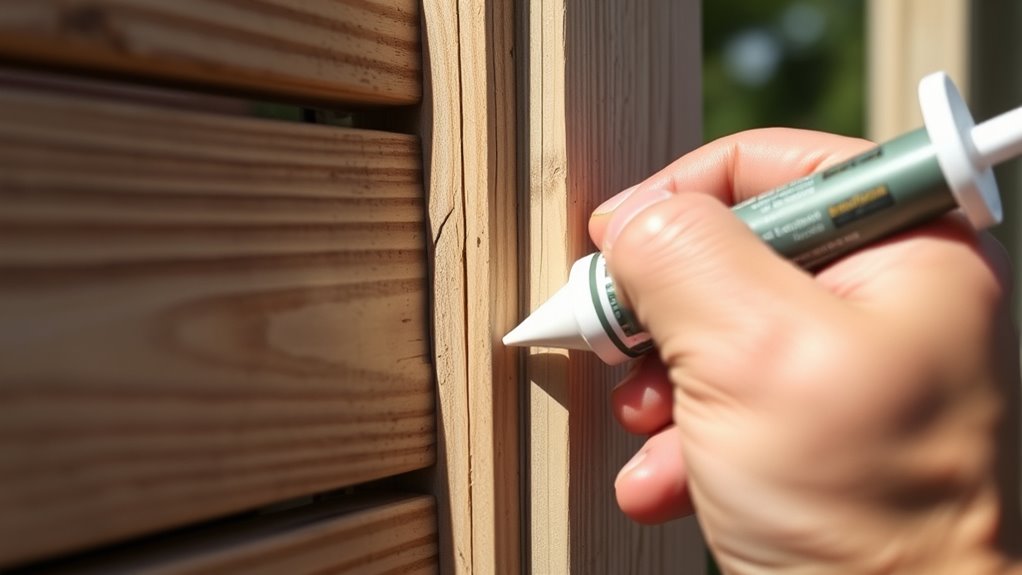
Next, apply painter’s tape along the edges of the joint. This will give you clean, straight lines and help prevent excess caulk from spreading onto unwanted areas. Load your caulk gun with the new exterior-grade caulk and squeeze it into the joint steadily, working from one end to the other. Ensure the caulk fills the gap completely; pressing it in slightly can help, but avoid overfilling. Smooth the bead with a caulk tool or your finger dipped in water to ensure it adheres well and creates a seamless seal. Proper application is key to weatherproofing your deck and keeping out moisture that can cause wood rot.
Once you’ve finished, remove the painter’s tape before the caulk dries to keep your lines crisp. Let the sealant cure fully as per the manufacturer’s instructions—usually 24 hours—before exposing your deck to foot traffic or weather. Regular inspection and re-caulking are essential parts of ongoing deck maintenance. In addition to re-caulking, consider applying weatherproofing tips like sealing the wood surface periodically and checking for other signs of wear. Keeping your outdoor wood joints well-maintained ensures your deck remains durable, safe, and visually appealing for years to come.

Titebond Pro-Grade Plus Siliconized Acrylic Caulk, Brown – Multi-Purpose Interior/Exterior Sealant for Wood, Metal, Glass, Tile, Fast-Drying – 8421, 10.1 Oz. Cartridge
Premium Mult-Purpose Caulk: Ideal for sealing joints, repairing cracks, and filling gaps in a wide range of construction…
As an affiliate, we earn on qualifying purchases.
As an affiliate, we earn on qualifying purchases.
Frequently Asked Questions
How Often Should Outdoor Wood Joints Be Re-Caulked?
You should re-caulk outdoor wood joints every 1 to 3 years, depending on seasonal maintenance and timing considerations. Regular inspections help identify cracks or deterioration early. In harsh weather or after extreme temperature changes, re-caulking might be needed sooner to guarantee a lasting seal. Keep an eye on the joints, especially before winter or after heavy rain, to maintain protection and extend the lifespan of your outdoor wood structures.
What Type of Caulk Is Best for Outdoor Wood?
Ever noticed how the right caulk can make your outdoor wood last longer? For weatherproofing strategies, you want a high-quality, 100% silicone or polyurethane caulk. These types flex with wood as it expands and contracts, preventing cracks. Use proper caulking techniques for a seamless seal, ensuring your outdoor joints stay protected from rain and moisture. Choosing the best caulk is key to maintaining your wood’s durability and appearance over time.
Can I Re-Caulk Over Old, Cracked Caulk?
You can re-caulk over old, cracked caulk, but it’s not ideal for weatherproofing longevity. To guarantee a tight seal, remove the old caulk first, especially if it’s cracked or peeling. This improves adhesion and effectiveness. Proper weatherproofing techniques involve cleaning the surface thoroughly and applying a fresh, high-quality caulk. This approach guarantees a more durable, weather-resistant seal, protecting your outdoor wood joints for years to come.
Is Re-Caulking Necessary After Cleaning the Joints?
After cleaning the joints, re-caulking is usually necessary to guarantee a proper seal. Dirt and old caulk can compromise caulking techniques and weatherproofing tips, making your outdoor wood joints vulnerable to water damage. You should remove any remaining old caulk, then apply a fresh, high-quality sealant. This step guarantees a durable, weather-resistant finish, keeping your wood protected and extending its lifespan.
What Tools Are Recommended for Re-Caulking Outdoor Wood Joints?
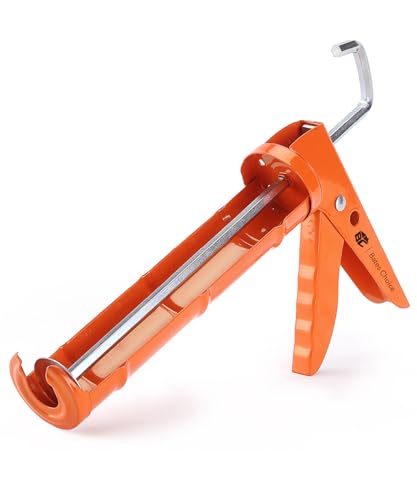
Imagine you’re wielding a caulking gun, ready to tackle outdoor wood joints. You’ll need a quality caulking gun for smooth application and a sharp utility knife to remove old caulk cleanly. These tools help you achieve a professional finish, ensuring a lasting seal. Make sure your caulk is suitable for outdoor use, and prep the surface properly before applying new sealant. With the right tools, your project will last for years.
Bates – Caulking Gun, 10:1 Thrust Ratio, Silicone Gun, Dripless Caulk Gun, Silicone Caulk Gun, Hand Caulking Guns
Introducing the Bates caulking gun, your versatile companion designed to seamlessly dispense a variety of materials – from…
As an affiliate, we earn on qualifying purchases.
As an affiliate, we earn on qualifying purchases.
Conclusion
Re-caulking your outdoor wood joints is like giving your home a fresh breath of life, sealing out the elements and preserving its beauty. With a little effort, you turn a simple task into a lasting shield against nature’s wear. Just remember, a well-sealed joint is the silent guardian of your home’s integrity—protecting your investment and ensuring it stands strong through seasons to come. Trust yourself, and your home will thank you for it.

Saker Silicone Caulking Tool 3-in-1 Grout Removal Tool and Sealant Finishing Scraper with Stainless Steelhead, Caulk Remover and Seam Repair Kit for Bathroom, Kitchen, Floor, Window and Sink Joints
【Tips】Here's a quick tip for achieving that smooth, one-handed gliding sensation with your grout tool: consider loosening the…
As an affiliate, we earn on qualifying purchases.
As an affiliate, we earn on qualifying purchases.

ScotchBlue Original Multi-Surface Painters Tape, 1 Inch Wide (0.94 in. x 60 Yds), 1 Roll, Blue Paint Tape Protects Surfaces and Removes Easily, Masking Tapes for Indoor and Outdoor Use (2090-24NC)
READY. SET. TAPE!: 1 roll of 1.41 inches x 60 yards tan Scotch General Purpose Masking Tape, a…
As an affiliate, we earn on qualifying purchases.
As an affiliate, we earn on qualifying purchases.