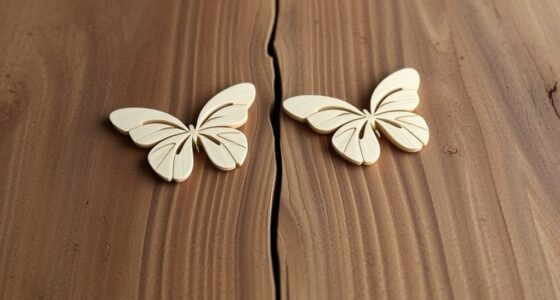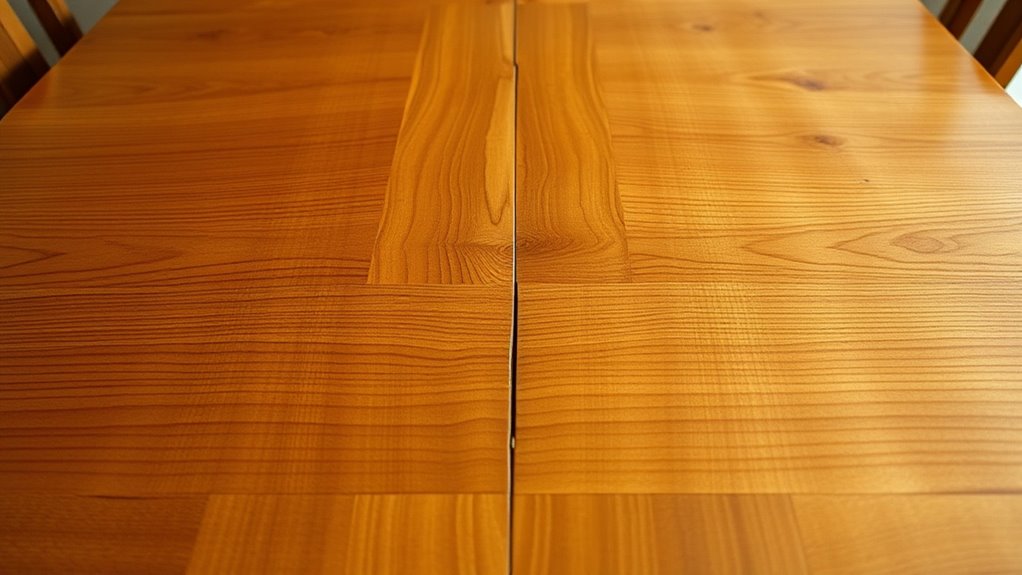
To repair a split tabletop without clamps, start by cleaning the split thoroughly, removing dust and debris. Apply wood glue deep into the crack, ensuring full fiber coverage. Instead of clamps, use heavy books, bricks, or scrap wood to weigh down the area evenly. Wrap the joint with a damp cloth to control excess glue and let it cure for at least 24 hours without disturbance. For a seamless repair, learn additional tips on pressure and finishing processes below.
Key Takeaways
- Clean and dry the split thoroughly, removing dust and debris for optimal glue adhesion.
- Apply a generous amount of wood glue deep into the split, ensuring complete fiber penetration.
- Use heavy objects like books or bricks on either side of the split to apply even pressure without clamps.
- Wrap the area with a damp cloth to control excess glue and maintain consistent pressure during curing.
- Allow at least 24 hours for the glue to dry completely before removing weights and finishing the repair.
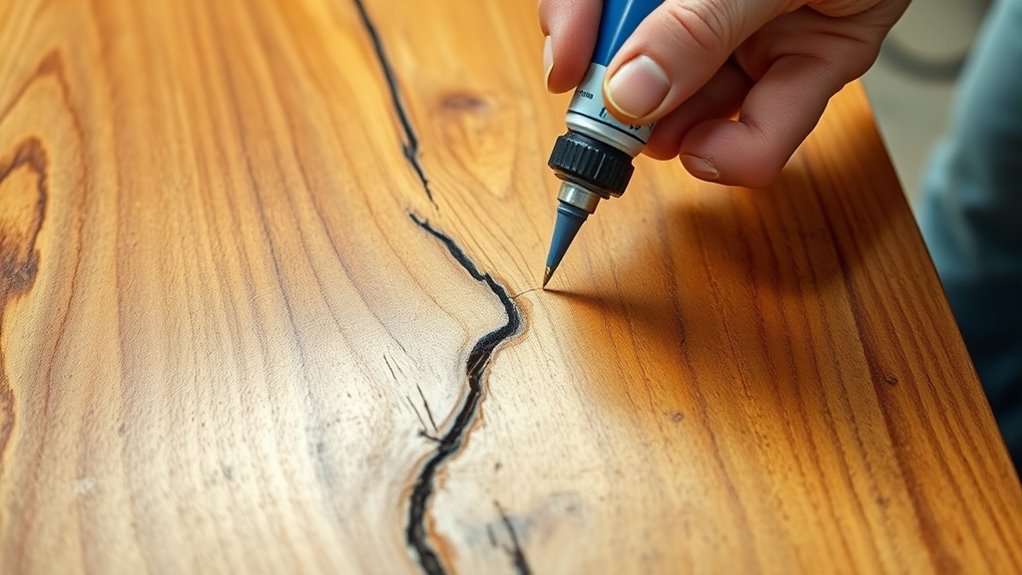
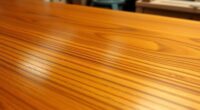
A split tabletop can be both frustrating and unsightly, but with the right tools and techniques, you can restore it to its former state. The key is to reattach the separated pieces securely so they stay aligned and withstand daily use. Wood glue is your primary weapon here; it’s strong, reliable, and designed to bond wood fibers together. Before applying the glue, make sure the split is clean and free of dust or debris. Use a putty knife or a small brush to remove any loose particles from the crack. When applying the wood glue, squeeze it into the split, ensuring it penetrates deep into the fibers. Don’t skimp—use enough to fill the gap without overflowing. Once you’ve spread the glue, focus on clamping the pieces together tightly to create the best bond. If you don’t have traditional clamps, don’t worry—there are plenty of clamp alternatives. Heavy books, bricks, or even a stack of wood scrap can serve as makeshift weights to hold the split together. You want to apply consistent pressure across the joint, so distribute the weight evenly on either side of the split. Wrap the area with a damp cloth if you’re concerned about excess glue squeezing out, which makes cleanup easier and prevents messes. For smaller splits, you can also consider using strong double-sided tape to hold the pieces temporarily while the glue dries, but remember, tape isn’t a substitute for pressure. The longer you leave the glue to cure—preferably 24 hours—the stronger the bond will be. Proper pressure application is essential for a durable repair and can be achieved with makeshift tools if clamps are unavailable. While waiting for the glue to dry, avoid moving or stressing the tabletop. You might also want to reinforce the repair from beneath, especially if the split runs across a high-traffic area. Screwing in a backing strip or installing a splint underneath can help distribute stress and prevent future splits. Once the glue has dried thoroughly, carefully remove any clamps or weights. If there’s excess glue on the surface, gently sand it down to smooth the finish. You might need to reapply a finish or stain to blend the repair with the rest of your tabletop. With patience and the right approach, this repair will be discreet, sturdy, and, most importantly, effective—restoring your tabletop’s appearance and strength without the need for specialized clamps.

Gorilla Ultimate Waterproof Wood Glue, Natural Wood Color, 8 Ounce (Pack of 1) – Waterproof for Indoor or Outdoor Projects and Repairs
Use indoors or outdoors: Give your indoor or outdoor projects a Gorilla Tough bond with waterproof Ultimate Gorilla…
As an affiliate, we earn on qualifying purchases.
As an affiliate, we earn on qualifying purchases.
Frequently Asked Questions
Can I Repair a Split Tabletop Outdoors?
Yes, you can repair a split tabletop outdoors. First, guarantee you choose outdoor weatherproofing glue or epoxy suitable for outdoor use. Clean and dry the split area thoroughly. Apply the adhesive following outdoor repair tips, then clamp or secure it until fully cured. This way, your repair withstands weather conditions, keeping your tabletop durable and looking great. Always select products designed for outdoor environments for the best results.
How Long Does the Repair Last?
Think of your repair as a sturdy bridge spanning a chasm; its longevity depends on durability testing and how well you prepared. With proper adhesion and weather protection, your fix can last for years, weathering outdoor elements like a seasoned sailor. Longevity factors, including material quality and exposure, influence its lifespan. If you maintain it, your repaired tabletop can stand strong, telling tales of resilience for many seasons to come.
What Tools Are Needed Besides Glue?
Besides woodworking adhesives, you’ll need clamp alternatives like heavy books, weights, or a makeshift bracing system to hold the split together. These help apply consistent pressure during the glue’s drying time. Make sure your adhesives are suitable for wood repair, such as epoxy or strong wood glue. You may also want to have a putty knife or brush for applying the glue smoothly and cleanly, ensuring a seamless repair.
Is It Safe to Use on Food Surfaces?
You wonder if it’s safe to use glue on food surfaces. While some glues claim food safety, many aren’t designed for direct contact and can cause surface contamination. To prevent health risks, always check labels for food-safe certifications. If unsure, avoid using adhesives on surfaces where food is prepared or served. Prioritize cleaning and sealing surfaces properly to maintain hygiene and prevent contamination.
Can I Fix Multiple Splits at Once?
You can fix multiple splits at once by applying wood glue to each crack. Instead of clamps, use clamp alternatives like heavy books, bricks, or custom weights to hold the pieces together while the glue dries. Make sure to wipe away excess glue and let it cure fully for a strong repair. This method saves you from needing traditional clamps and guarantees all splits are securely fixed simultaneously.

WETOLS Corner Clamp for Woodworking, 90 Degree Right Angle Clamp, Wood Clamps, 4Pcs Adjustable Spring Loaded Woodworking Clamp, Gifts for Him, Birthday Gifts for Men, Photo Framing, Orange
Cool Gadgets Gifts for Men: WETOLS corner clamp comes with a nice gift box, which can be great…
As an affiliate, we earn on qualifying purchases.
As an affiliate, we earn on qualifying purchases.
Conclusion
Don’t let a split tabletop ruin your project. With just epoxy and some simple clamps or even makeshift supports like heavy books or bricks, you can restore your table’s surface seamlessly. Imagine the crack mended smoothly, almost invisible, like it never happened. No clamps? No problem! Just visualize applying epoxy, pressing the crack shut, and holding it until set. You’ll have a sturdy, nearly perfect repair—saving time and money while bringing your table back to life.
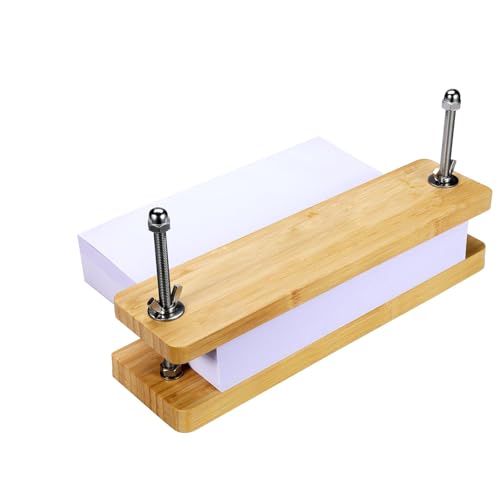
Sholramo Book Press – Bamboo Wood Bookbinding Press for Craft Enthusiasts – Anti-Slip Mat, Portable & Handmade Book Binding Tool (Book Press)
Discover the MINBOO Wooden and Bamboo Book Press, measuring 15×3.14 inches, a blend of artistic minimalism and practicality….
As an affiliate, we earn on qualifying purchases.
As an affiliate, we earn on qualifying purchases.

REALINN Wood Furniture Repair Kit- Set of 28 – Touch Up Markers, Fillers with Wood Putty – Repair Scratch, Cracks, Hole, Discoloration for Wooden Door, Floor, Table, Cabinet
KIT INCLUDES our most powerful wood repair compounds, so you can repair all levels of damage to wood…
As an affiliate, we earn on qualifying purchases.
As an affiliate, we earn on qualifying purchases.