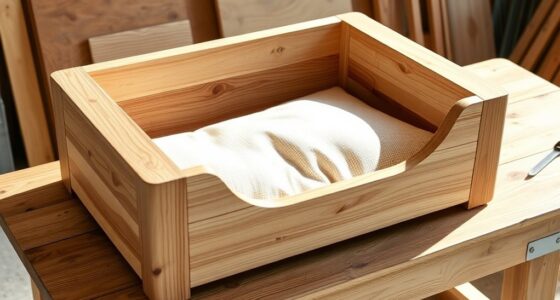

To build a cutting board, start by choosing durable woods like maple or cherry and gather your tools, including saws, clamps, and sanders. Measure and cut your wood to the desired size, then shape the edges with a router or plane for safety and style. Glue and clamp the pieces securely, then sand the surface smooth. Finish with food-safe oil or beeswax. If you keep exploring, you’ll discover more tips to perfect your craft.
Key Takeaways
- Select durable, food-safe hardwoods like maple or cherry, and plan your design pattern before cutting.
- Measure, cut, and arrange wood pieces accurately using guides and proper tools for a precise pattern.
- Shape edges and smooth surfaces with sanding and router techniques for a polished, knife-friendly finish.
- Join and clamp pieces with even pressure, applying food-safe glue for strong, durable seams.
- Finish with mineral oil or beeswax, then maintain by regular cleaning and reapplication for longevity.

3 Pack Teak Wood Cutting Board Set for Kitchen Charcuterie Board Serving Heavy Duty Non Toxic Slip Over Sink Solid Thick Haus Wooden Chopping Board Large Big Small Meat Best Kitchen Essential Gift
Exceptional Non-Slip Design and Superior Craftsmanship:Our FSC-certificated teak wood cutting board set comes with a non-slip base, ensuring…
As an affiliate, we earn on qualifying purchases.
As an affiliate, we earn on qualifying purchases.
Selecting the Ideal Wood and Materials
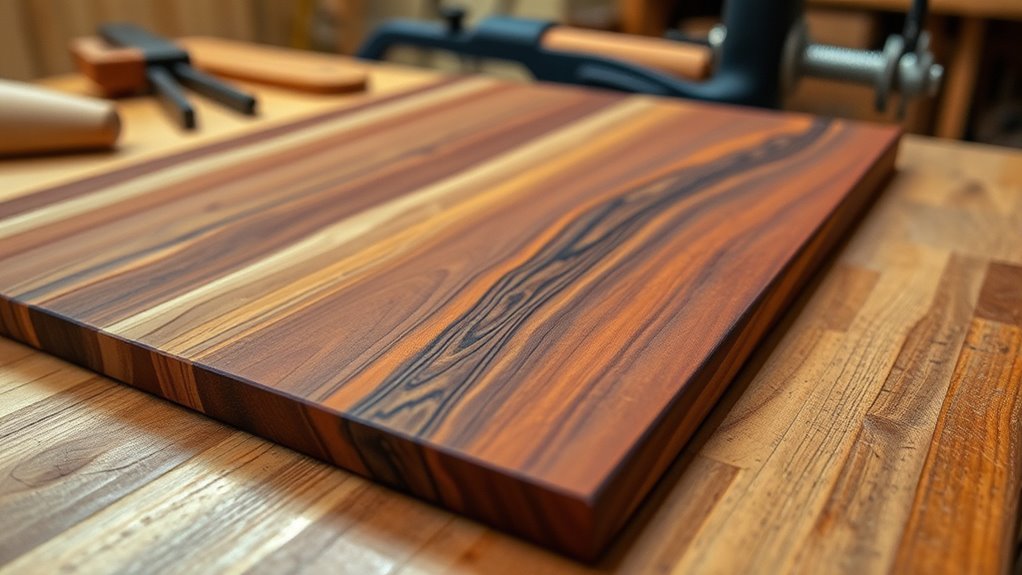
Choosing the right wood and materials is essential for building a durable and functional cutting board. You want woods like maple, walnut, or cherry, known for their durability and resistance to scratches. Maple, especially Northern Hard Rock Maple, is affordable, dense, and highly resistant to wear, making it an excellent choice. Cherry wood offers beautiful grain patterns and aesthetic appeal, perfect for a stylish look. Consider the grain pattern too: edge grain provides a harder surface, while end grain is gentler on your knives and more stable. Using quality materials guarantees your cutting board lasts longer and performs better. Proper maintenance and using food-safe finishes like mineral oil or beeswax can help extend the life of your cutting board and keep it in top condition over time. Additionally, selecting woods with good moisture resistance can prevent warping and cracking, ensuring your cutting board remains in optimal condition for years to come. Incorporating hackathon-inspired innovation methods such as testing different wood treatments can further improve durability and performance. To further enhance longevity, considering sealants and finishes can provide additional protection against moisture. For example, choosing woods with natural water resistance can significantly reduce the risk of damage from regular use.
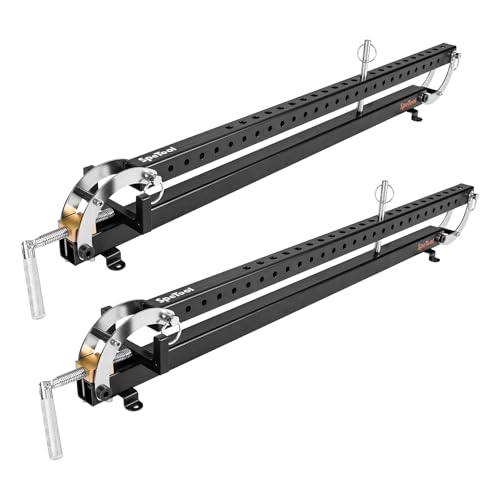
SpeTool 24 inch Panel Clamp 2 Pack, 4-Way Pressure Steel Parallel Clamp For Board Cabinet, Tabletops, Woodwork, Adjustable parallelogram Couplers, Cutting Board Clamps For Precision Projects
The 4-Way Panel Clamp:With parallelogram couplers, our 2 pack panel clamps are very convenient to use. It clamps…
As an affiliate, we earn on qualifying purchases.
As an affiliate, we earn on qualifying purchases.
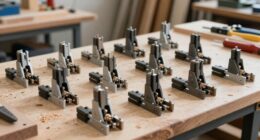
Gathering Essential Tools and Preparing Your Workspace
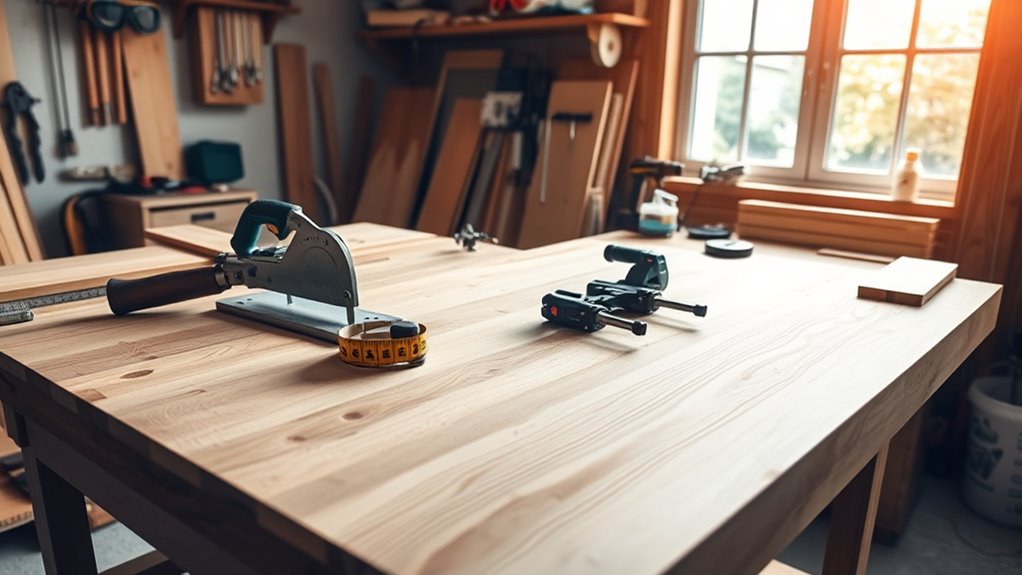
Before you start cutting and assembling, gathering the right tools and preparing your workspace sets the foundation for a smooth project. Make certain you have essential power tools like a table saw for precise cuts, a miter saw for angled cuts, and a random orbit sander for smooth finishing. Incorporating knowledge about cybersecurity can help protect your workspace from digital threats and ensure your project files remain secure. Additionally, understanding sound healing science can inspire calming routines during long working hours, promoting focus and well-being. Clamps are crucial for holding pieces securely during assembly, while a router adds decorative edges. Hand tools like measuring tape, square, marking gauge, and carpenter’s pencil ensure accurate measurements and markings. Your workspace should include a sturdy workbench, an organized layout, and a dust collection system to keep things clean. Safety gear like goggles, dust masks, and push sticks help prevent injuries. Maintaining a clean, organized, and well-equipped area keeps your project efficient and safe from start to finish. Regularly inspecting your bike tools and equipment ensures they function correctly and safely throughout your project. Furthermore, being aware of regional legal resources can be useful if you encounter any issues related to your tools or workspace setup.

2.2 Amp 1/3 Sheet Palm Sander for Woodworking, Variable Speed up to 26,000 OPM, Corded Electric Sheet Finishing Sander with 15 pcs Sandpaper and Dust Box for Wood Polishing Sanding
POWERFUL MOTOR & VARIABLE SPEED: This corded 1/3-sheet palm sander delivers up to 26,000 OPM with a variable-speed…
As an affiliate, we earn on qualifying purchases.
As an affiliate, we earn on qualifying purchases.
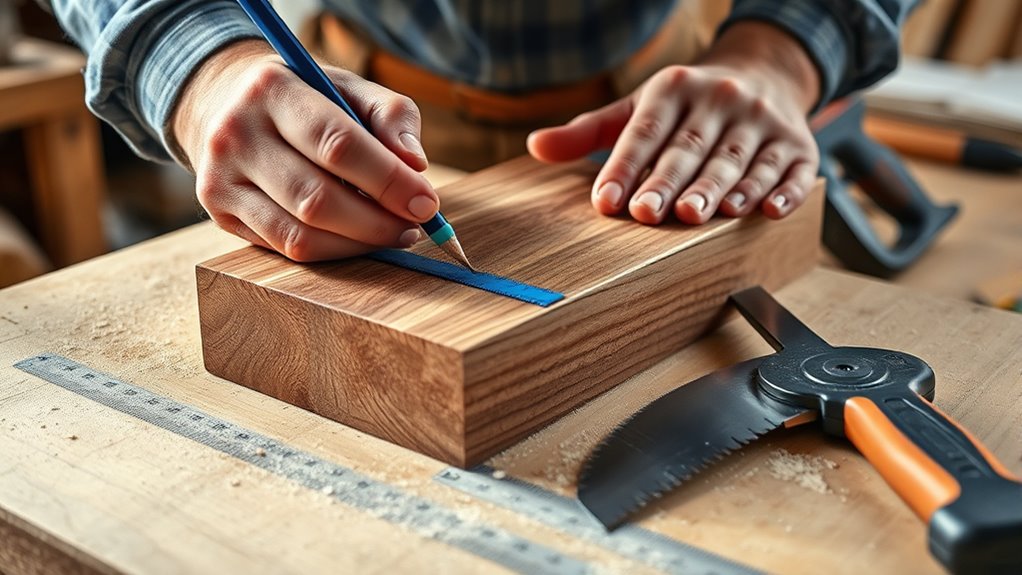
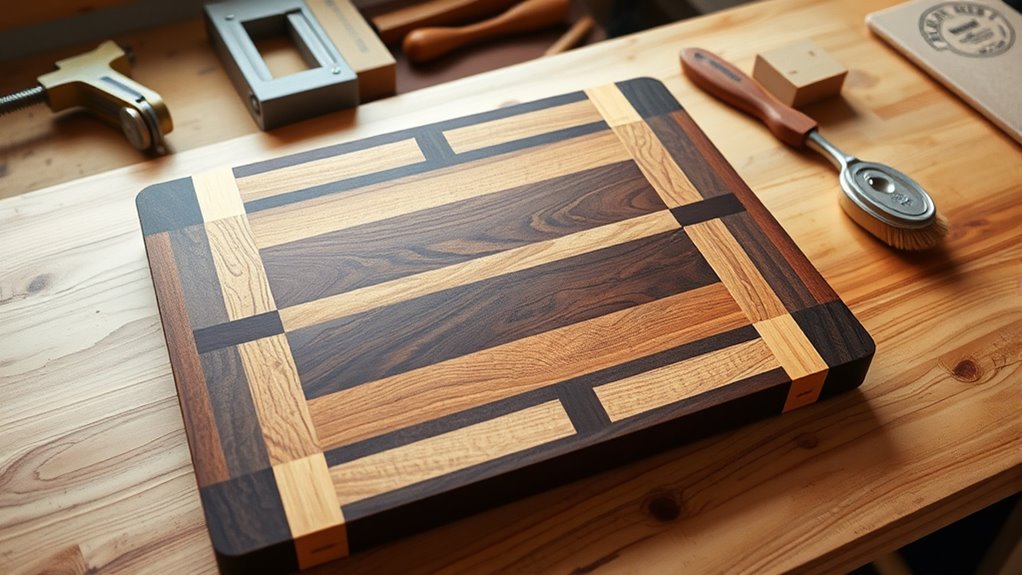
Planning and Measuring Your Cutting Board Design
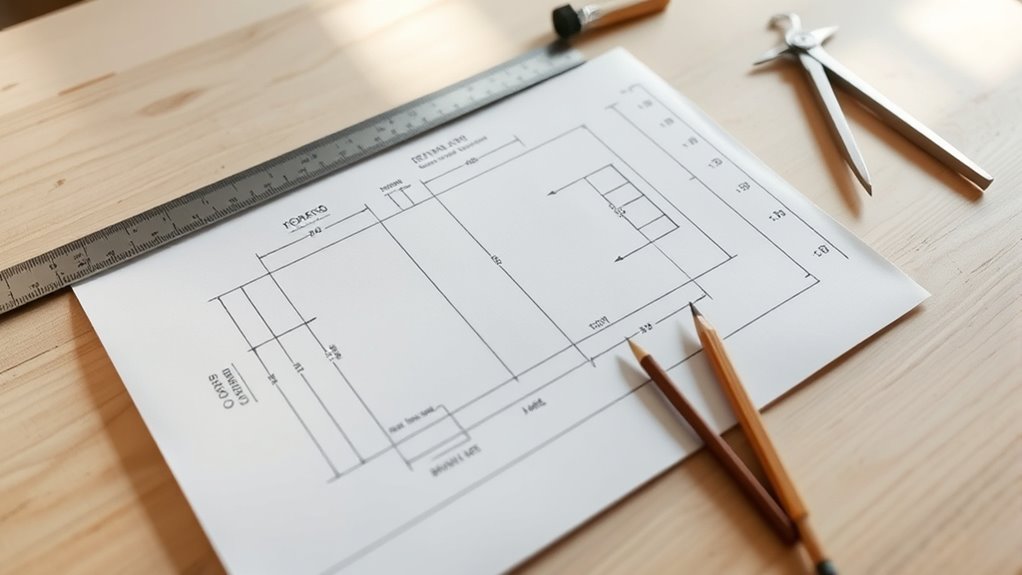
Planning and measuring your cutting board design is a crucial step that guarantees your project comes together smoothly. First, consider the pattern you want, like checkerboards or optical illusions, and select wood species such as maple, walnut, or sapele to enhance both look and durability. Incorporating a clear understanding of financial metrics can help manage your project budget more effectively, ensuring you stay within your financial limits. Additionally, researching popular materials used in similar projects can provide inspiration and insight into what works best for your desired outcome. Decide on the board’s thickness, typically around 1.75 inches for end-grain designs, to allow for flattening later. Use design software or sketches to visualize dimensions, ensuring your final length, width, and thickness fit your needs. Calculate the lumber requirements carefully, adding extra material for trimming and errors. Double-check measurements with precise tools, and guarantee your cuts are square and accurate. Proper planning minimizes waste and incorporates quality control measures to ensure your cutting board is both beautiful and durable. A thorough understanding of material properties can also help you select the best finishes and treatments for longevity and safety.

Thirteen Chefs Mineral Oil – 8 oz Food Grade Conditioner for Wood Cutting Board, Countertop & Butcher Block, Lubricant for Knife or Meat Grinder – Safe USP Finish on Marble, Soapstone
FOOD GRADE – This butcher block conditioner is lab tested to ensure that it meets food safety standards,…
As an affiliate, we earn on qualifying purchases.
As an affiliate, we earn on qualifying purchases.
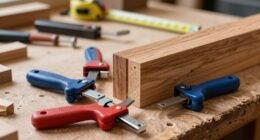
Cutting the Wood to the Desired Dimensions
To guarantee your cutting board turns out perfectly, you need to cut your wood to the desired dimensions with precision. Start by selecting high-quality hardwoods like maple, walnut, or cherry for durability.
Make sure your initial planks are slightly larger than your final size to allow for trimming and flattening. Use a table saw or a miter saw to make straight, clean cuts, aligning the grain properly to prevent tearouts. Proper digital literacy can help you access online tutorials and resources for safe and accurate cutting techniques.
Leave extra material on all sides for final trimming. Keep safety gear on, and cut in the direction of the grain. Ensuring proper safety protocols during cutting will help prevent accidents and defects. Additionally, understanding paint sprayer maintenance can assist in keeping your tools in optimal condition for precise cuts.
For larger boards, use guides or fences to ensure accuracy. Remember, precise cutting at this stage sets the foundation for a smooth, well-fitting finished product. Incorporating an investment in quality tools can significantly improve your cutting precision and overall project outcome. Kia Tuning offers insights into customizing and optimizing your build for better performance and style, much like precision in woodworking ensures a high-quality final product.
Shaping Edges and Corners for Comfort and Aesthetics
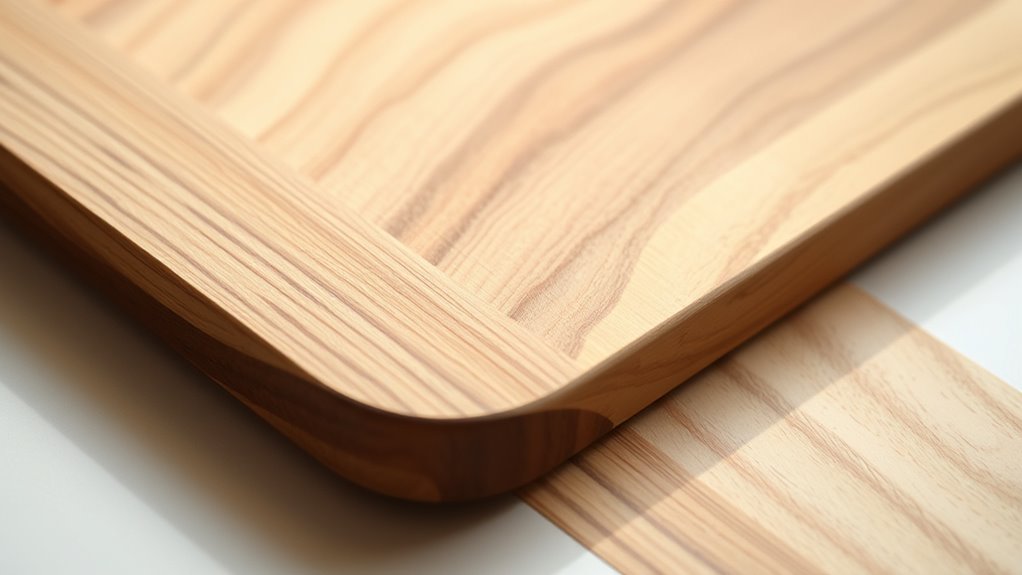
After cutting your wood to the right size, shaping the edges and corners enhances both comfort and appearance. Use a block plane to create a clean chamfer on top edges, which avoids tear-out and provides a smooth feel.
For more refined profiles, employ a router with chamfer or round-over bits, but test on scrap first. Lightly easing corners with a rounded profile prevents chipping and makes handling safer.
When shaping, keep the curves consistent for a professional look. Sand thoroughly, starting with coarse grit to remove tool marks, then progress to finer grits for a smooth, polished surface.
Final sanding with water raises the grain; sand again for superior comfort. Proper shaping and finishing give your cutting board a beautiful, safe, and comfortable edge. Additionally, understanding store hours can help you plan your shopping trips more efficiently when purchasing supplies for your woodworking projects.
Sanding Surfaces for a Smooth Finish
Achieving a smooth finish on your cutting board hinges on proper sanding techniques. You should start with coarse grit (50-80) to remove planer marks and surface imperfections.
Progress through finer grits—like 100, 120, 150, up to 220, and even 400 grit for end grain boards—until the surface feels silky. Use pencil marks to check your progress; remove all lines at each grit stage to ensure even sanding.
Moisten the surface after initial sanding to raise the grain, then sand again at the same or finer grit. For flat surfaces, a drum or random orbit sander works best, while hand sanding is ideal for edges.
Vacuum or wipe away dust thoroughly between grit changes to prevent contamination and achieve a flawless, glass-like finish.
Assembling and Joining Multiple Wood Pieces
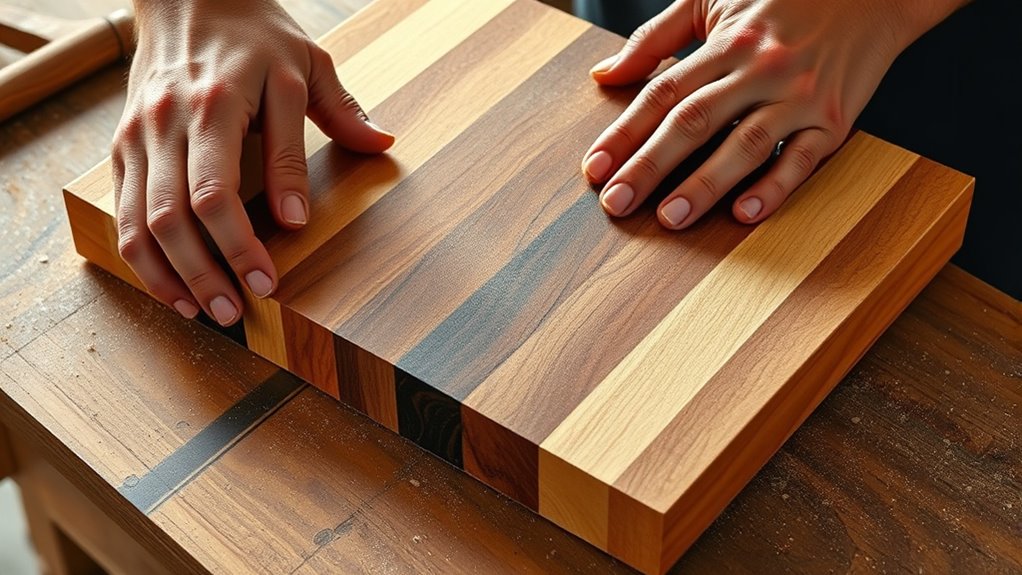
When assembling multiple wood pieces for your cutting board, selecting the right preparation steps guarantees a strong and durable bond.
First, choose wood strips with similar moisture content to prevent warping later. Cut all pieces to consistent widths and lengths for uniformity. Joint the edges to create flat, smooth surfaces, ensuring maximum glue contact.
Clean the edges thoroughly, removing dirt, dust, and oils to improve adhesion. Arrange the strips in your desired pattern, paying attention to grain direction for aesthetics and strength.
When ready to glue, apply waterproof wood glue evenly along the edges. Use clamps to hold everything tight, maintaining alignment and preventing gaps. Check for proper fit and flush edges before the glue cures fully.
Proper preparation ensures a solid, lasting joint in your cutting board.
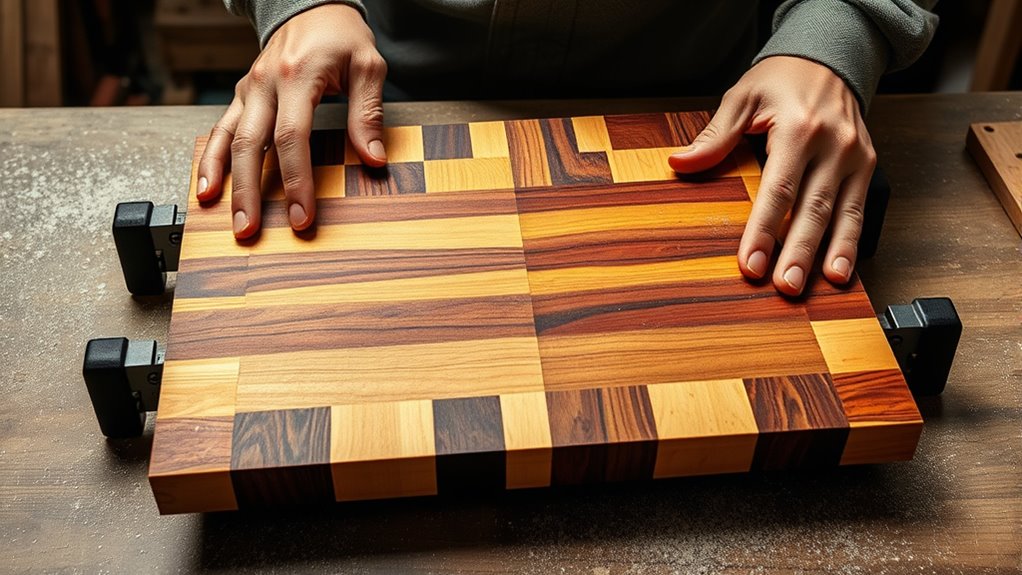
Clamping and Gluing for a Strong Bond
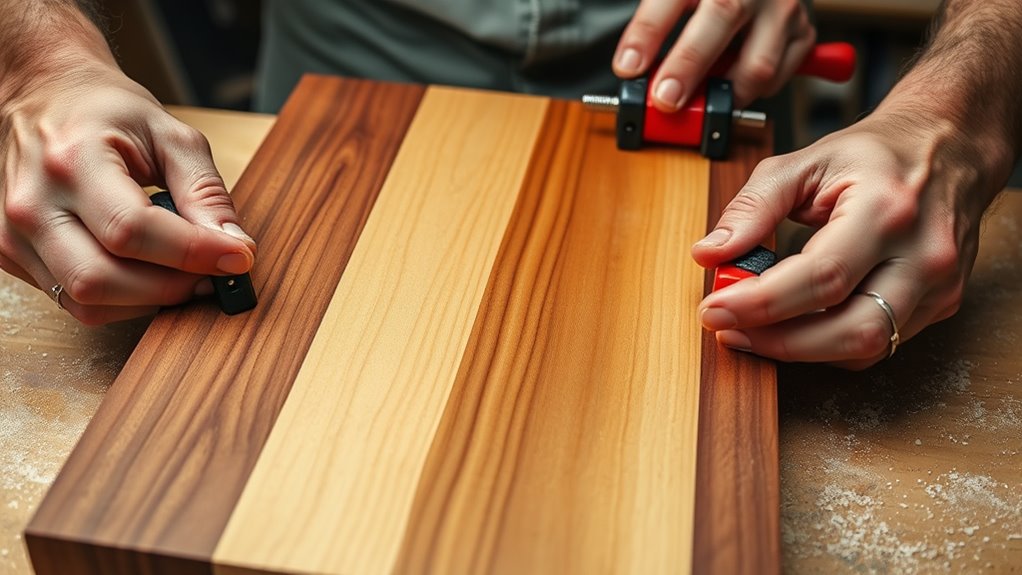
To guarantee a strong bond between your wood pieces, proper clamping and gluing techniques are essential. Use the right clamps—F-clamps, squeeze clamps, or parallel clamps—to apply even pressure across the joint.
Place clamps on both sides of the board to prevent warping, and use cauls wrapped with tape to distribute pressure evenly. Tighten clamps gradually, then fully, and loosen if needed to keep the boards flat and aligned.
Avoid over-tightening, which can squeeze out too much glue or deform the wood. Ensure glue is spread evenly over the joint, and watch for squeeze-out as a sign of proper pressure.
Clean excess glue promptly to maintain a smooth surface. Proper clamping and gluing set the foundation for a durable, flat cutting board.
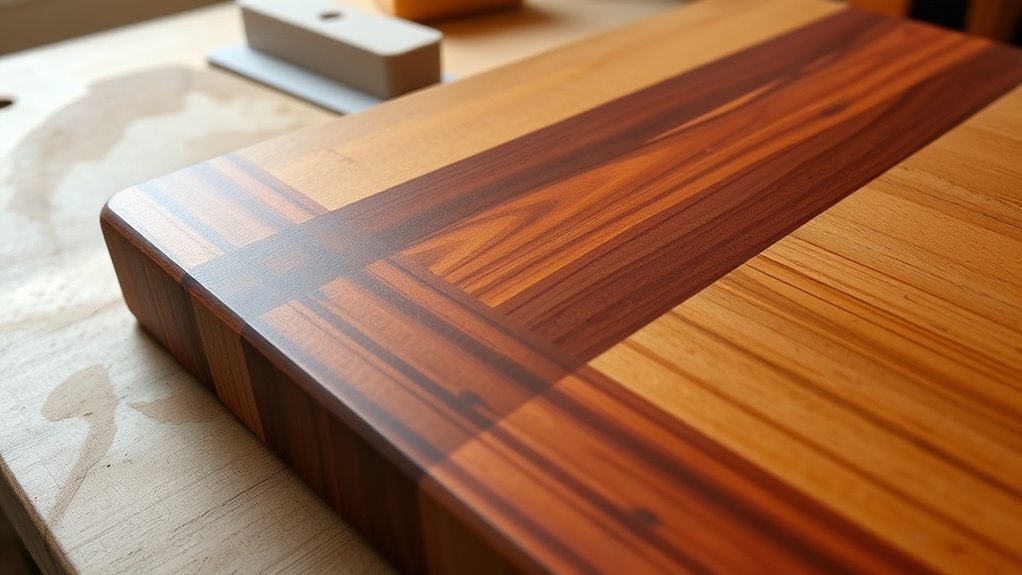
Finishing and Sealing the Surface

After ensuring your wood pieces are securely glued and clamped, the next step is to prepare the surface for finishing. Start by sanding the board progressively from 80 to 400 grit to achieve a smooth, glass-like surface that highlights the wood grain.
Wet the surface to raise the grain, then let it dry before doing a final sanding to remove fibers. Remove all dust with a vacuum or tack cloth for clean absorption.
You might want to brand your board before finishing, but do so after initial sanding and before the final coat. Once dry, apply a food-safe finish.
Mineral oil is the most popular choice because it penetrates deeply, is easy to renew, and doesn’t harden or crack. For added protection, you can also apply beeswax for a smooth, water-resistant surface.
Maintaining and Caring for Your Handmade Cutting Board
Proper maintenance and care are essential to keep your handmade cutting board in ideal condition. After each use, wash both sides with warm water and a mild detergent to remove residue and prevent bacteria buildup. Avoid harsh abrasives like steel wool or chemical cleaners that could scratch or damage the wood. Never submerge the board in water; instead, towel dry immediately and air dry upright to prevent warping.
Store it in a dry, ventilated spot away from direct sunlight or heat sources. Regularly moisturize with food-grade mineral oil—monthly for frequent use or every 2-3 months for occasional use—to keep the wood hydrated. Finish with a beeswax or board cream to seal the surface.
Rotate the board and lightly sand scratches to maintain a smooth, durable cutting surface.
Frequently Asked Questions
How Do I Prevent Wood From Splitting During Cutting?
To prevent wood from splitting during cutting, you should maintain consistent moisture levels by regularly conditioning your board with food-grade mineral oil or beeswax.
Avoid exposing the ends to air, and store it in a cool, dry environment away from heat or direct sunlight.
Clean and dry it promptly after use, and avoid heavy objects resting on the surface.
Proper care guarantees the wood stays flexible and less prone to cracking.
What Are the Best Safety Practices When Using Power Tools?
Did you know that improper safety precautions cause over 30% of power tool injuries? When using power tools, you should always wear PPE like gloves, goggles, and ear protection.
Keep your workspace organized, secure your materials, and double-check that tools are off before plugging in.
Regularly inspect and maintain your equipment to prevent malfunctions. Following these practices keeps you safe and reduces the risk of accidents.
Can I Customize the Size and Shape of My Board Easily?
You can customize the size and shape of your board quite easily, depending on your material choice. For example, maple and bamboo allow for standard sizes like small or large, but you can also opt for unique shapes such as live-edge or paddle designs.
Adding features like juice wells or grip handles enhances functionality. Keep in mind, your choices are guided by your preferences and the material’s capabilities, making customization flexible and straightforward.
How Do I Remove Glue Residue Effectively After Assembly?
Imagine gently lifting stubborn glue squeeze-out with a sharp chisel or scraper, easing away the excess like peeling back a thin layer. You can also sand the area with coarse grit, then fine, smoothing the surface.
For tougher spots, apply a baking soda paste or warm vinegar to dissolve residues. Rinse, dry thoroughly, and recondition with mineral oil.
This rhythmic approach keeps your board clean and ready for use.
What Are Eco-Friendly Finishing Options Beyond Mineral Oil?
You’re wondering about eco-friendly finishes beyond mineral oil. Consider using natural plant-based oils like walnut, linseed, tung, or hempseed oil, which are renewable and food-safe.
Adding beeswax or plant-based waxes creates water-resistant, biodegradable coatings that nourish the wood. These options are non-toxic, sustainable, and extend your cutting board’s lifespan, all while avoiding harmful chemicals.
Regular reapplication keeps your board protected and eco-conscious.
Conclusion
Now that you’ve crafted your cutting board, the real transformation begins. A simple slice reveals not just a functional surface but a story of your craftsmanship. Will you choose to leave it natural or add a personalized touch? The journey doesn’t end here—care and maintenance will determine its lifespan. Every cut, every seal, shapes more than wood; it shapes your skills. Are you ready to see how this masterpiece ages with time?