To identify and prevent wood defects, look for natural cracks, knots, shakes, and uneven grain patterns that weaken your timber. Watch for signs of biological damage like fungi or insect activity, and be cautious about warping, cupping, or twisting caused by improper drying or storage. Proper airflow, controlled moisture, and careful handling are key to prevention. Keep exploring to discover more effective strategies for maintaining quality and avoiding costly mistakes.
Key Takeaways
- Recognize natural defects like knots, burls, and shakes, which weaken wood and influence processing quality.
- Identify drying-related issues such as honeycomb cracks and warping caused by improper moisture management.
- Detect biological damage including fungal decay, insect tunnels, and blue stain fungi that compromise wood integrity.
- Use proper storage techniques—ventilated, stable environments with supports—to prevent warping, cracking, and moisture-related defects.
- Implement regular inspection and controlled drying to minimize internal stresses, cracks, and other defects during processing.

EONST Wooden Tire Thumper for Truckers – Sturdy Weighted Tire Inspection Bat for Truck Tire Hollow and Defect Detection for Commercial Truckers, Raw Natural Wood Tone
- Length and Material: 17.7 inches, high-quality solid wood
- Durable Finish: Polished with varnish coating
- Weighted End: Metal bolt for effective checks
As an affiliate, we earn on qualifying purchases.
As an affiliate, we earn on qualifying purchases.
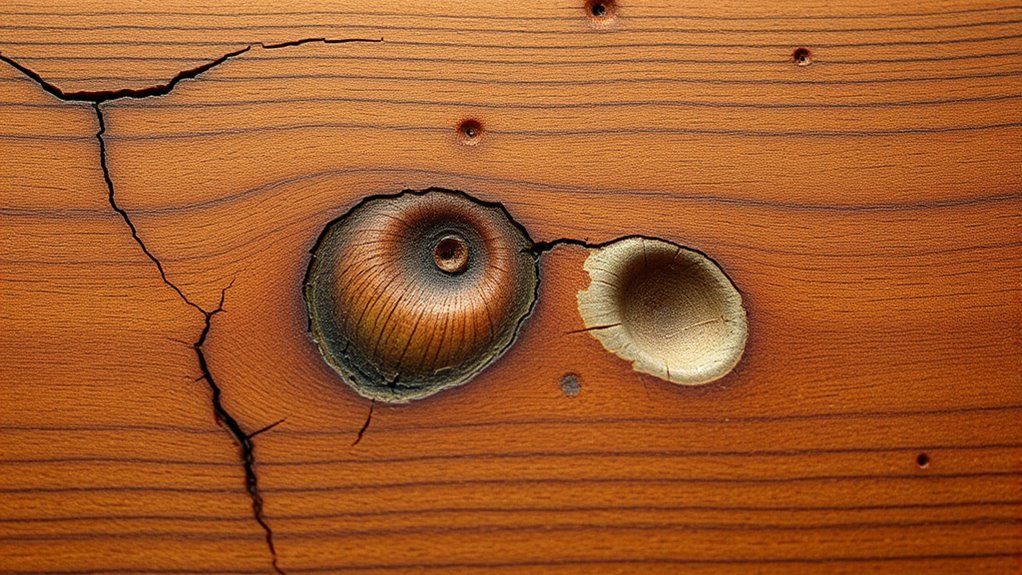
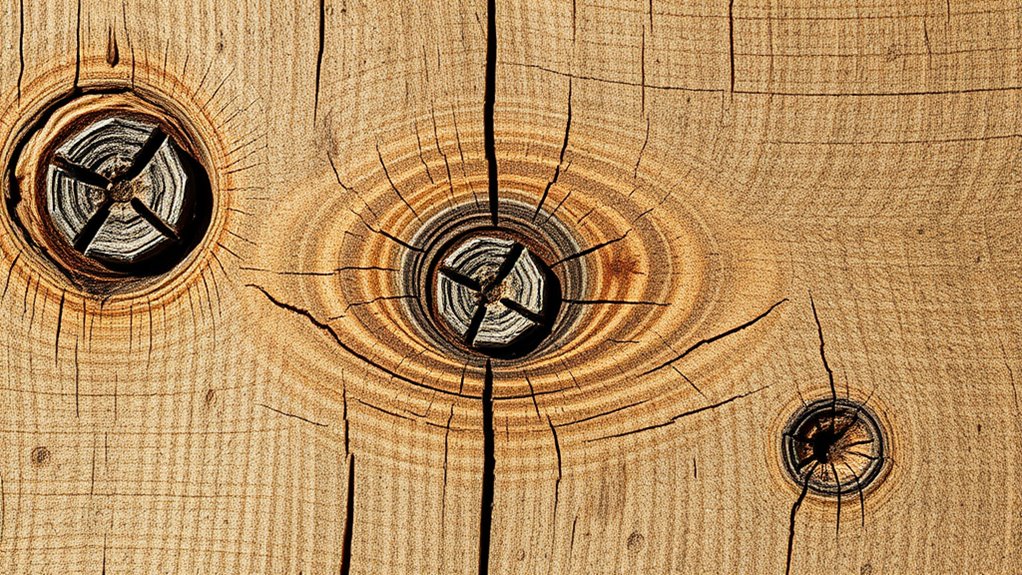
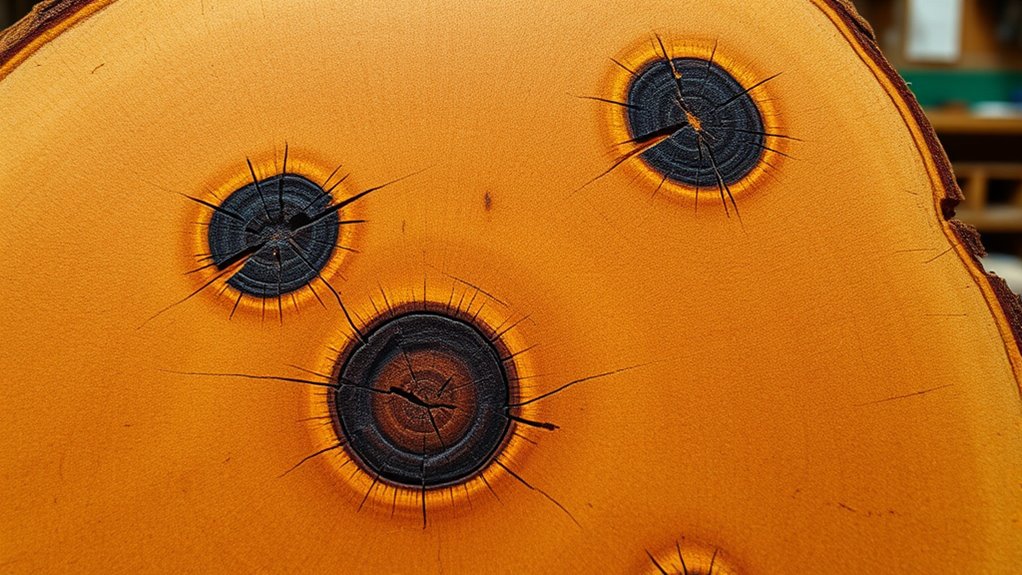
Common Natural Cracks and Fiber Separation Issues

Have you ever noticed cracks or separations in wood that seem to develop naturally? These are often wind cracks or shakes caused by environmental stress. Wind cracks form when prolonged exposure to strong winds causes the outer surface to shrink and crack. Shakes occur as splits along the grain, following growth rings, and weaken the wood’s structure. Both types usually happen in standing trees or freshly cut timber. Fiber separation issues, like shakes and ring galls, happen when fibers split or grow unevenly, often due to improper handling or environmental conditions. Ring galls form when branches are removed improperly, causing abnormal growth. These defects reduce wood strength and increase cracking risks. Careful harvesting, handling, and environmental management help prevent these natural cracks and fiber separation issues. Additionally, understanding wood properties can assist in predicting and mitigating these defects before they develop.
Recognizing Grain and Texture Imperfections
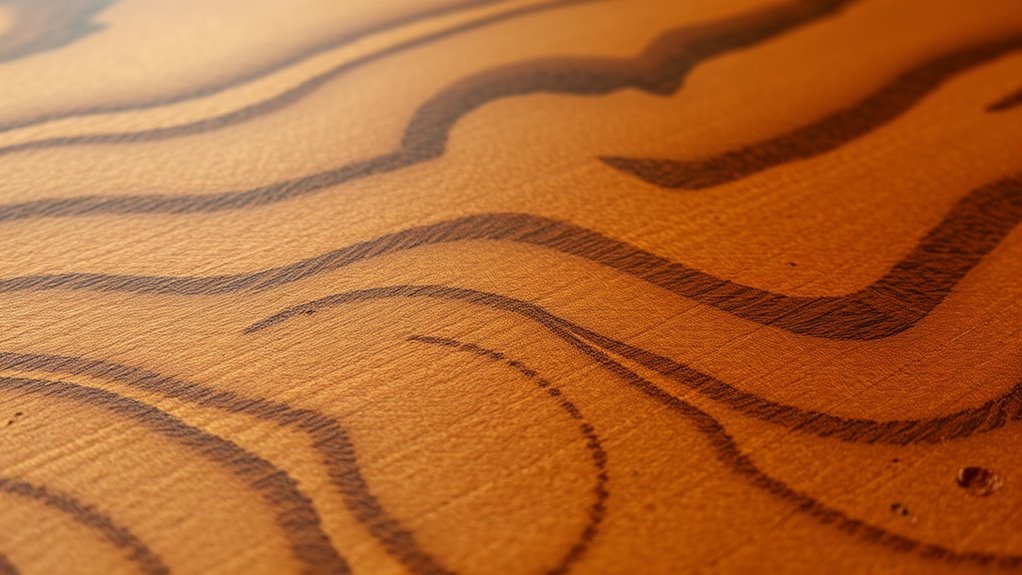
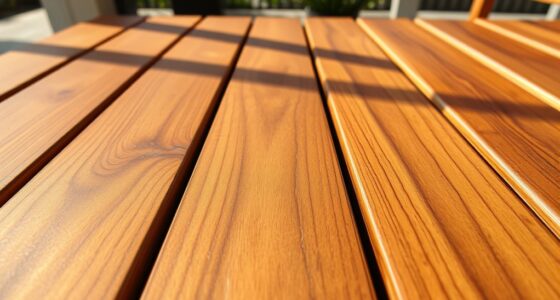
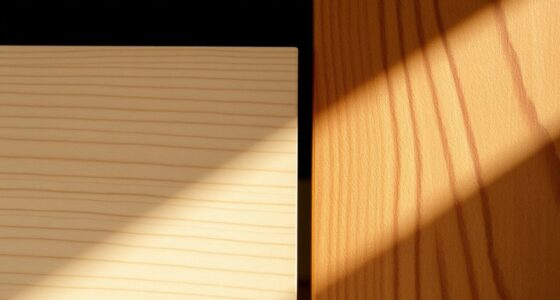
Wood defects aren’t always obvious from the surface; understanding the grain and texture helps you identify potential issues early. Straight grain is easy to work with and less likely to cause problems, while wavy or interlocked grain can present machining challenges due to irregular patterns or frequent direction changes. Spiral grain, though less common, might cause tearing during cutting, and irregular grain—caused by knots or burls—leads to unpredictable behavior. Additionally, keto-friendly ingredients can be used in finishing products to reduce the risk of chemical reactions with certain wood types. Recognizing these patterns and textures enables you to select better-quality wood and plan your projects to minimize defects and guarantee a smoother finish. Understanding wood grain patterns can further improve your ability to anticipate how the wood will behave during processing. Texture also matters: open porous woods like oak show large pores, making finishing harder, while fine, even textures like birch offer smooth surfaces. Coarse textures, such as teak, can complicate sanding.
Identifying Warping and Distortion in Wood

To effectively identify warping and distortion in wood, you need to carefully inspect the surface for irregularities that disrupt flatness and alignment. Look for cupping across the width, where edges bend upward or downward, especially in unsupported panels. Check for bowing along the length, which causes a gentle curve, often from improper stacking or environmental exposure. Digital literacy programs encourage awareness of environmental factors that contribute to wood warping, such as humidity and temperature fluctuations. Examine edges for crook, a deviation from straightness caused by uneven drying. Inspect corners for twist, where surfaces misalign due to internal stresses. Use a straightedge or laser level to detect these irregularities. Shadow tests with angled light can reveal subtle curves. Moisture meters help identify moisture gradients responsible for warping. Recognizing these signs early helps you address warping before it affects your project’s quality. Understanding wood moisture content is essential because fluctuations can lead to warping and distortion over time. Additionally, regular monitoring of environmental conditions can prevent excessive moisture variations that cause warping and improve the longevity of the wood. Being aware of wood processing methods can also help in identifying potential causes of warping related to manufacturing or handling.
Biological and Chemical Damage Symptoms
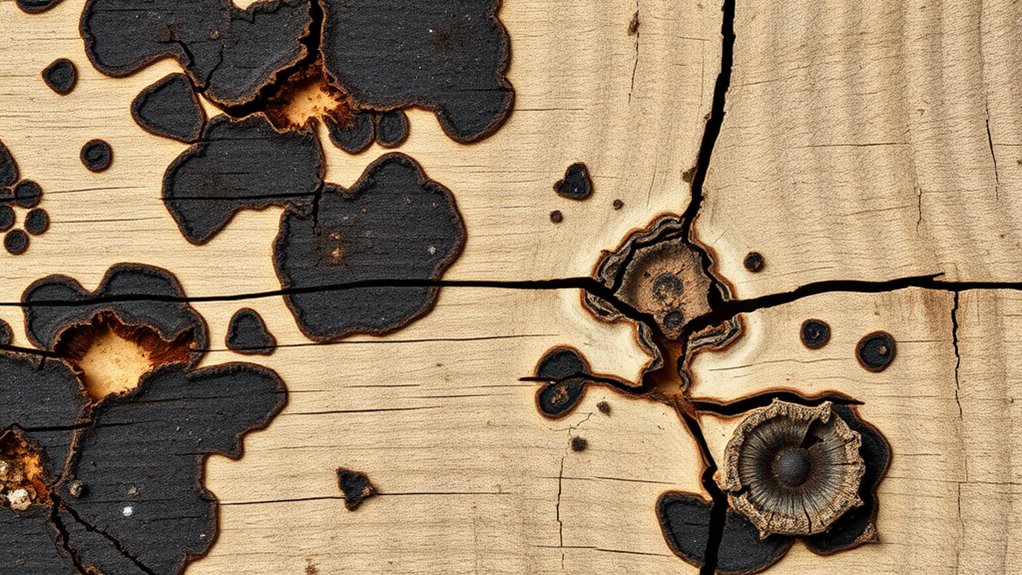
Inspecting wood for warping and distortion often reveals underlying biological and chemical damage that can compromise its integrity. You might notice fungal decay, such as brown rot, which leaves cubical cracks and causes significant strength loss, or white rot, which produces fibrous textures and lighter colors.
Soft rot bacteria create dark surface cracks and gradual weakening. Blue stain fungi discolor wood without structural damage but increase moisture absorption, promoting decay.
Signs of insect infestation include mud tubes, smooth tunnels, exit holes, and frass from termites, beetles, and carpenter ants.
Bacterial degradation shows as surface softening, discoloration streaks, and pitting, sometimes accompanied by putrid odors.
Chemical reactions from toxic woods can cause dermatitis, respiratory irritation, or nausea, especially during processing.
Environmental stress may cause radial cracks, surface erosion, and mineral streaks, further weakening the wood.
Drying-Related Defects and Their Causes
Drying-related defects often result from uneven moisture removal and rapid temperature changes during kiln or air drying. Honeycomb forms when internal tension causes cracks across the grain, especially if the core moisture stays high while temperatures rise too quickly. To prevent this, avoid high temperatures before the core reaches fiber saturation point. Monitoring only average moisture can be misleading, as internal moisture may remain high. Additionally, improper drying can lead to penetration testing that fails to detect internal stresses, increasing the risk of defects. Understanding moisture content measurement techniques can help in more accurately assessing drying progress and reducing defect occurrence. Implementing moisture control strategies can further minimize the likelihood of such drying-related issues, especially when utilizing advanced moisture measurement tools for precise management. Regularly reviewing drying schedules based on moisture data can optimize the process and prevent defects.
Strategies for Preventing and Managing Wood Defects
Implementing effective strategies for preventing and managing wood defects is essential to guarantee the durability and appearance of your timber. Start by properly storing logs—keep them wet or submerged, and store with ends facing east-west to reduce heat exposure. Using appropriate storage techniques can significantly minimize defects caused by improper handling. Saw logs into lumber within 15 days to minimize defects from prolonged exposure, and avoid stacking directly on the ground; use coverings to protect against rain and sunlight. Apply insecticide and fungicide treatments before end coating to prevent pests and decay. Use end paints to prevent checks and splits, treating the wood with preservatives after removing decayed parts. Select high-grade lumber, inspecting for knots or cracks, and reject damaged pieces. Incorporate ventilation, proper drainage, and mechanical fasteners in your design to reduce moisture and stress, ensuring long-lasting, defect-free wood. Additionally, understanding production quantity variance and other cost management principles can help optimize manufacturing processes that impact wood quality and reduce waste. Proper airflow management during storage can also help maintain consistent moisture levels, preventing warping and other common defects.
Frequently Asked Questions
How Can I Accurately Assess the Severity of Wood Defects Before Use?
To accurately assess the severity of wood defects before use, you should start with a thorough visual inspection for surface issues like knots, checks, or cracks.
Use acoustic tools and non-destructive testing to find internal flaws.
Then classify defects based on size, location, and impact on strength.
Combining these methods helps you determine if the wood meets your structural or aesthetic standards, ensuring you select the best material for your project.
What Are the Best Tools for Detecting Internal Cracks or Decay in Wood?
You want to detect internal cracks or decay in wood, and the best tools for this are advanced inline monitoring systems like Brookhuis ICD.
It detects internal cracks ≥10mm with 98% accuracy at speeds up to 300m/min, without safety hazards.
These radiation-free systems are highly reliable, suitable for high-volume production, and work across production stages, making them your top choice for thorough internal defect detection.
How Do Environmental Conditions Influence the Development of Wood Defects Over Time?
You might notice that changing weather often coincides with new wood defects, revealing how environmental conditions shape wood quality over time. Fluctuations in moisture and temperature cause wood to expand, contract, and develop cracks or decay.
Humid, damp environments foster fungal growth, weakening the wood, while rapid drying can cause internal stresses. By understanding this connection, you can better control storage and drying conditions to prevent long-term damage.
Are There Specific Treatments to Repair or Reinforce Damaged Wood Surfaces?
You can repair or reinforce damaged wood surfaces using various treatments.
For small imperfections, apply wood fillers or putty, overfill slightly, and sand after drying.
For structural damage, consider epoxy putty or veneer patches for reinforcement.
To protect the surface, stain or paint over repairs, and seal with varnish or sealant.
Regular maintenance, like cleaning and avoiding moisture, helps keep the wood strong and prevents further damage.
What Are the Cost-Effective Methods for Preventing Wood Defects in Large-Scale Projects?
Did you know that proper storage and processing can reduce wood defects by up to 30%?
To prevent defects in large-scale projects, you should store logs in moist conditions or underwater to reduce warping.
Apply end coatings to prevent checks, stack wood with good ventilation, and process logs quickly after felling.
Using lean manufacturing and AI-driven inspection also cuts costs by minimizing waste and catching defects early.
Conclusion
By understanding common wood defects and their causes, you can catch problems early and keep your projects on track. Don’t let hidden flaws catch you off guard—stay vigilant and apply preventive measures. Remember, an ounce of prevention is worth a pound of cure. With careful inspection and proper handling, you’ll turn wood weaknesses into strengths, ensuring your craftsmanship stands the test of time. Keep your eyes open and your work flawless.