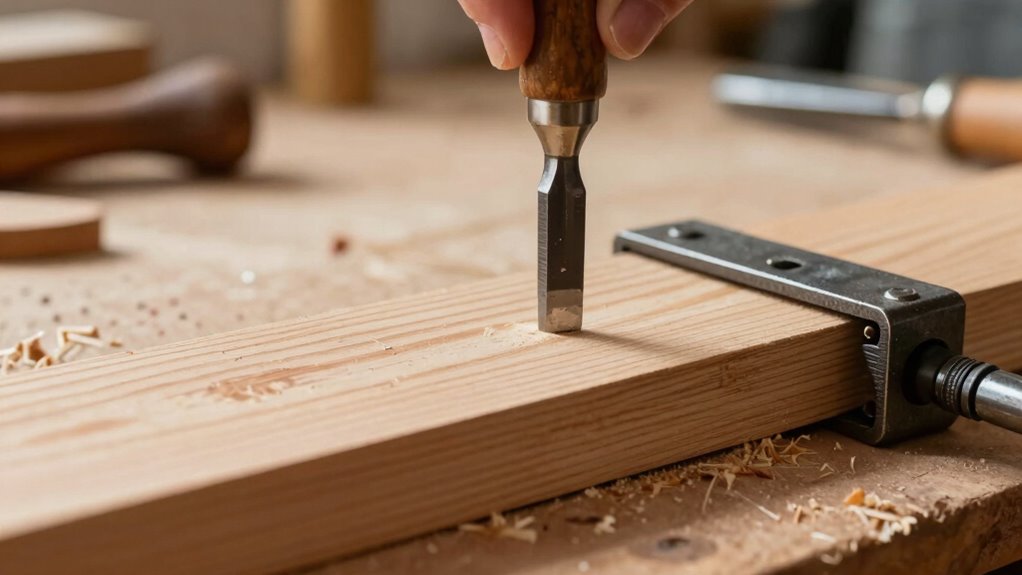

To build cleaner mortises, focus on setting up your workspace for precision rather than applying more force. Start with sharp, well-maintained chisels and the right router bit for your mortise size. Secure your materials on a stable workbench and use clamps to prevent shifting. Mark locations clearly and make shallow cuts, gradually working deeper. Regularly inspect your progress to catch any mistakes early. With the right techniques in place, you’ll guarantee professional-looking results. There’s more to mastering this skill.

Get business pricing on tools and workshop supplies
- Business-only prices and quantity discounts
- Tax-exempt purchasing
- Multiple users, one account, clear invoices
Key Takeaways
- Use sharp, well-maintained chisels and the correct router bit to ensure clean edges and precision cuts.
- Set up a stable workbench and use clamps to secure materials, preventing shifting during work.
- Employ mortising jigs to guide tools accurately, reducing mistakes and enhancing workflow efficiency.
- Mark mortise locations clearly and take shallow cuts, gradually deepening to control splintering and achieve better results.
- Conduct regular visual inspections throughout the process to catch errors early and adjust your approach as needed.
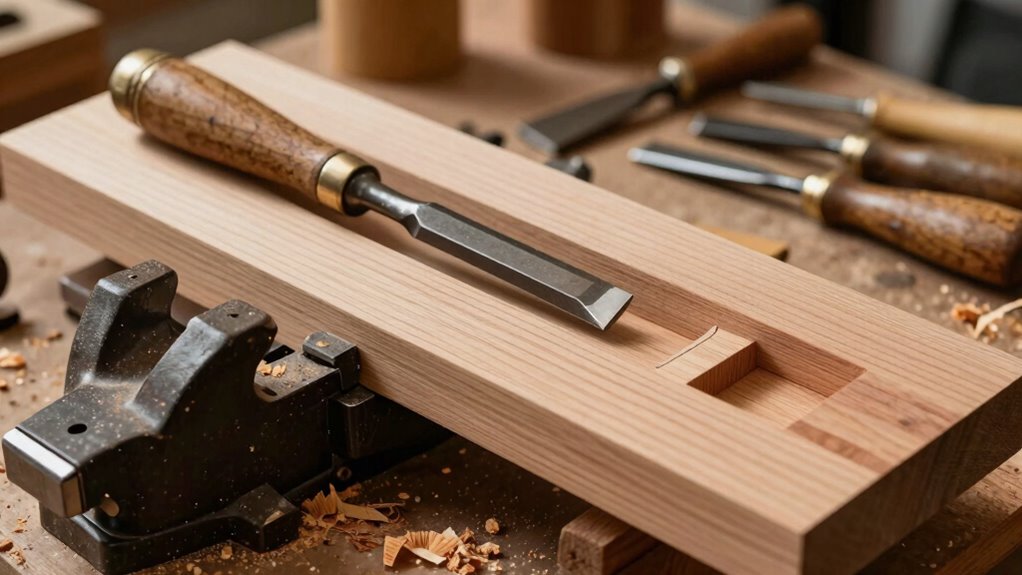
Building cleaner mortises can elevate your woodworking projects, giving them a professional finish. It’s not just about brute force or raw effort; it’s about mastering the right mortise techniques and making smart tool selections. You can achieve precision and cleanliness with the right setup and approach.
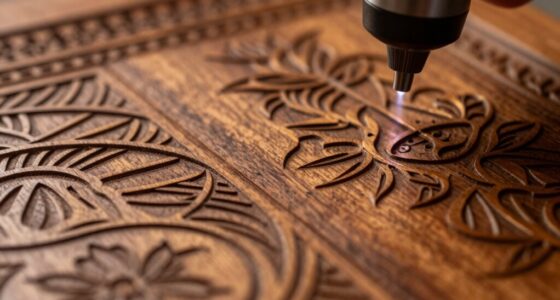
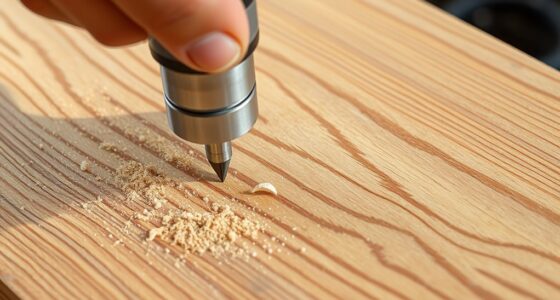
First, consider your tool selection carefully. Whether you’re using a chisel, router, or drill, each tool has its strengths and weaknesses. A sharp chisel is vital for creating clean edges and precise cuts. Always keep your tools well-maintained; dull blades will only lead to jagged edges and unnecessary frustration. If you opt for a router, verify you’ve got the correct bit for your desired mortise size. A plunge router can be particularly effective, but it requires a steady hand and a good setup.
Next, let’s talk about your workspace. Setting up a stable workbench is essential. You want to make certain that your materials are secure and won’t move as you work. Using clamps can help keep everything in place, allowing you to focus on your technique rather than worrying about your pieces shifting. If possible, consider using a mortising jig; it can simplify the process and enhance accuracy considerably. A well-designed jig will help guide your tool, reducing the chances of mistakes. Ensuring your tools are properly maintained is crucial for achieving consistently clean cuts. Additionally, practicing precision in your marking and cutting process will lead to more refined results. Developing a consistent workflow can also help improve your overall accuracy.
When it comes to your mortise techniques, take your time. Rushing through the process often leads to errors that can be difficult to fix. Start by marking your mortise locations clearly, using a square to make sure your lines are straight. It’s helpful to leave a bit of material around the edges, which you can remove gradually for a cleaner finish. If you’re chiseling, make shallow cuts and work your way deeper, rather than trying to remove too much material at once. This reduces the risk of splintering and gives you more control.
Finally, always take a moment to check your progress. It’s easy to get caught up in the rhythm of your work, but a quick visual inspection can save you from making mistakes. If something doesn’t look right, don’t hesitate to adjust your approach. Remember, cleaner mortises are all about precision, patience, and the right setup. Mastering proper mortise techniques and making sure your tools are sharp and well-maintained will significantly improve your results. By focusing on these elements, you’ll not only improve your woodworking skills but also make sure that your finished projects look polished and professional.
As an affiliate, we earn on qualifying purchases.
Frequently Asked Questions
What Tools Are Essential for Creating Clean Mortises?
To create clean mortises, you’ll need a few essential tools. Start with quality mortise chisels; they’re designed for precision and control. A mortising machine can greatly enhance your accuracy and speed, allowing you to tackle deeper cuts with ease. If you’re working with softer woods, a sharp chisel will do the trick. Don’t forget a marking gauge to guarantee your lines are straight and true before you start cutting.
How Do I Choose the Right Wood for Mortising?
Choosing the right wood for mortising is like selecting the perfect canvas for your masterpiece. Opt for hardwoods with medium to high wood density, as they provide strength and durability. Pay attention to grain orientation; straight grain helps prevent splitting and guarantees cleaner cuts. Avoid knots and irregularities that could mar your work. By choosing wisely, you’ll create joints that not only fit perfectly but also stand the test of time.
Can I Use a Router Instead of a Chisel?
Yes, you can definitely use a router instead of a chisel. Routers offer several advantages, like speed and precision, making mortise techniques easier and cleaner. With the right bit and setup, you’ll achieve consistent results without the physical strain chiseling can require. Just verify you measure carefully and secure your workpiece to prevent any movement while routing. This way, you’ll create smooth, accurate mortises with minimal effort.
What Common Mistakes Should I Avoid When Mortising?
Avoid common mistakes like misalignment issues and incorrect chisel angles, which can ruin your mortises. Don’t use excessive force; instead, focus on depth control and proper tool selection. Be mindful of grain direction to prevent tear-out, and always check your measuring techniques to guarantee accuracy. Uneven surfaces can lead to poor fit, so take your time and double-check everything before you start cutting. Following these tips will lead to cleaner, more precise mortises.
How Do I Maintain My Mortising Tools for Longevity?
To keep your mortising tools lasting longer, think of them like a trusted friend—you wouldn’t neglect their care. Store your tools in a dry, organized space to prevent rust and damage. Regularly practice sharpening techniques; a sharp tool makes cleaner cuts and reduces wear. Just like you’d maintain a good relationship, consistent care will guarantee your tools serve you well for many projects to come. Invest time now for future rewards!
Conclusion
By optimizing your setup, you can create cleaner mortises without relying on excessive force. For instance, imagine a woodworker named Sarah, who struggled with rough edges and misaligned joints. After adjusting her chisel angle and using a guide, she achieved precise, smooth mortises effortlessly. With the right techniques, like Sarah’s, you’ll not only improve your craftsmanship but also enjoy the process, making every project more satisfying and professional-looking. Embrace the setup, and watch your mortising skills soar!
Fall Picks
fall essentials
As an affiliate, we earn on qualifying purchases.