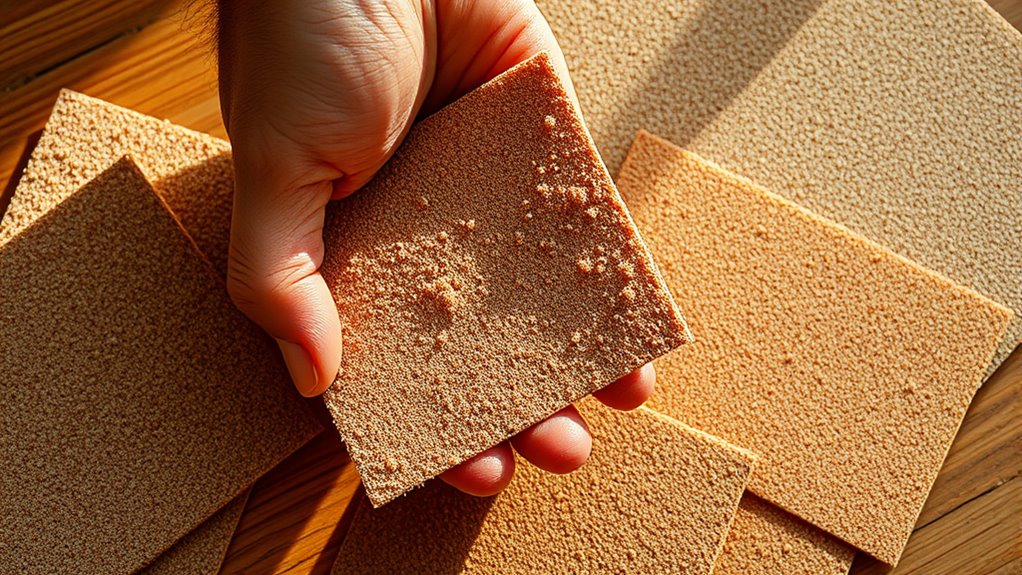
To choose the right sandpaper grit, consider your material and project stage. Use coarser grits (24-36) for heavy removal, then switch to medium (80-150) for smoothing. Finer grits (220) give a smooth finish, while extra fine (600-1000) are great for polishing. Always progress gradually to avoid scratches, and adjust based on whether you’re sanding wood, metal, or other surfaces. For expert tips on matching grit to your project, keep exploring the details ahead.
Key Takeaways
- Match grit size to your material: coarser grits for heavy removal, finer for finishing surfaces.
- Start with a lower grit for initial shaping, then progress to higher grits for smoothness and detail.
- Consider the project’s goal: rough shaping, surface smoothing, or polishing, and select grit accordingly.
- Use intermediate grits to gradually refine the surface and avoid scratches from skipping steps.
- For delicate finishes or polishing, opt for finer grits (600-3000+) and consider wet sanding for best results.
best sandpaper grit for woodworking
As an affiliate, we earn on qualifying purchases.
As an affiliate, we earn on qualifying purchases.
Understanding Grit Ranges and Their Uses
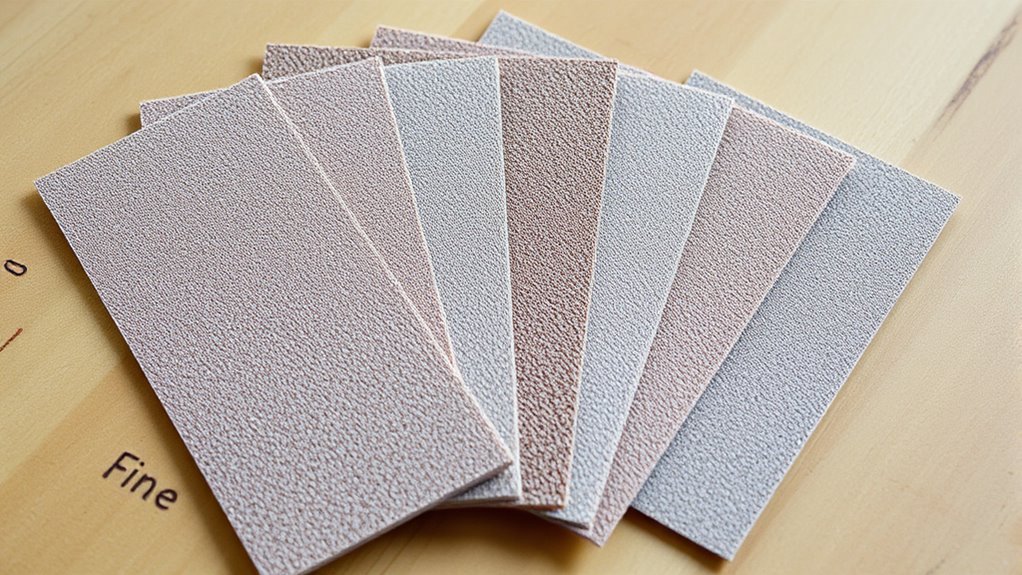
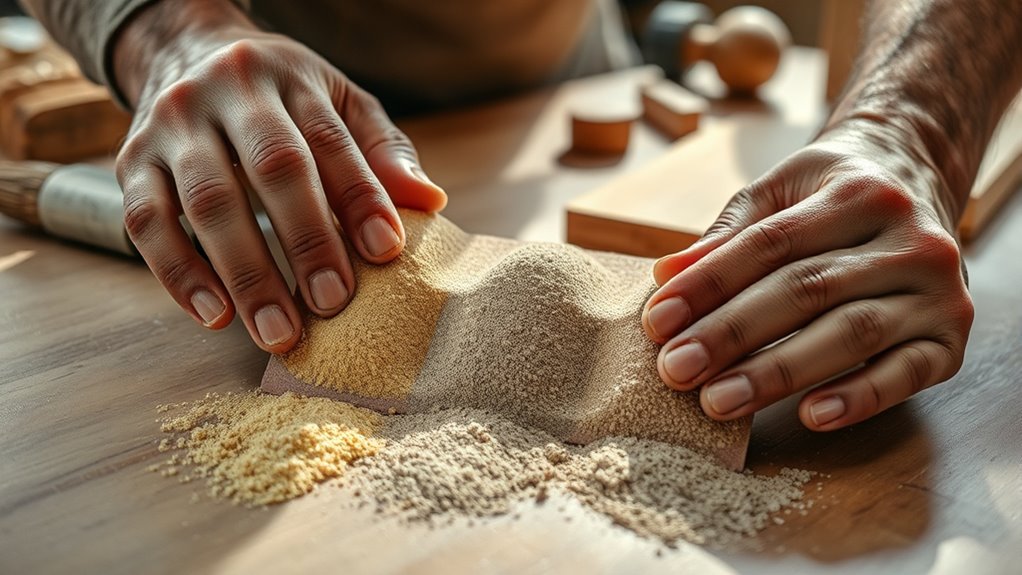
Understanding grit ranges is essential for selecting the right sandpaper for your project. Coarse grits, like 24-36, are great for heavy material removal, such as stripping paint or shaping rough surfaces. Sanding techniques can vary greatly depending on the grit used, affecting the final finish. Medium grits, around 80-150, are ideal for smoothing surfaces and preparing materials for finishing. Fine grits, like 220, help achieve a smooth finish before applying paint or polish. Extra fine grits, from 600 to 1,000, are perfect for polishing and creating high-gloss surfaces. Keep in mind that lower grit numbers contain larger particles, removing material faster but leaving a rougher surface. Higher grit numbers have smaller particles, producing finer finishes. Knowing these ranges helps you match the grit to your task, ensuring efficient work and professional results. For delicate finishes, choosing the appropriate pimple patch can enhance the final look of your project. Additionally, understanding the abrasiveness of grit can help you select the most suitable sandpaper for different materials and applications.
Assessing Your Material Type for Optimal Grit Selection

Choosing the right grit for your project starts with evaluating the material you’re working on. For wood, hardwoods like oak or maple need finer grits for a smooth finish, while softwoods may require lower grits for heavy removal. Reclaimed wood might need coarser grits initially due to imperfections. Understanding material compatibility can help in selecting the appropriate grit and achieving optimal results. Additionally, knowing the appropriate grit progression ensures you avoid damaging delicate surfaces or wasting time on unnecessary sanding steps. Being aware of the material-specific grit recommendations can further improve your sanding effectiveness and surface quality.
Metal surfaces often benefit from silicon carbide or aluminum oxide, with coarse grits for rust removal and finer grits for polishing.
When dealing with plastics or fiberglass, silicon carbide works well, and coarser grits remove old finishes, progressing to finer grits for smoothness.
Stone and concrete usually require coarser grits or diamond-coated sandpaper, with finer grits for polishing.
For mixed materials, start coarse for removal, then switch to medium or fine grit depending on the dominant material, ensuring an even, professional finish.
Matching Grit to Project Stage and Surface Preparation
Selecting the appropriate grit depends heavily on the stage of your project and the surface you’re working with. Start with coarse grits, like 40 or 60, to remove large imperfections, paint, or rust quickly. For rougher surfaces or thick coatings, coarse grit speeds up material removal, but expect visible scratches that need refining later.
When working with hardwoods, 80 grit offers effective removal without deep scratches. After initial shaping, switch to medium grits such as 120 or 150 to smooth the surface and prepare it for finishing.
Fine grits, like 220 or higher, are essential for the final smoothing before applying finishes, ensuring a sleek, professional look. Matching grit to each project stage guarantees efficient progress and a high-quality result.
Progressing through sandpaper grits effectively is essential for achieving a smooth, professional finish. You should start with a coarse grit to remove rough material and then gradually move to finer grits. Skipping more than one grit can leave scratch marks or uneven surfaces, so follow the recommended sequence. Using an airless paint sprayer with adjustable pressure can help achieve a more even application and reduce surface imperfections. Use intermediate grits like P100 or P150 to smooth out scratches from coarser papers before advancing. When the surface appears uniformly smooth and free of deep marks, it’s time to increase the grit. Adjust your pressure and technique as needed, and regularly inspect your work. Additionally, understanding the resources and tools available can improve your technique and results.
Special Considerations for Wet and Dry Sanding Techniques

When working with sandpaper, understanding the differences between wet and dry sanding techniques can substantially impact your results. Wet sanding requires waterproof sandpaper labeled as “wet/dry” to prevent disintegration. You’ll typically perform it manually, using water mixed with detergent or lubricants like WD-40 to reduce surface tension and wash away debris. This method suits finer grit ranges (1000-3000+), ideal for finishing and smoothing surfaces, especially on paint or plastic. For plastics, starting with a lower grit like 180 is common, then progressing to finer grits. Wet sanding promotes a smooth, glossy finish with fewer dust particles. It also uses straight, overlapping strokes for even pressure. Proper surface cleaning and pre-soaking the sandpaper help achieve ideal results and prevent damage during the process. Additionally, understanding AI discoveries can influence future techniques and tools used in surface finishing processes. Using the correct sanding techniques ensures optimal surface quality and minimizes the risk of scratches or gouges. Choosing the right grit is essential for achieving the desired surface quality without unnecessary material removal.
Safety Tips for Effective and Safe Sandpaper Usage
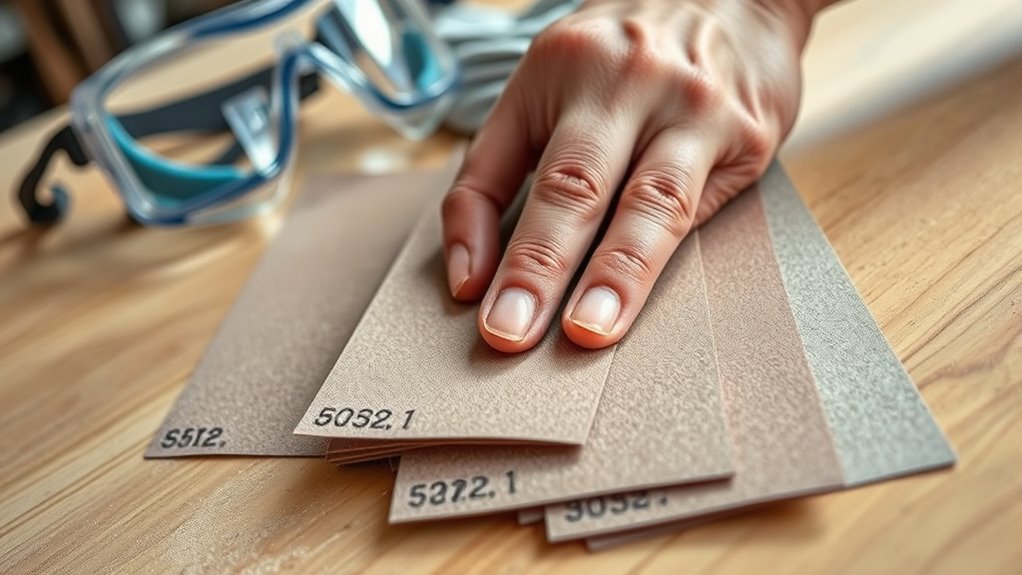
Ensuring safety while using sandpaper is essential for both effective results and personal well-being. Always wear safety glasses or goggles to shield your eyes from flying dust and particles. Use dust masks or respirators to prevent inhaling harmful dust, and wear hearing protection when operating noisy power sanders. Avoid loose clothing, gloves, or having long hair untied to prevent entanglement with moving parts. Proper machine setup is crucial—check sandpaper for tears, ensure it’s securely attached, and never adjust or remove guards while the sander runs. Keep your workspace clean and well-ventilated, using dust collection systems. Regularly inspect equipment and replace worn sandpaper to guarantee safety and efficiency. Additionally, understanding architectural solutions can help in planning safer and more efficient workspace layouts for your projects. Being aware of different dog breeds and their characteristics can also aid in choosing suitable tools and environments for pet owners working on home improvement projects. Incorporating risk management strategies from merchant services can further help in maintaining a safe working environment. Remember to stay informed about essential safety protocols to minimize risks and ensure a smooth sanding process.
Frequently Asked Questions
Can I Use the Same Grit Sandpaper on Different Materials?
You ask if you can use the same grit sandpaper on different materials. It’s best to avoid doing so because each material has specific grit requirements for ideal results.
Using the wrong grit can cause damage or poor finishes. For example, coarse grits work well on wood and metal for removal, but finer grits are needed for polishing.
Match the grit to your material and project goal for the best outcome.
How Do I Recognize When to Switch to a Finer Grit?
You recognize it’s time to switch to a finer grit when the surface feels smoother to your touch and scratches from the previous grit are gone.
Check visually for remaining imperfections or visible scratches, and feel if the surface is even. When these signs appear, it’s a clear cue to move to a finer grit.
This guarantees you avoid over-sanding and achieve a polished, even finish.
Is It Necessary to Remove All Scratches Before Proceeding to the Next Grit?
You’ve heard the saying, “Don’t put the cart before the horse,” and it applies here. It’s necessary to remove all scratches before moving to the next grit because skipping steps can leave uneven surfaces and blotches.
When you verify all scratches are gone, your surface becomes smoother, saving time later. Carefully inspecting your work at each stage guarantees a high-quality finish and prevents rework, making your project look professional.
What Are the Signs of Over-Sanding or Damaging the Surface?
When you over-sand, you’ll notice the surface looks uneven, with dips or shiny spots from excessive smoothing. Scratches may become more visible, and the wood grain can blur.
Touching the surface might reveal a fragile feel, and finish won’t absorb evenly, leading to patches or peeling.
You might also see the wood become thinner, softer, or prone to dents, indicating you’ve gone too far with sanding.
Can I Combine Different Grit Types in a Single Sanding Session?
Did you know that using the right grit progression enhances surface smoothness by up to 50%? Yes, you can combine different grit types in one session if you follow a proper sequence.
Start with coarse, then move to finer grits, cleaning the surface between changes. Avoid skipping grades, as this can cause uneven finishes.
Proper grit progression ensures a smooth, professional look without damaging your project.
Conclusion
Choosing the right sandpaper grit can transform your project from rough to refined. Imagine sanding a cherished wooden table—using coarse grit initially, then gradually switching to finer options, reveals its natural beauty. With proper grit selection, you’ll enjoy smoother finishes and lasting results. So, take your time, assess your material, and progress thoughtfully. Your craftsmanship will shine through, turning everyday items into something truly special, just like you imagined.