
To build a wooden jewelry box with compartments, start by choosing quality wood and gathering essential tools like a saw, chisel, clamps, and sandpaper. Carefully cut and assemble the pieces, using clamps and wood glue for stability. Create compartments with dividers, measuring precisely for a perfect fit. Finish the box with sanding, staining or painting, and a clear protective coat for durability. Keep going to discover detailed steps to craft a beautiful and functional jewelry storage solution.
Key Takeaways
- Measure and cut wood precisely to create the main box and interior compartments using saw and chisel.
- Assemble the box securely with glue and clamps, ensuring proper alignment and sturdy joints.
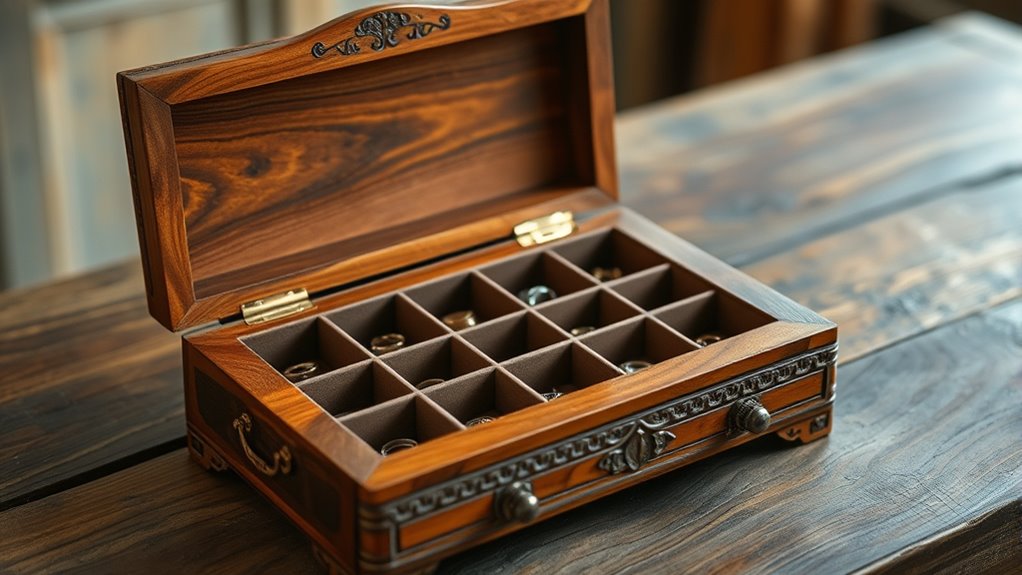
- Construct and install dividers or partitions inside the box for organized jewelry storage.
- Sand all surfaces thoroughly, then finish with stain or paint and protective coats for durability.
- Incorporate rustic accents or hardware to enhance farmhouse style and overall aesthetic.
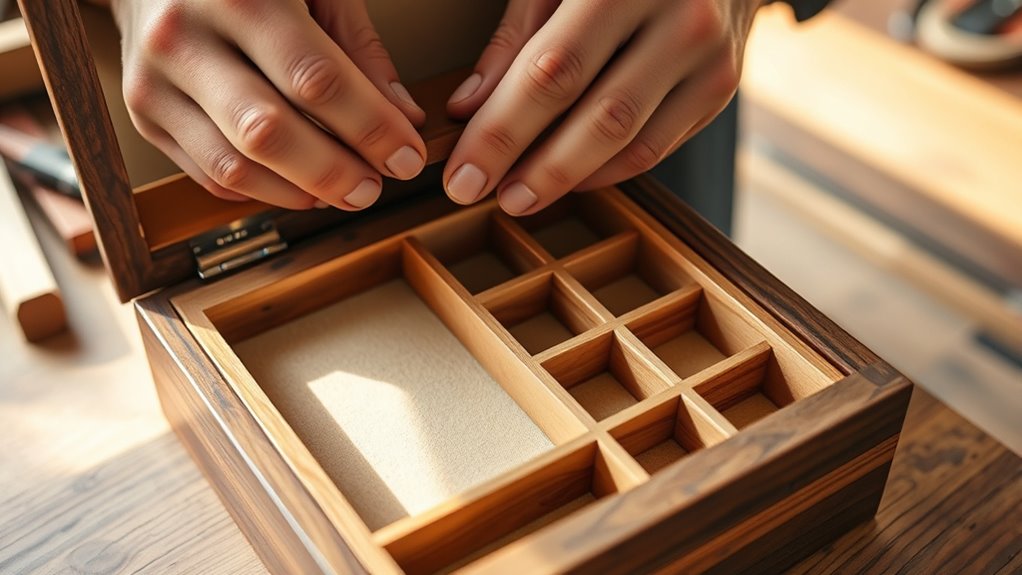
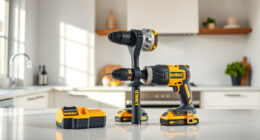
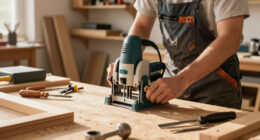
Creating a wooden jewelry box is a rewarding project that lets you craft a beautiful and functional piece tailored to your style. As you begin, gathering the right woodworking tools is essential. You’ll need a saw, chisel set, clamps, a drill, and sandpaper to guarantee precise cuts and smooth surfaces. Using quality tools makes the process easier and results in a professional-looking finish. Once you’ve cut all the pieces to size, carefully assemble the box, paying close attention to the joints and alignment. Clamps will help hold everything securely as the glue dries, making sure of sturdy construction. Incorporating rustic accents such as reclaimed wood or vintage hardware can enhance the farmhouse charm of your jewelry box. Adding compartments inside your jewelry box transforms it from simple storage into an organized haven for your accessories. You might consider dividing the interior with thin wooden slats or small partitions, which you can create using a fine saw or a chisel. Be sure to measure carefully so each compartment fits your jewelry perfectly. When installing the dividers, use wood glue and clamps for a secure fit. This step allows you to customize the storage, whether you want sections for rings, necklaces, or earrings. Finishing techniques play an essential role in elevating your jewelry box from basic to beautiful. Sand the entire piece thoroughly, starting with coarse grit and progressing to finer grit to achieve a silky smooth surface. Once sanded, you can choose to stain or paint the box, depending on your desired look. Applying a stain enhances the natural beauty of the wood, while paint offers a colorful, personalized touch. Always use a brush or cloth to apply the stain evenly, wiping away excess to prevent blotches. After staining or painting, finish with a clear protective coat, such as polyurethane or wax. This not only enhances the appearance but also shields the wood from moisture and scratches.

Kigley 2 Pack Paint Your Own Wooden Jewelry Box DIY Crafts Kits Heart Treasure Box Kit Unfinished Arts and Craft for Ages 3-12 Year Old Girls Boys Birthday Gifts Valentines Mother's Day Favors
- Complete 2-Pack Craft Set: Includes 2 wooden jewelry boxes and supplies
- Encourages Creativity and Skills: Design with paints, stickers, and glitter glue
- Perfectly Sized for Kids: Heart and square boxes with secure latches
As an affiliate, we earn on qualifying purchases.
As an affiliate, we earn on qualifying purchases.
Frequently Asked Questions
What Type of Wood Is Best for a Jewelry Box?
You should choose hardwoods like cherry, maple, or walnut for your jewelry box because they have a beautiful wood grain and high wood durability. These woods resist dents and scratches, keeping your jewelry safe. Their attractive grain patterns add elegance to your box. Avoid softwoods, as they’re less durable. Select a wood that’s both sturdy and visually appealing to make a timeless, functional jewelry box.
How Do I Prevent the Wood From Splitting?
To prevent wood from splitting, you should use proper wood splitting prevention techniques like avoiding over-tightening screws and pre-drilling holes. Incorporate joint reinforcement techniques such as dowels, biscuits, or corner blocks to strengthen connections and reduce stress on the wood. Additionally, choosing the right wood type and applying wood glue can help improve durability. Always handle your wood carefully, especially near edges and grain, to minimize the risk of splitting.
Can I Customize the Compartments’ Sizes?
Yes, you can definitely customize the compartments’ sizes using adjustable dividers. These dividers let you easily modify the space to fit your jewelry perfectly. Simply measure your items, then cut or position the dividers accordingly. This flexibility guarantees each compartment suits your needs, whether you’re storing rings, necklaces, or bracelets. By using adjustable dividers, you create a tailored, organized jewelry box that keeps everything neatly in place.
What Tools Are Essential for Woodworking?
Ever wondered what tools you truly need for woodworking? You’ll want a saw, drill, measuring tape, square, and sandpaper to start. Prioritize woodworking safety by wearing goggles and masks, and plan your woodworking project carefully to avoid mistakes. These essential tools help you cut, assemble, and finish your jewelry box efficiently. Do you have the right tools? With proper planning, your project becomes safe, enjoyable, and successful.
How Do I Finish and Seal the Wood?
You should start by applying a wood stain to enhance the jewelry box’s appearance, choosing a color that complements your decor. After the stain dries, seal the wood with a protective finish like polyurethane or lacquer to safeguard against moisture and scratches. Use a brush or cloth to evenly coat the surface, then let it dry completely. This final step guarantees your jewelry box remains beautiful and durable for years to come.
Conclusion
Just like Pandora’s box, your handmade jewelry box holds treasures beyond measure. With your craftsmanship, you’ve created a space as elegant and timeless as a Greek myth. Every compartment now guards your cherished pieces, turning everyday storage into a work of art. So, take pride in your creation—it’s a reflection of your patience and skill. Now, whenever you open it, you’ll feel like a modern-day hero guarding your own little world of beauty.