To re-adhere loose spots caused by bubbling or blistering, start by gently scraping away any loose or peeling paint. Clean the area thoroughly to remove dust and grease. Lightly sand the surface to create a smooth, keying surface. Apply a high-quality primer suitable for the surface, then press the loose area firmly back into place or use a compatible bonding agent. For a seamless finish, follow best repair practices, and discover more tips to prevent future issues.
Key Takeaways
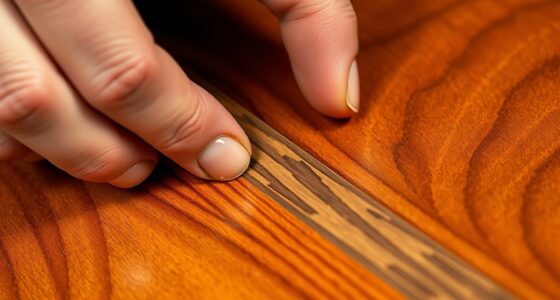
- Gently scrape off loose or blistered paint to expose a clean surface for re-adhesion.
- Clean the area thoroughly to remove dust, grease, or residues that hinder adhesion.
- Lightly sand the area to create a smooth, receptive surface for primer and paint.
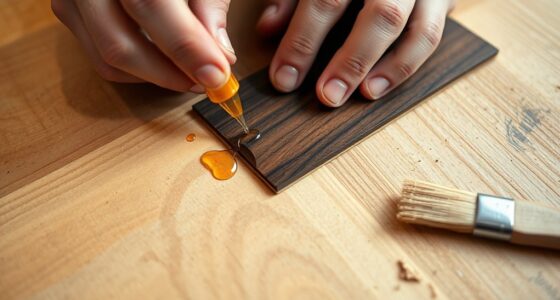
- Apply a high-quality primer suitable for the surface to promote strong bonding.
- Use UV-protected, compatible paint to ensure durability and prevent future bubbling.
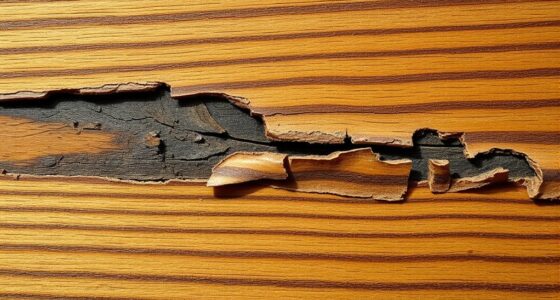
Bubbling and blistering on painted or coated surfaces can compromise both appearance and durability if not addressed promptly. When you notice these issues, it’s a clear sign that the paint isn’t adhering properly or that underlying problems need attention. One of the most effective ways to prevent future bubbling is to guarantee your paint is properly prepared, which includes thorough cleaning and using the right primer. Good paint preparation helps create a smooth, even surface that promotes better adhesion, reducing the chances of bubbles forming down the line. Additionally, applying a coat with UV protection can guard against sun damage, which often accelerates blistering, especially on outdoor surfaces. UV rays break down paint over time, leading to loss of adhesion and blister formation. So, choosing paints formulated with UV inhibitors is a smart move to extend the life of your coating.
Before you attempt to repair bubbling or blistering, it’s essential to remove any loose or damaged paint thoroughly. Use a scraper or putty knife to gently lift away the loose spots, ensuring you don’t damage the underlying surface. Once you’ve cleared the area, sand it lightly to create a smooth, clean surface that better accepts new paint. Proper paint preparation doesn’t stop there; it’s critical to clean the surface of dust, grease, or any residues that could interfere with adhesion. A clean, dry surface guarantees better bonding of the new coat, which is indispensable for a long-lasting repair. Understanding the importance of environmental considerations can help you choose the best practices for sustainable and effective painting projects.
When repainting, consider applying a primer suited for the surface type. Primers provide a bonding layer that enhances adhesion, especially on previously painted or problematic surfaces. Opt for high-quality, compatible paints that include UV protection to help your paint resist the sun’s harsh rays. If the original bubbling was caused by moisture, make sure to address any underlying issues like leaks or inadequate ventilation before repainting. Ignoring these problems will only lead to repeated bubbling and blistering.
Frequently Asked Questions
How Long Does a Re-Adhering Repair Typically Last?
A re-adhering repair usually lasts between several months to a year, depending on factors like application quality, surface preparation, and environmental conditions. You can expect good adhesion longevity if you follow proper procedures, ensuring better repair durability. Keep in mind that over time, wear and weathering can affect the adhesion strength, so periodic inspections are a smart move to maintain the repair’s effectiveness.
Can I Prevent Bubbling and Blistering From Forming Initially?
You can prevent bubbling and blistering by practicing preventative measures and staying vigilant with early detection. Regularly inspect your surface for signs of loose spots or weak adhesion, and address issues promptly. Use quality materials and guarantee proper application techniques to minimize risks. By actively monitoring and maintaining your repairs, you considerably reduce the chances of bubbling and blistering forming initially, keeping your surface smooth and durable longer.
Are There Specific Tools Needed for Effective Re-Adhering?
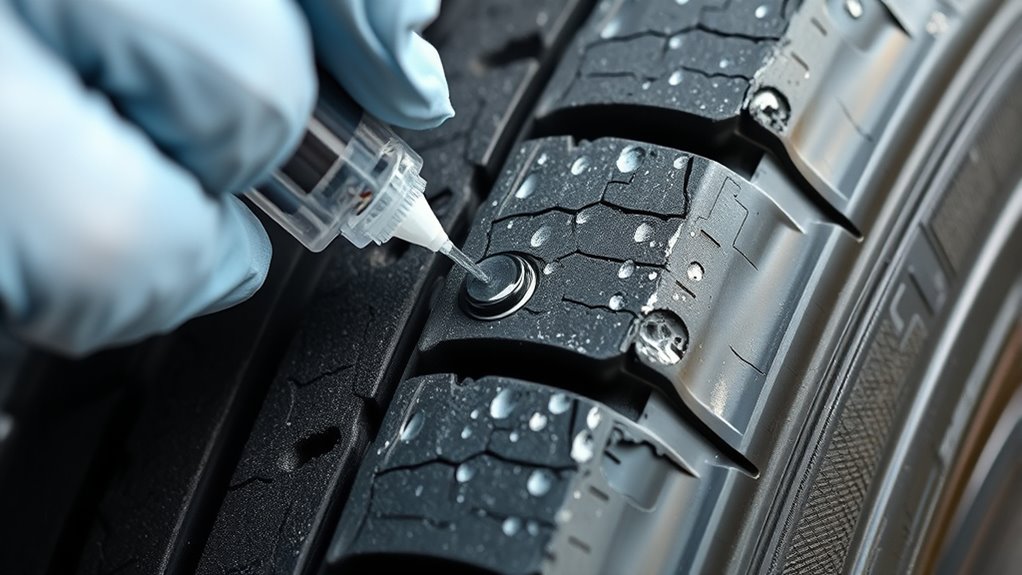
You’ll need specific tools for effective re-adhering, such as a clean spatula or squeegee to smooth out the loose spot. Choose the right adhesive, like a strong, flexible glue suited for your material. Make certain to have alcohol wipes or a clean cloth for surface prep. Proper tools and adhesive selection guarantee a secure, lasting fix, preventing further bubbling or blistering from occurring again.
What Safety Precautions Should I Take During Repair?
You should wear protective gear like gloves and safety goggles to prevent contact with adhesives or debris. Make certain proper ventilation in your workspace to avoid inhaling fumes, especially if working with strong adhesives or chemicals. Keep the area well-ventilated by opening windows or using fans. Avoid working in confined spaces, and take breaks to minimize inhalation risks. Prioritizing safety helps you perform the repair effectively and safely.
How Do Weather Conditions Affect the Repair Process?
You might think weather has little effect on repair, but it actually impacts the process considerably. Temperature sensitivity can cause adhesives to fail if it’s too hot or cold. Weather impact includes humidity and moisture, which can prevent proper adhesion. To guarantee a successful repair, work in moderate, dry conditions, ideally between 50-77°F, and avoid rainy or overly humid days. Proper timing ensures better adhesion and longevity.
Conclusion
Remember, a little care goes a long way in repairing bubbling and blister spots. By re-adhering loose areas promptly and gently, you can extend the life of your item and avoid bigger problems down the road. Don’t wait until it’s too late—remember, an ounce of prevention is worth a pound of cure. With patience and careful attention, you’ll keep your belongings looking good and functioning well for years to come.