
When selecting blanks for turning bowls, choose hardwoods with tight, straight grain patterns like maple or cherry, avoiding cracks or knots that can weaken the piece. Proper grain enhances durability and highlights natural beauty after finishing. Use food-safe finishes such as mineral oil or beeswax, applying multiple thin coats for best protection and appearance. Paying attention to grain orientation and proper sanding ensures your bowl turns out smooth and safe for everyday use. Keep exploring to deepen your understanding of these essential steps.
Key Takeaways
- Choose wood blanks with tight, straight grain patterns, minimal knots, and no cracks for durability and aesthetic appeal.
- Select suitable wood types like maple or cherry to enhance grain beauty and stability in finished bowls.
- Turn the bowl on the lathe following grain orientation to reduce tear-out and achieve a smooth surface.
- Use food-safe finishes such as mineral oil or beeswax, applying multiple coats for protection and highlighting grain patterns.
- Sand progressively with finer grits for an even surface, then apply thin, even coats of finish to preserve wood and enhance appearance.
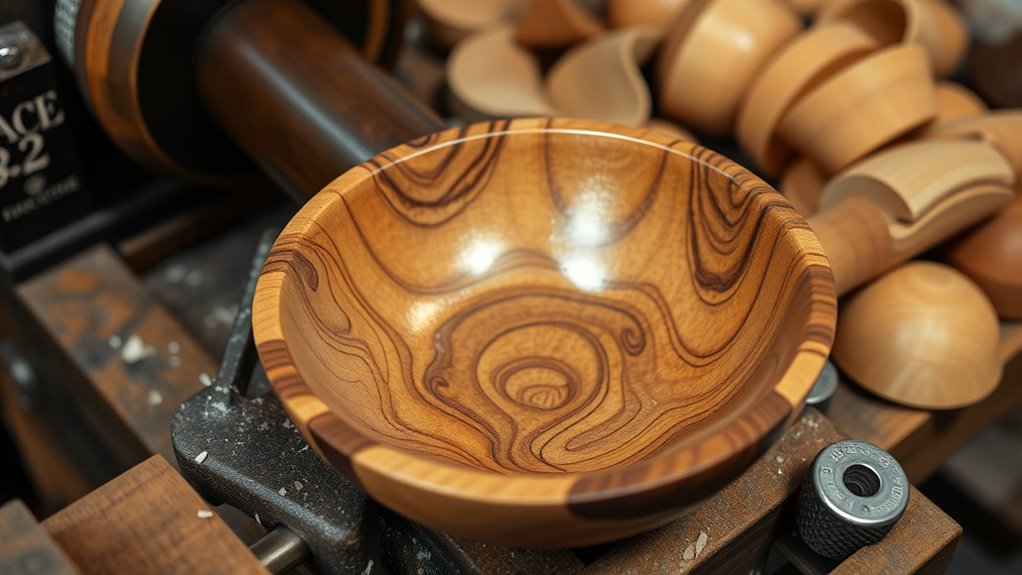
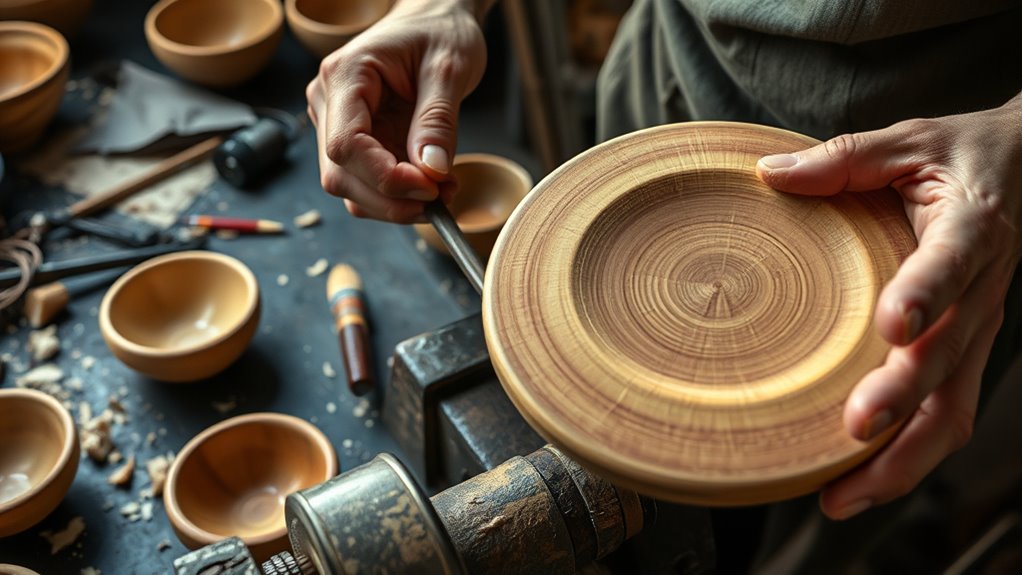
Have you ever wondered how a simple block of wood transforms into a beautiful, functional bowl? The secret lies in the careful selection of your blank and the techniques you use to finish it. When starting out, grain selection plays a crucial role. You want to choose a piece of wood with a consistent, tight grain pattern. This ensures the bowl will be both durable and visually appealing. Look for blanks with straight grain, minimal knots, and no cracks or splits. These imperfections can cause the wood to warp or weaken over time, especially once it’s turned and finished. The right grain also enhances the natural beauty of the wood, giving your bowl a striking appearance. Some woods, like maple or cherry, have lovely grain patterns that stand out once finished, so choose your blank based on the look you’re aiming for. Proper space and organization during your work area can help you maintain focus and safety while working with your tools.
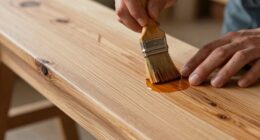
Once you’ve selected your blank, the next step involves turning it on the lathe. As you shape the bowl, keep the grain orientation in mind. Cutting with the grain helps achieve smoother surfaces and reduces tear-out. Pay attention to the direction of the grain when sanding and finishing. After shaping the bowl, it’s time to focus on finishing techniques, especially if you plan to use the bowl for food. Food-safe finishes like mineral oil, beeswax, or specialized food-grade finishes are essential. These finishes penetrate the wood, protecting it from moisture and stains, while also highlighting the grain’s natural beauty. Apply the finish generously, allowing it to soak in, then wipe off any excess. Multiple coats can deepen the color and improve durability, but always ensure the finish is truly food-safe before using the bowl for serving.
Another finishing tip is to sand the bowl thoroughly before applying any finish. Start with a coarse grit to shape and smooth rough areas, then progress to finer grits for a silky surface. This step is vital because a well-sanded bowl will look better, feel smoother, and accept finishes more evenly. Once you’re satisfied with the surface, apply your chosen food-safe finish in thin layers, allowing each coat to dry completely before adding the next. Proper finishing not only preserves the wood but also brings out the grain’s natural complexity, making your bowl a true piece of art. By carefully selecting your grain and mastering your finishing techniques, you turn a simple piece of wood into a stunning, functional work of craftsmanship that can be enjoyed for years.

General Finishes Wood Bowl Finish, 1 Quart
- Food-safe wood topcoat: Safe for bowls, cups, and utensils
- Designed for food-contact surfaces: Safe on wood that contacts food
- Not for chopping surfaces: Not suitable for butcher block counters
As an affiliate, we earn on qualifying purchases.
As an affiliate, we earn on qualifying purchases.
Frequently Asked Questions
How Do I Prevent Cracking During Drying?
To prevent cracking during drying, you should control the wood drying process carefully. Seal the ends of your blanks with wax or glue to slow moisture loss, reducing uneven drying that causes cracks. Store your wood in a stable, humid environment, and consider using a kiln or a controlled drying chamber for more consistent results. Properly drying your wood helps prevent crack formation and guarantees a smooth, durable finished bowl.
What Tools Are Best for Shaping Turning Bowls?
Imagine sculpting a flowing river; your tools are the currents guiding the shape. For shaping bowls, choose gouges and chisels that follow the grain orientation, ensuring smooth cuts and minimal tear-out. A roughing gouge quickly removes excess wood, while a detail scraper defines the interior. Skew chisels and bowl gouges offer precision, helping you carve with confidence and create a beautifully balanced, functional piece.
How Long Does a Food-Safe Finish Typically Last?
A food-safe finish typically lasts between 6 months to a year, depending on usage and maintenance. To extend its longevity, you should regularly clean your bowl with mild soap and avoid soaking it. Applying a food-safe mineral oil or beeswax periodically helps protect the finish, and using gentle cleaning tools prevents scratches. Consistent maintenance tips like these keep your turning bowl safe and looking great longer.
Can I Use Recycled Wood for Turning Bowls?
Yes, you can use recycled wood for turning bowls. Reclaimed wood is an eco-friendly material that adds character and uniqueness to your projects. Just make certain it’s properly dried, free of pests, and thoroughly cleaned before use. Avoid woods treated with chemicals or finishes that aren’t food-safe. Using reclaimed wood not only reduces waste but also creates beautiful, sustainable bowls that are safe for everyday use.
What Are Common Mistakes to Avoid When Finishing?
Think of finishing like painting a masterpiece; rushing ruins the art. You avoid over sanding, which can gouge the wood, and improper sealing, leaving it vulnerable to moisture. Take your time, sand gradually, and apply food-safe finishes evenly. This careful approach guarantees your bowl remains safe and beautiful, much like a well-preserved treasure. Patience and attention to detail turn a simple piece into a functional work of art.
Conclusion
As you choose your blanks and apply food-safe finishes, remember that even a simple bowl can turn into a cherished piece. Sometimes, it’s the smallest details—like the perfect finish—that make all the difference. You might start with a rough block, but with patience and care, you’ll create something both beautiful and functional. It’s funny how a seemingly ordinary piece can become something special, just like how your skills can turn a blank into a treasured creation.