
To build a small side table with a drawer, start with a clear plan for dimensions and design. Choose sturdy wood like pine or oak, gather basic tools, and measure twice before cutting. Join panels using pocket screws or dowels for strong joints, and assemble the drawer with precise alignment. Install quality slides and handles, then finish with stain or paint plus a protective sealant. By following these steps, you’ll craft a functional, stylish piece that enhances your space, and more tips await if you continue.
Key Takeaways
- Design a detailed plan with dimensions, including space for the drawer, before starting construction.
- Use precise measurements and joinery techniques like pocket screws or dowels for a sturdy frame.
- Build and assemble the drawer carefully, ensuring perfect alignment and smooth sliding functionality.
- Install quality hardware, such as drawer slides and handles, following manufacturer instructions for durability.
- Finish the table with stain or paint, then apply a protective sealant for a professional and durable appearance.
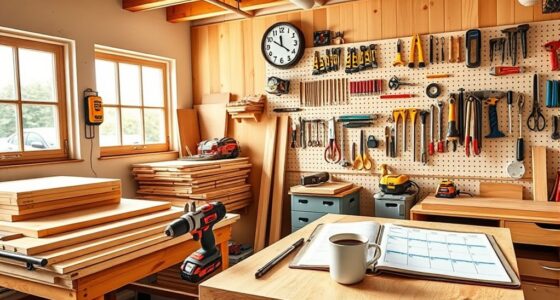
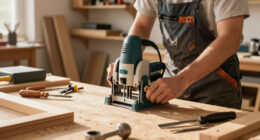
Creating a small side table with a drawer is a rewarding woodworking project that adds both function and style to your space. This project allows you to practice essential woodworking techniques while customizing the piece to your taste. Starting with a clear plan will help you stay organized and guarantee your table turns out exactly as you envision. You’ll need basic tools like a saw, drill, sandpaper, and a screwdriver, along with furniture hardware such as drawer slides and handles.
Building a small side table with a drawer enhances your skills and adds style to your space.
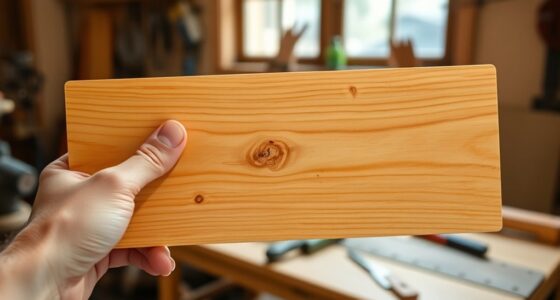
When selecting your wood, opt for sturdy, easy-to-work-with materials like pine, oak, or maple. Measure carefully before making cuts, and double-check your dimensions for the tabletop, sides, and drawer. Precision is key in woodworking techniques; accurate cuts and tight joints will give your table a professional look. For example, when joining the side panels to the tabletop, use techniques such as pocket screws or dowels to create strong, seamless connections. Clamps will help hold pieces tight as you glue and screw everything together.
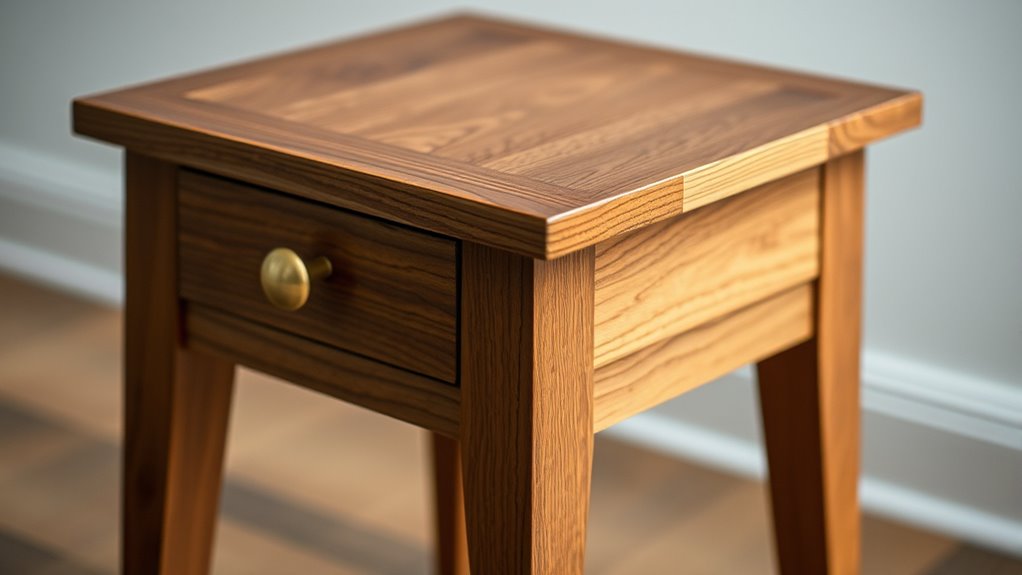
The drawer adds both practicality and aesthetic appeal, so pay close attention to its construction. Use a dado or rabbet joint to create a sturdy frame for the drawer sides. When assembling the drawer, make sure the sides are perfectly aligned and square. Sand all surfaces thoroughly before finishing to remove any rough edges or splinters. This not only improves the look but also prevents snags when using the drawer.
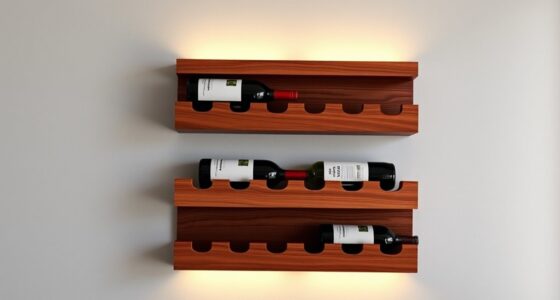
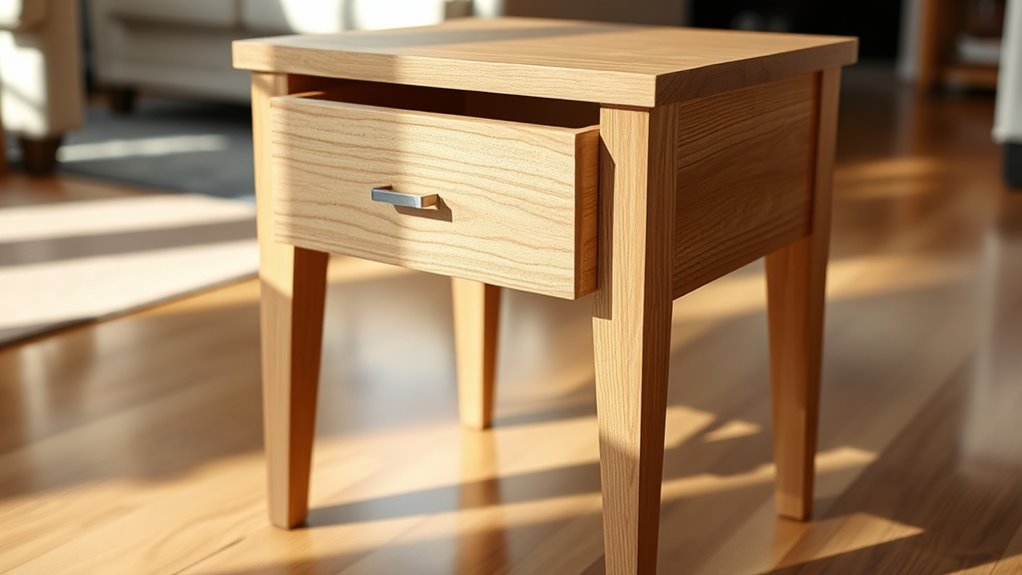
Furniture hardware plays an essential role in both function and appearance. Choose quality drawer slides that match the weight of your drawer and ensure smooth operation. When installing the hardware, follow the manufacturer’s instructions carefully to avoid misalignments. For the drawer pull or handle, select a style that complements your table’s overall design—whether modern, rustic, or vintage. Secure the hardware tightly, making sure it’s level and centered for a polished look.
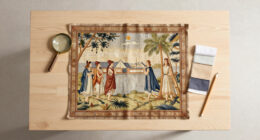
Finally, finish your table with a protective coat of stain or paint, depending on your preference. Applying a clear sealant will help protect the wood from scratches and moisture. Additionally, understanding the benefits of airless paint sprayers can provide you with more efficient ways to apply your finish. Once dry, assemble the final pieces, attach the hardware, and you’ll have a custom-made side table that’s both functional and stylish. This project not only enhances your woodworking skills but also results in a unique piece that elevates your living space.
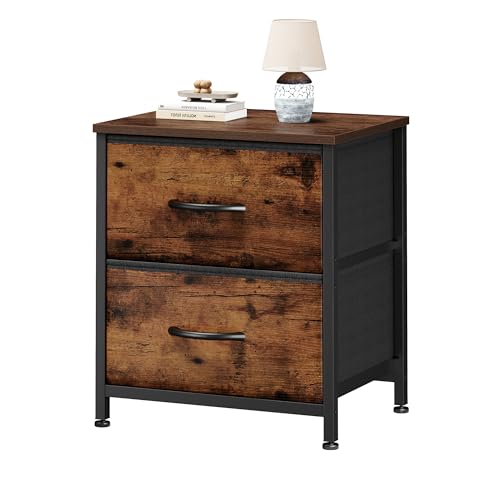
Sweetcrispy Nightstand with 2 Storage Drawers, 20" Height Small Bed Side Furniture End Table, Wooden Top Fabric Cabinet Kids Night Stand Mini Dresser for Bedroom, Closet, Entryway, Dorm
- Removable Fabric Drawers: Provides ample storage for essentials
- Modern Minimalist Design: Blends with any décor style
- Multi-purpose Use: Serves as a mini dresser or organizer
As an affiliate, we earn on qualifying purchases.
As an affiliate, we earn on qualifying purchases.
Frequently Asked Questions
What Tools Are Essential for Building This Side Table?
You’ll need essential tools like a power drill, saw, and screwdriver to cut, assemble, and secure your side table. A measuring tape and square help you verify accuracy, while clamps keep pieces steady. Don’t forget finishing supplies like sandpaper, wood stain, or paint to give it a polished look. These tools and supplies make building your side table straightforward, guaranteeing sturdy construction and a professional finish.
Can I Customize the Drawer Size?
Think of your side table as a tailored suit—custom fit makes it perfect. You can definitely customize the drawer size by adjusting the drawer dimensions in your plans or measurements. This gives you flexibility to fit your space and needs precisely. Explore your customization options early, and you’ll create a piece that feels just right for your style and storage needs, making your project uniquely yours.
How Long Does the Entire Project Typically Take?
The entire project usually takes about 4 to 8 hours, depending on your skill level and available tools. To stay on track, plan your project timeline carefully and manage your time effectively. Break the work into smaller tasks like cutting, assembling, and finishing. Keep a steady pace, and don’t rush—this helps make certain of quality and keeps your project moving smoothly from start to finish.
What Types of Wood Are Best for Durability?
You should choose hardwoods like oak, maple, or cherry for durability, as they resist dents and scratches well. Consider the wood grain, which adds character and strength, and pick a finish that protects the surface, like polyurethane or wax. These options enhance the table’s lifespan and appearance. Hardwoods with tight grain patterns generally hold up better over time, making your side table both sturdy and attractive.
Are There Safety Tips to Consider During Assembly?
Think of assembly safety precautions like a safety net—you don’t want to fall. Always wear safety goggles and gloves to protect your eyes and hands. Keep your workspace tidy to avoid accidents, and use tools properly to prevent injuries. Read instructions thoroughly before starting, and secure pieces firmly. Following these assembly safety tips helps guarantee your project is safe and successful, with no surprises along the way.
Conclusion
Building this small side table with a drawer not only enhances your space but also proves that DIY projects can be both simple and rewarding. Remarkably, studies suggest that engaging in woodworking can boost mental well-being and creativity. So, as you finish your project, remember that crafting something with your own hands might be more beneficial than you think. Plus, you’ll have a stylish, functional piece to enjoy for years to come.