
To achieve a flawless finish, start with medium grit sandpaper (400–600 grit) to smooth the surface, then gradually move to finer grits (800–1000 grit) for refinement. Keep the surface clean between steps using a tack cloth or damp rag, and apply lubricants like water or mineral oil during polishing to reduce friction and prevent scratches. Using light strokes and proper tools helps you get a mirror-like shine—if you keep going, you’ll discover even more tips to perfect your finish.
Key Takeaways
- Use progressively finer grits, starting from 400–600 and moving up to 800–1000, for smooth rubbing out.
- Clean the surface thoroughly between grit changes to prevent debris from scratching the finish.
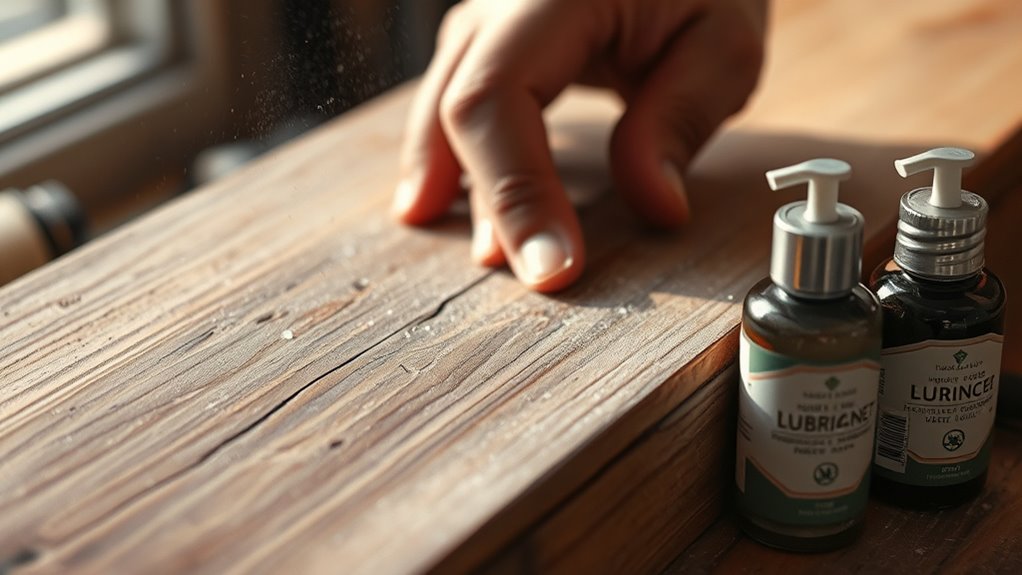
- Apply lubricants like water or mineral oil during polishing to reduce friction and enhance gloss.
- Avoid skipping grit levels to prevent scratches and ensure an even, professional finish.
- Use gentle, even strokes and polishing compounds for a high-quality, reflective surface.
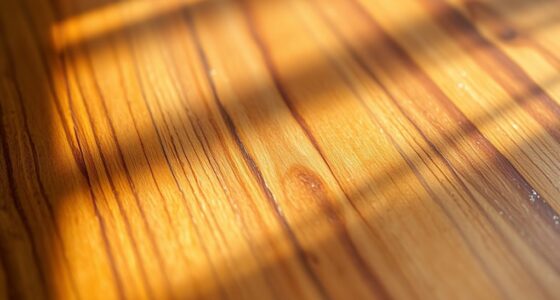
Rubbing out a finish is a essential step in achieving a smooth, professional look on your woodworking project. It’s the process that transforms a once-glossy or matte surface into something that gleams with perfection. To do this effectively, you need to master polishing techniques that involve carefully progressing through different grit levels and using the right finishing tools. Your goal is to remove any imperfections, swirl marks, or haze left after applying the final coat, leaving behind a flawless surface that highlights the wood’s natural beauty.
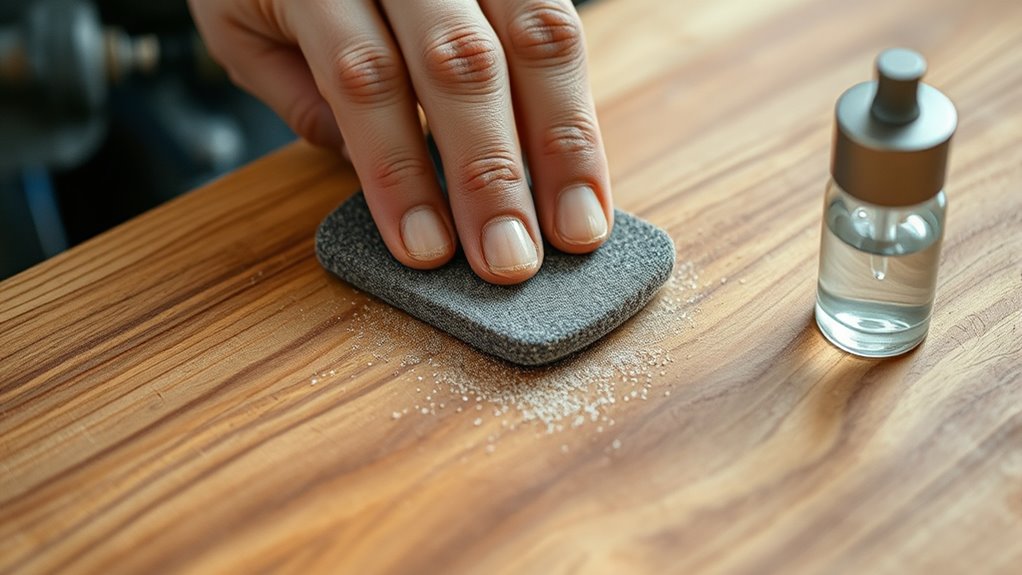
Start with a medium grit sandpaper—typically around 400 to 600 grit—to gently smooth out any uneven areas or surface blemishes. Use your finishing tools—such as sanding blocks or foam pads—to maintain even pressure and prevent gouges. As you work, keep the surface clean by wiping away dust with a tack cloth or a damp rag. Once the initial smoothing is complete, move to finer grits, like 800 or 1000, gradually refining the surface. Each step should be deliberate; don’t rush through the grits, as skipping levels can result in an uneven finish or scratches that are difficult to remove later. Regular inspections as you progress can help identify areas needing extra attention.
Begin with 400–600 grit sandpaper, maintain even pressure, and progress gradually with finer grits for a flawless finish.
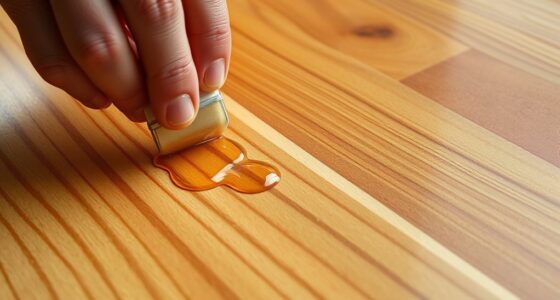
Lubricants play a critical role during polishing, especially when working with very fine grits. Applying a small amount of water or mineral oil can reduce friction, thereby minimizing scratches and helping the abrasive particles glide smoothly over the surface. This lubrication also helps you see progress more clearly, as the finish will appear more uniform and reflective. When you switch to higher grits, make sure to clean the surface thoroughly to remove any residual grit or lubricants—residue that could mar the final polish. Additionally, using proper polishing techniques ensures a consistent, high-quality finish.
Using proper polishing techniques involves patience and attention to detail. Light, even strokes are essential; pressing too hard can cause uneven abrasion or gouges. As you near the final stages, consider using a polishing compound or wax to enhance the luster. Applying these with a soft cloth or buffing pad can turn a good finish into a mirror-like shine. Remember, the key to a beautiful rubbed-out finish is in the gradual grit progression, gentle polishing, and the right finishing tools—these elements combined will give your project that professional-quality look you’re aiming for.

12-Sheet 1000 Grit Wet Dry Sandpaper, 9 x 11 Inch Fine Sand Paper Silicon Carbide Abrasive Sanding Sheets for Woodworking, Automotive and DIY Projects
High-Precision Abrasive: Featuring 12-sheet 9 x 11 Inch 1000 grit sandpaper, this abrasive set provides extended usability for…
As an affiliate, we earn on qualifying purchases.
As an affiliate, we earn on qualifying purchases.
Frequently Asked Questions
How Do I Choose the Right Grit for Different Woods?
You choose the right grit based on the wood grain and desired finish sheen. For smooth, fine surfaces, start with a medium grit like 220 to gently smooth the grain without dulling the sheen. For a high-gloss finish, progress to finer grits like 400 or 600. Always sand with the grain, and test on a hidden area to see how the grit affects the sheen and grain clarity.
Can I Use Water-Based Lubricants During Rubbing Out?
Using water-based lubricants during rubbing out is like adding a gentle rain to a delicate garden; it can help the abrasives glide smoothly. Yes, you can use water-based lubricants during rubbing out, as they reduce friction and prevent scratches. Just make certain you don’t overdo it, and wipe the surface clean often to avoid water spots or damage. This approach results in a smoother, more polished finish.
How Long Should I Wait Between Grit Changes?
You should wait at least 15 to 30 minutes between grit changes, allowing the finish to dry properly and begin curing. Rushing this step can smudge or damage the surface. Keep in mind that drying time varies with temperature and humidity. For the best results, guarantee the finish is dry to the touch before moving to the next grit. Patience ensures a smooth, professional-looking final surface.
What Safety Precautions Are Necessary When Rubbing Out Finishes?
When rubbing out finishes, you should always wear personal protective equipment like a dust mask, safety glasses, and gloves to protect yourself from dust and particles. Make certain good workspace ventilation to avoid inhaling harmful fumes or dust. Keep your workspace clean and well-ventilated, and avoid inhaling dust or chemicals. Always follow safety guidelines to prevent accidents, and work slowly to maintain control and protect your health.
How Do I Fix Scratches or Imperfections During Rubbing Out?
To fix scratches or imperfections during polishing, you should gently re-sand the affected area with a finer grit, then use polishing techniques to blend the repair seamlessly into the surrounding finish. Apply a small amount of lubricant to reduce friction and prevent new scratches. Carefully buff the area with a clean cloth, gradually increasing polish intensity if needed. This approach guarantees a smooth finish repair without damaging the overall surface.
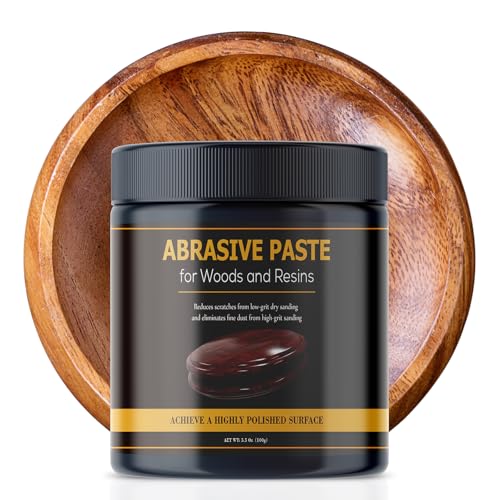
Premium Paste Wax for Wood – Resin Polishing for Woodturning – Friction Polish for Woodturning – Wood Polishing Compound – Restores Shine – 3.5 oz
MAKES WOOD SPARKLE: Abrasive paste eliminates dusty sanding at 240+ levels. This fast-acting “liquid sandpaper” saves you time…
As an affiliate, we earn on qualifying purchases.
As an affiliate, we earn on qualifying purchases.
Conclusion
As you refine your finish, remember that grit progressions and lubricants are like the gentle touch of a mentor guiding your hand. Each step symbolizes patience and dedication, shaping not just the surface but your craft’s soul. With every smooth pass, you’re carving away doubt, revealing clarity beneath the surface. In this process, the finish becomes more than just a look—it’s a reflection of your perseverance, a shining affirmation to your journey from rough to refined.

CAREGY 16Pcs Tack Cloth for Removing Dust from Woodworking, Sanding Particles, Clean & Polish, Ideal for Woodworking & Painting,Wax and Silicone Free, 18 x 36 Inches Dust Cloths
Package Includes: Each package contains a total of 16 tack cloths, with each tack cloth individually packaged for…
As an affiliate, we earn on qualifying purchases.
As an affiliate, we earn on qualifying purchases.

5" Non-Scratch Polishing Pad Hook & Loop Non-Woven Discs, Non-Abrasive Finishing Pads, Buff & Polish Finished Surfaces, Wood Oil & Wax Application, Orbital Sander Polishing Pad – 10 Pack (White)
BUFF TO A LUSTROUS SHEEN – These durable orbital sander polishing pads stand up to water, cleaners, and…
As an affiliate, we earn on qualifying purchases.
As an affiliate, we earn on qualifying purchases.